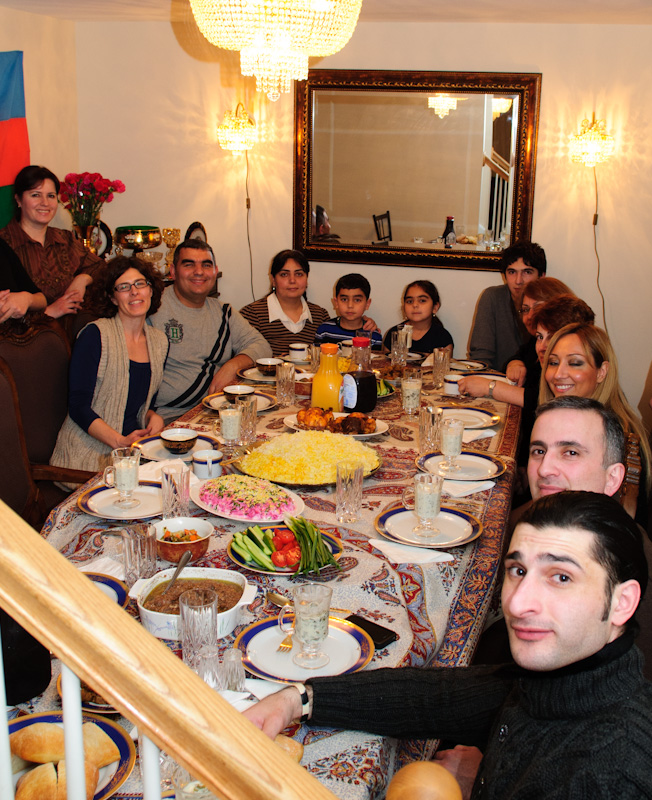
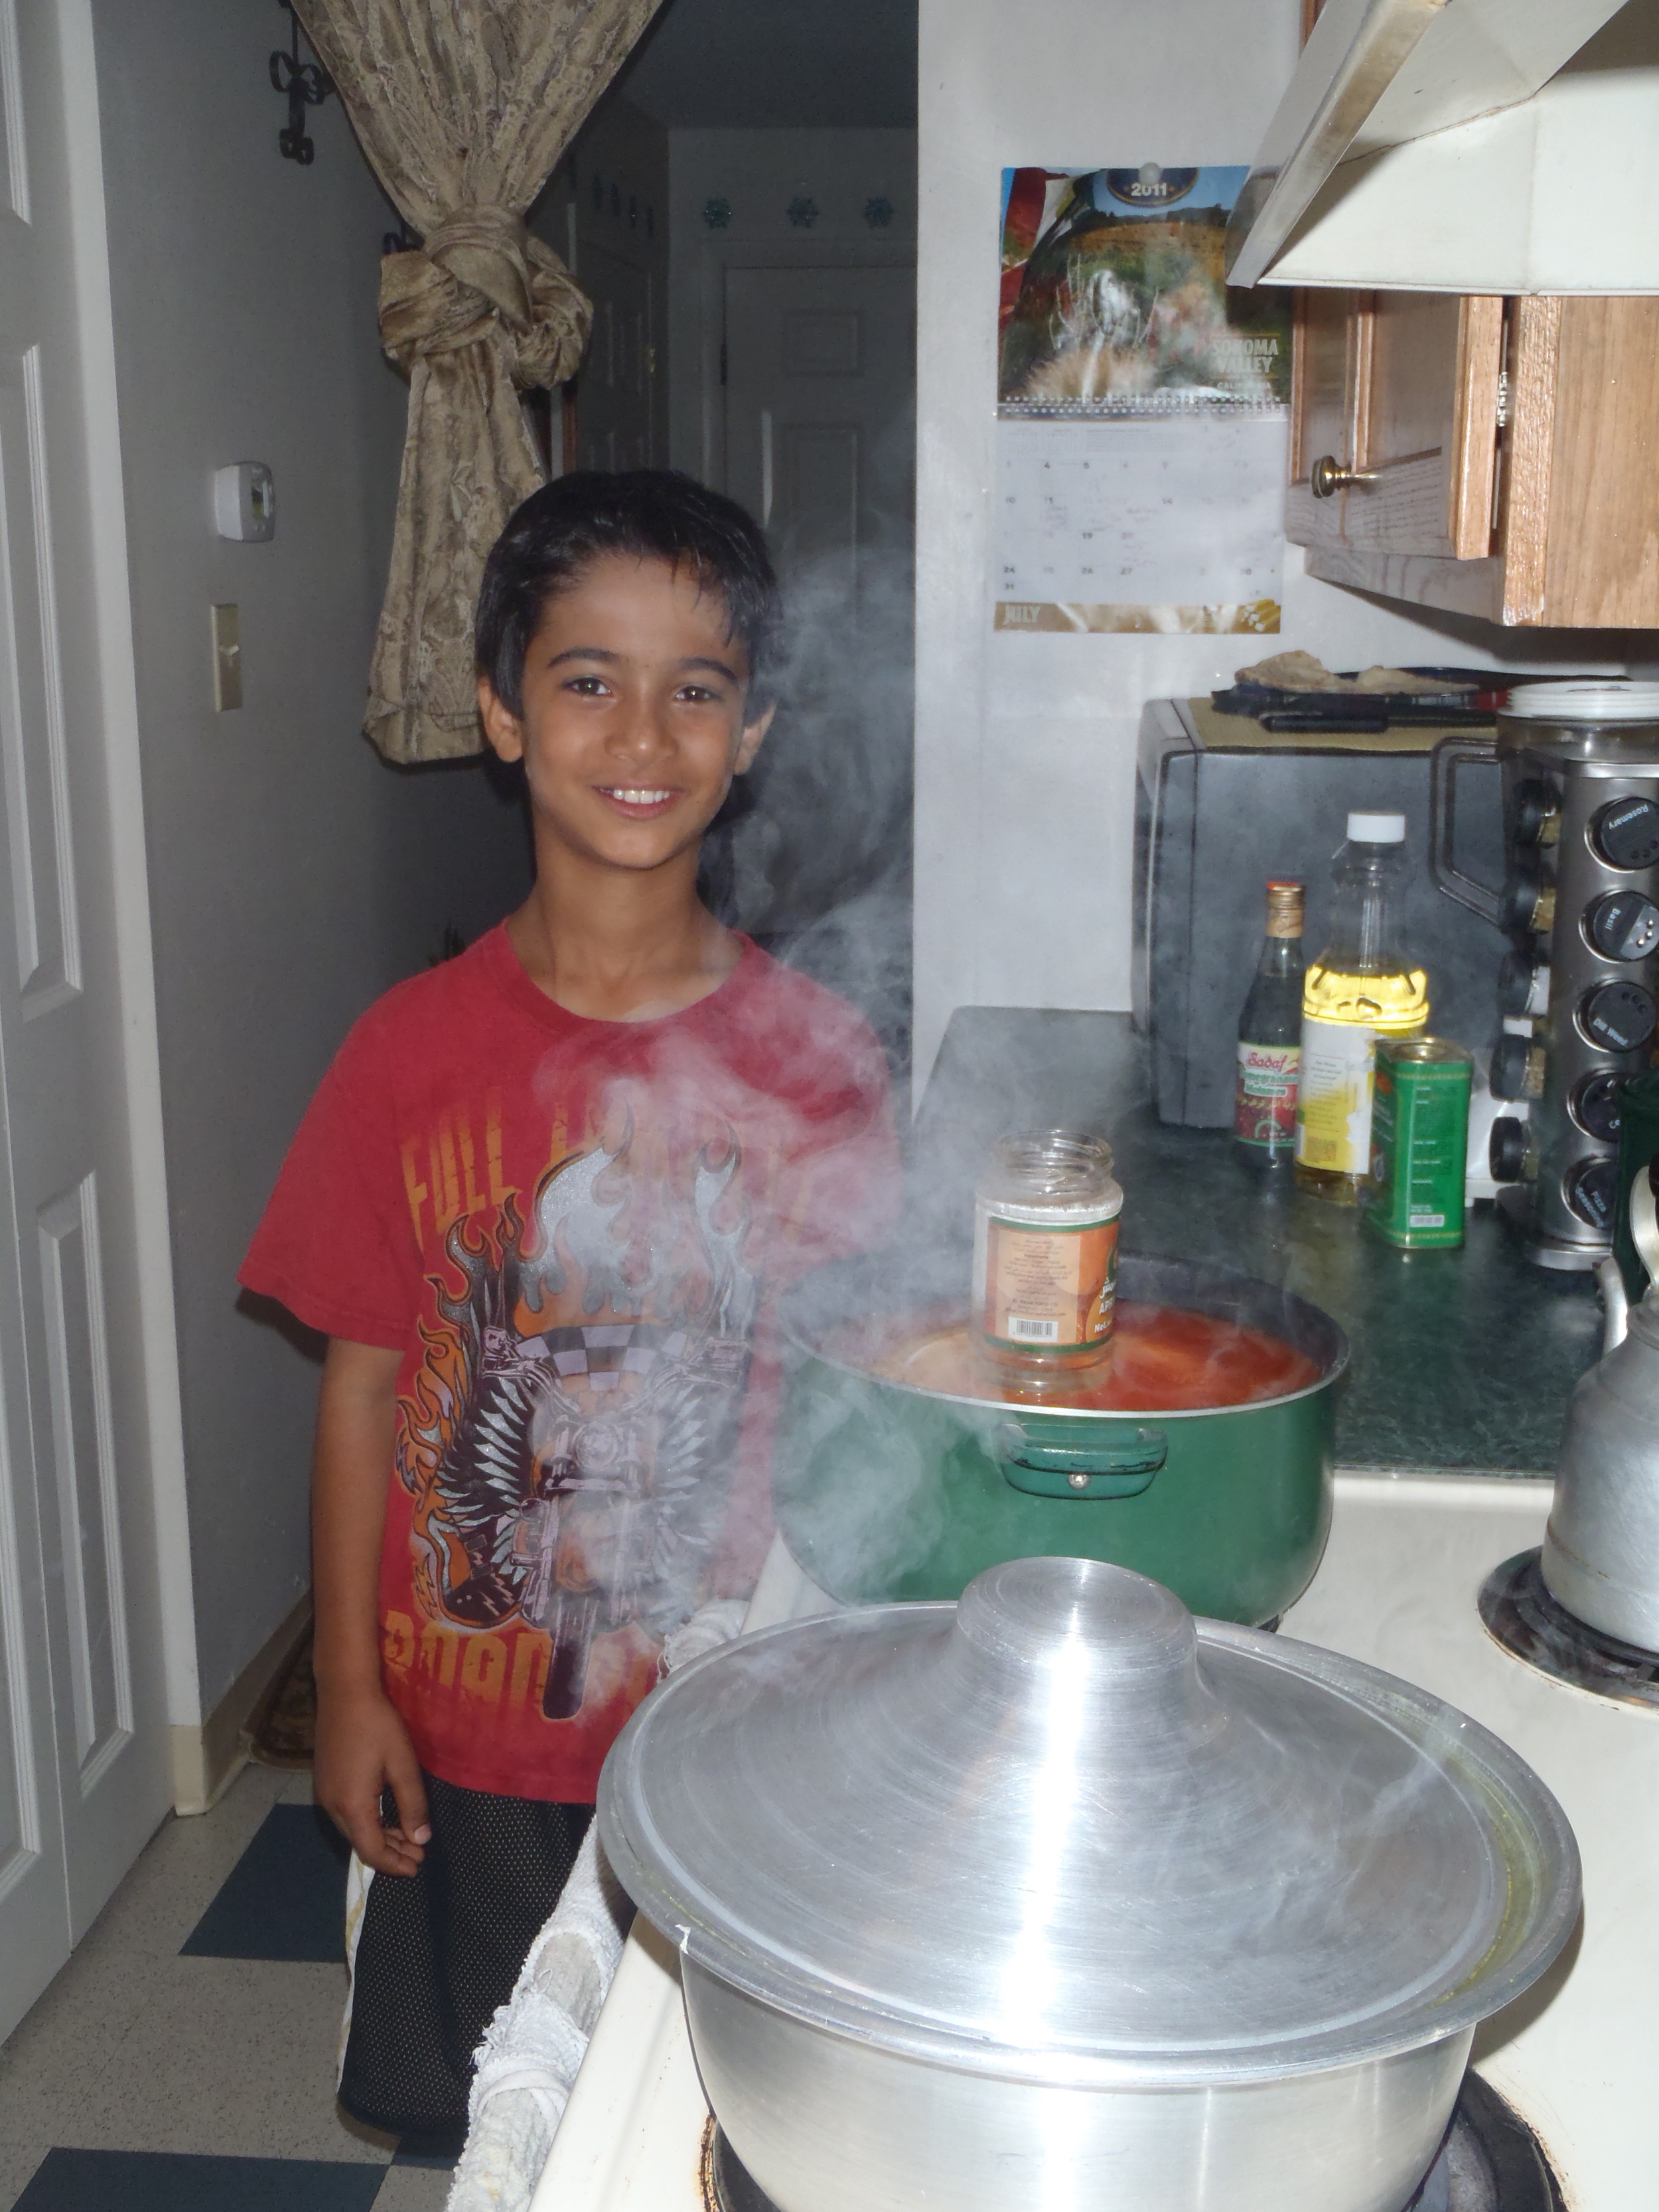
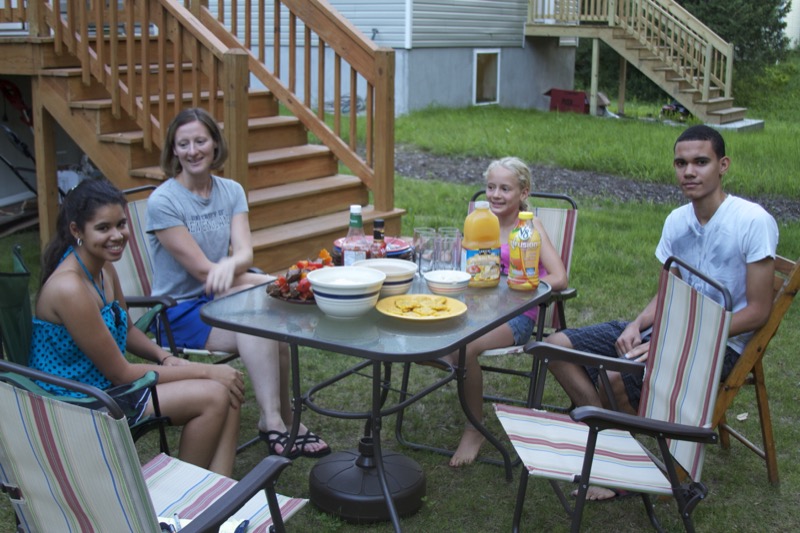
As Mona Galee, from Iraq taught Lindsay Sterling, in Westbrook, Maine, July 2011
Serves: 6-8
Cooking Time: 2 hours
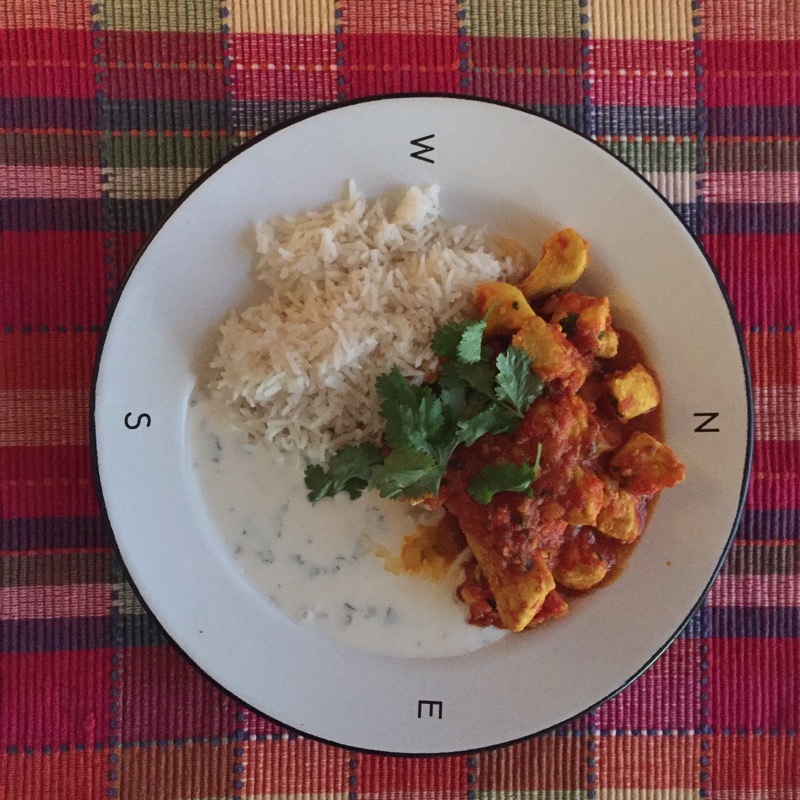
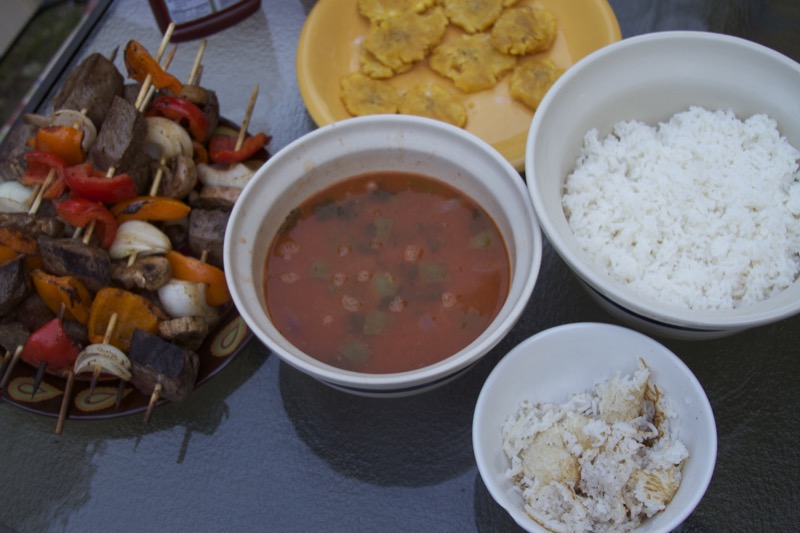
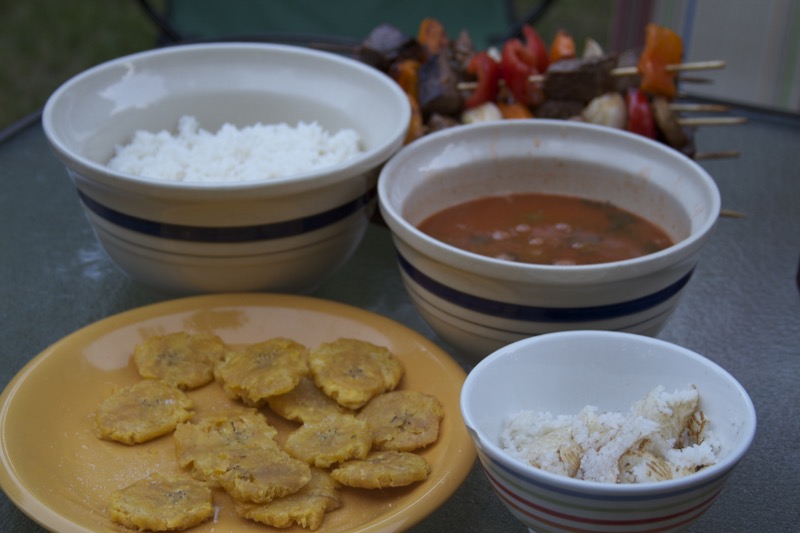
Note: Mona served the chicken and rice as part of a full feast, including dolmas, fresh salad, watermelon cubes, tomato-chili flake soup and lemon-mint savory yogurt drink. I'll add links to those recipes once I post them. I have tended to make just the chicken and rice part often. I find myself using country-style bone-in pieces of chicken instead of a whole chicken to make serving easier.
Ingredients
For the chicken:
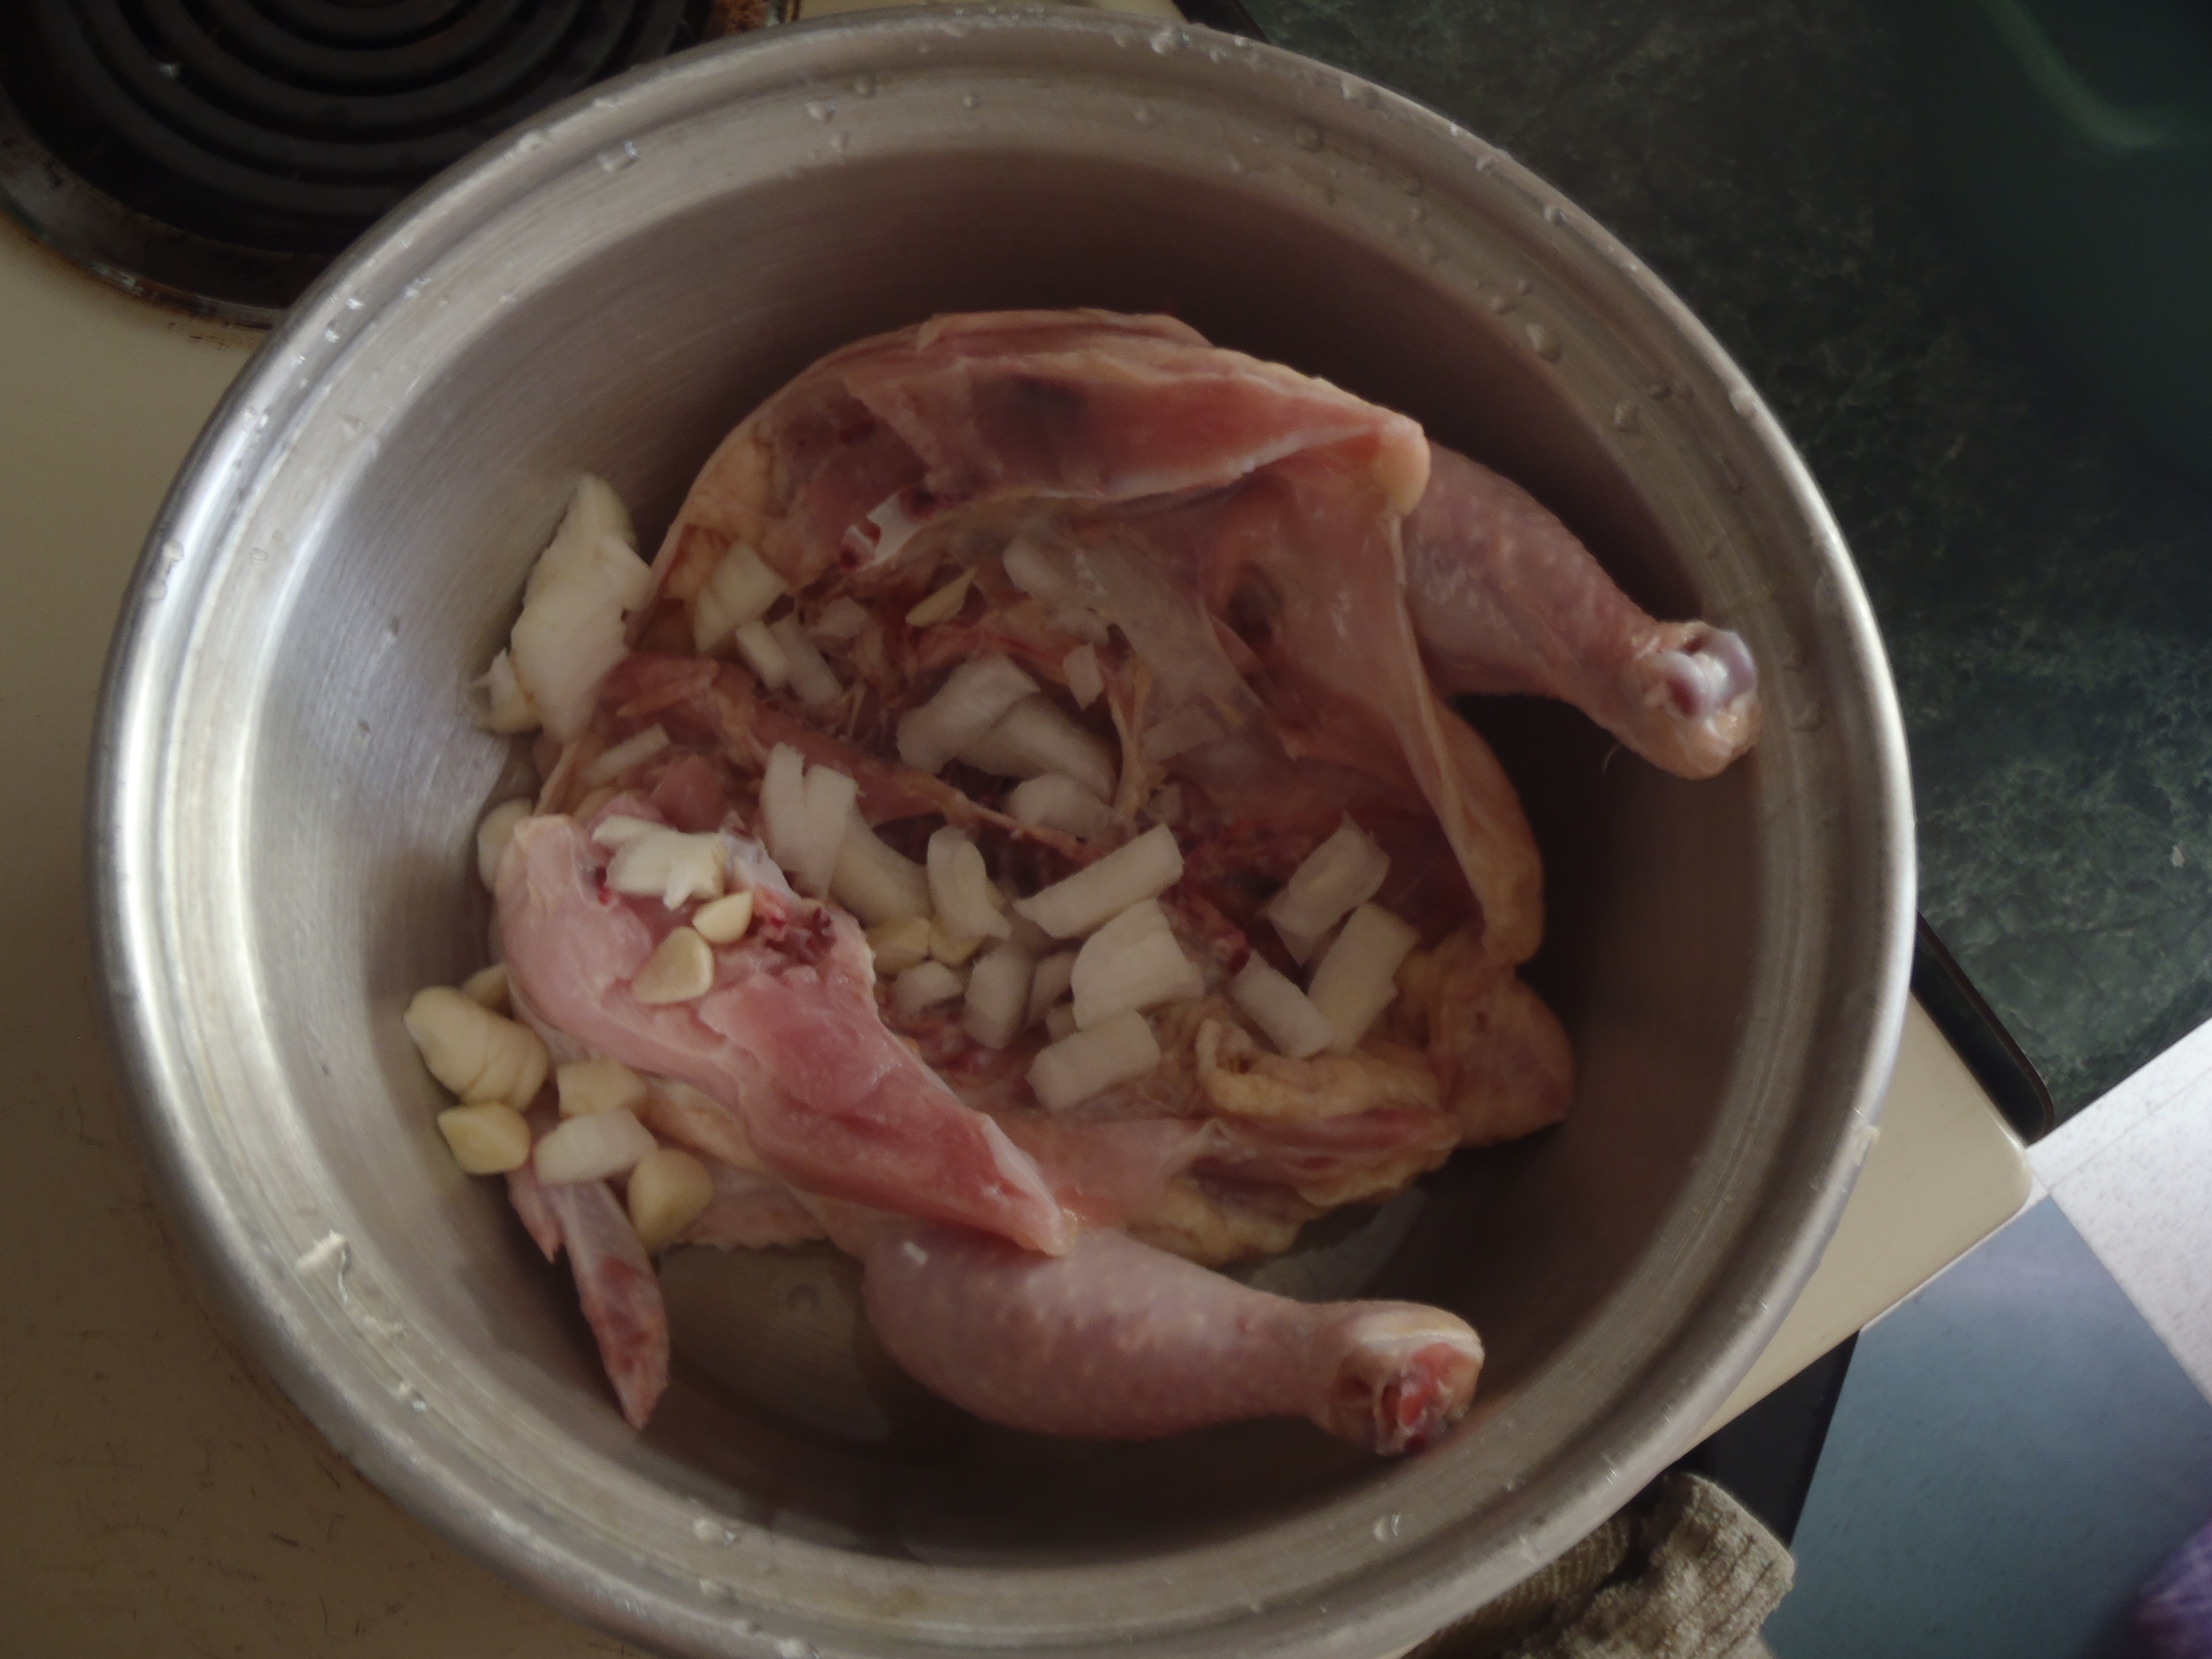
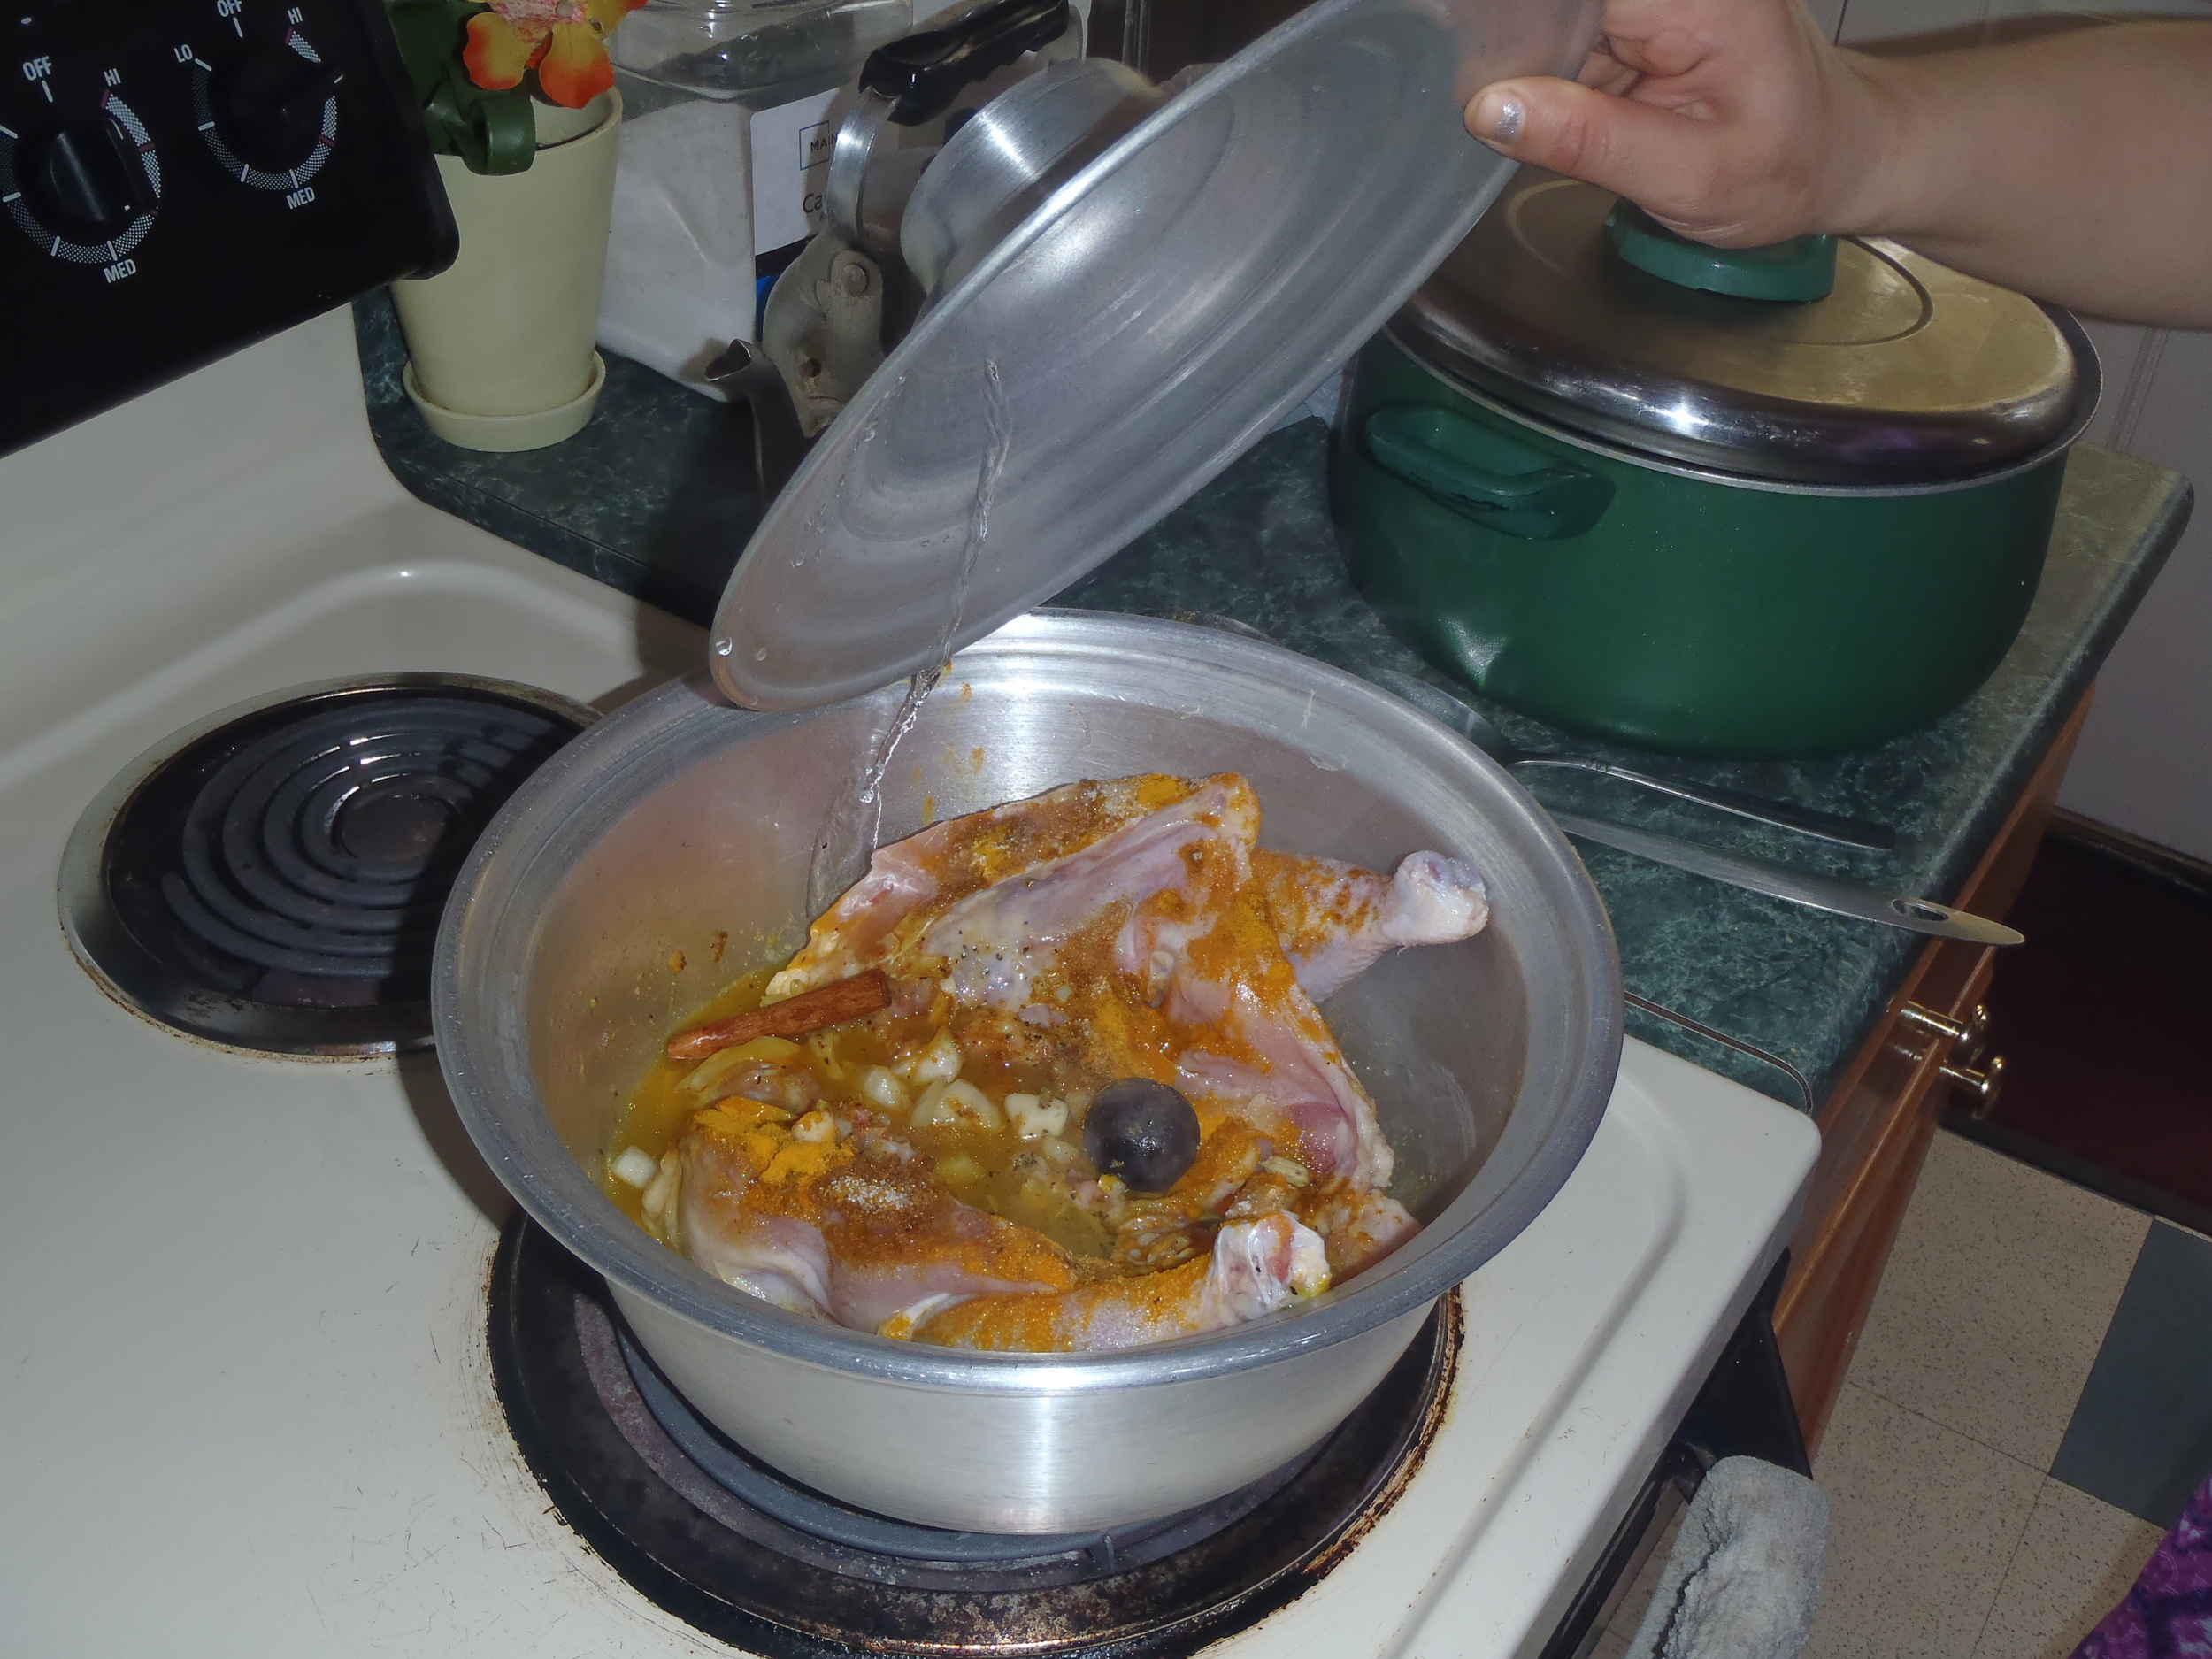
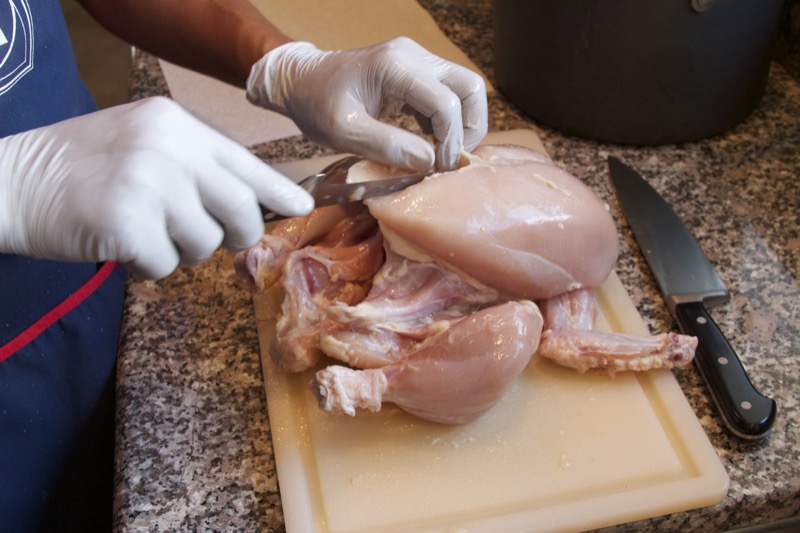
- 1 whole chicken, washed and split down the breast bone
- 3 cloves garlic, rough chopped
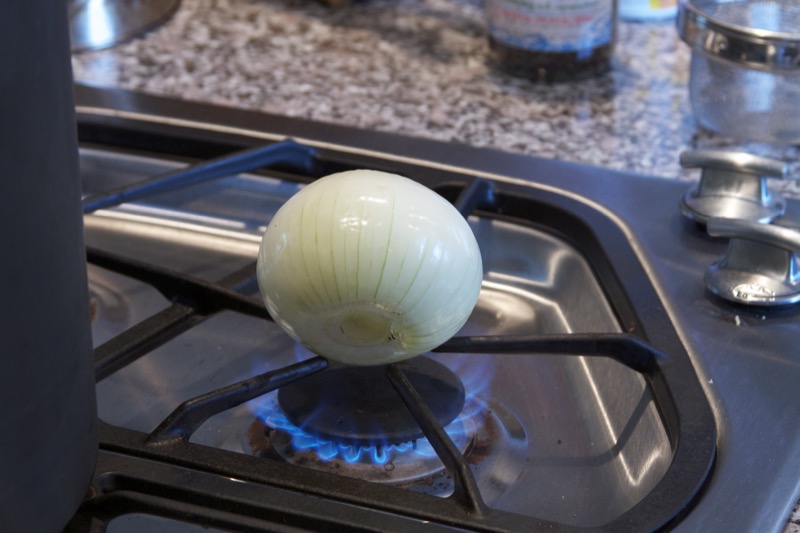
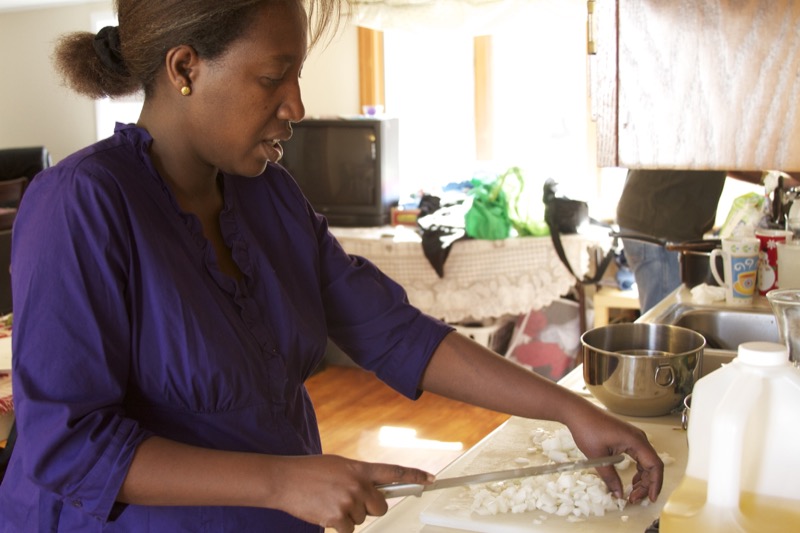
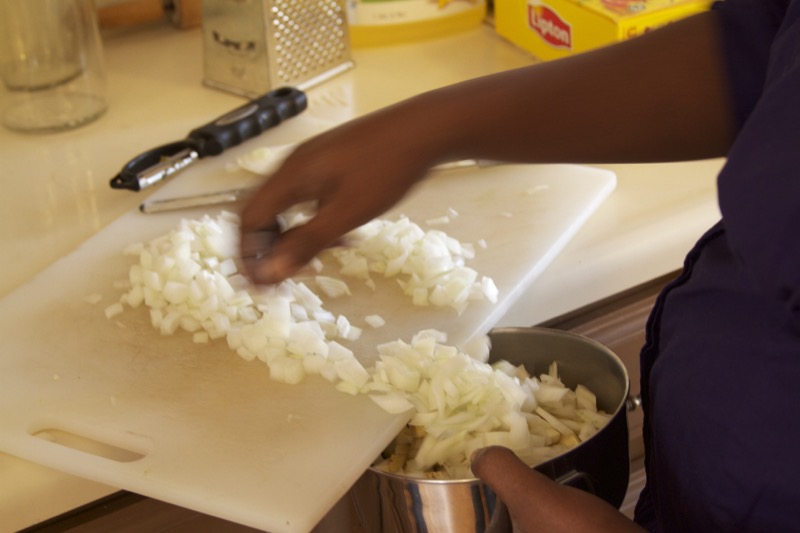
- 1/4 onion, medium dice
- 1/4 cup vegetable oil
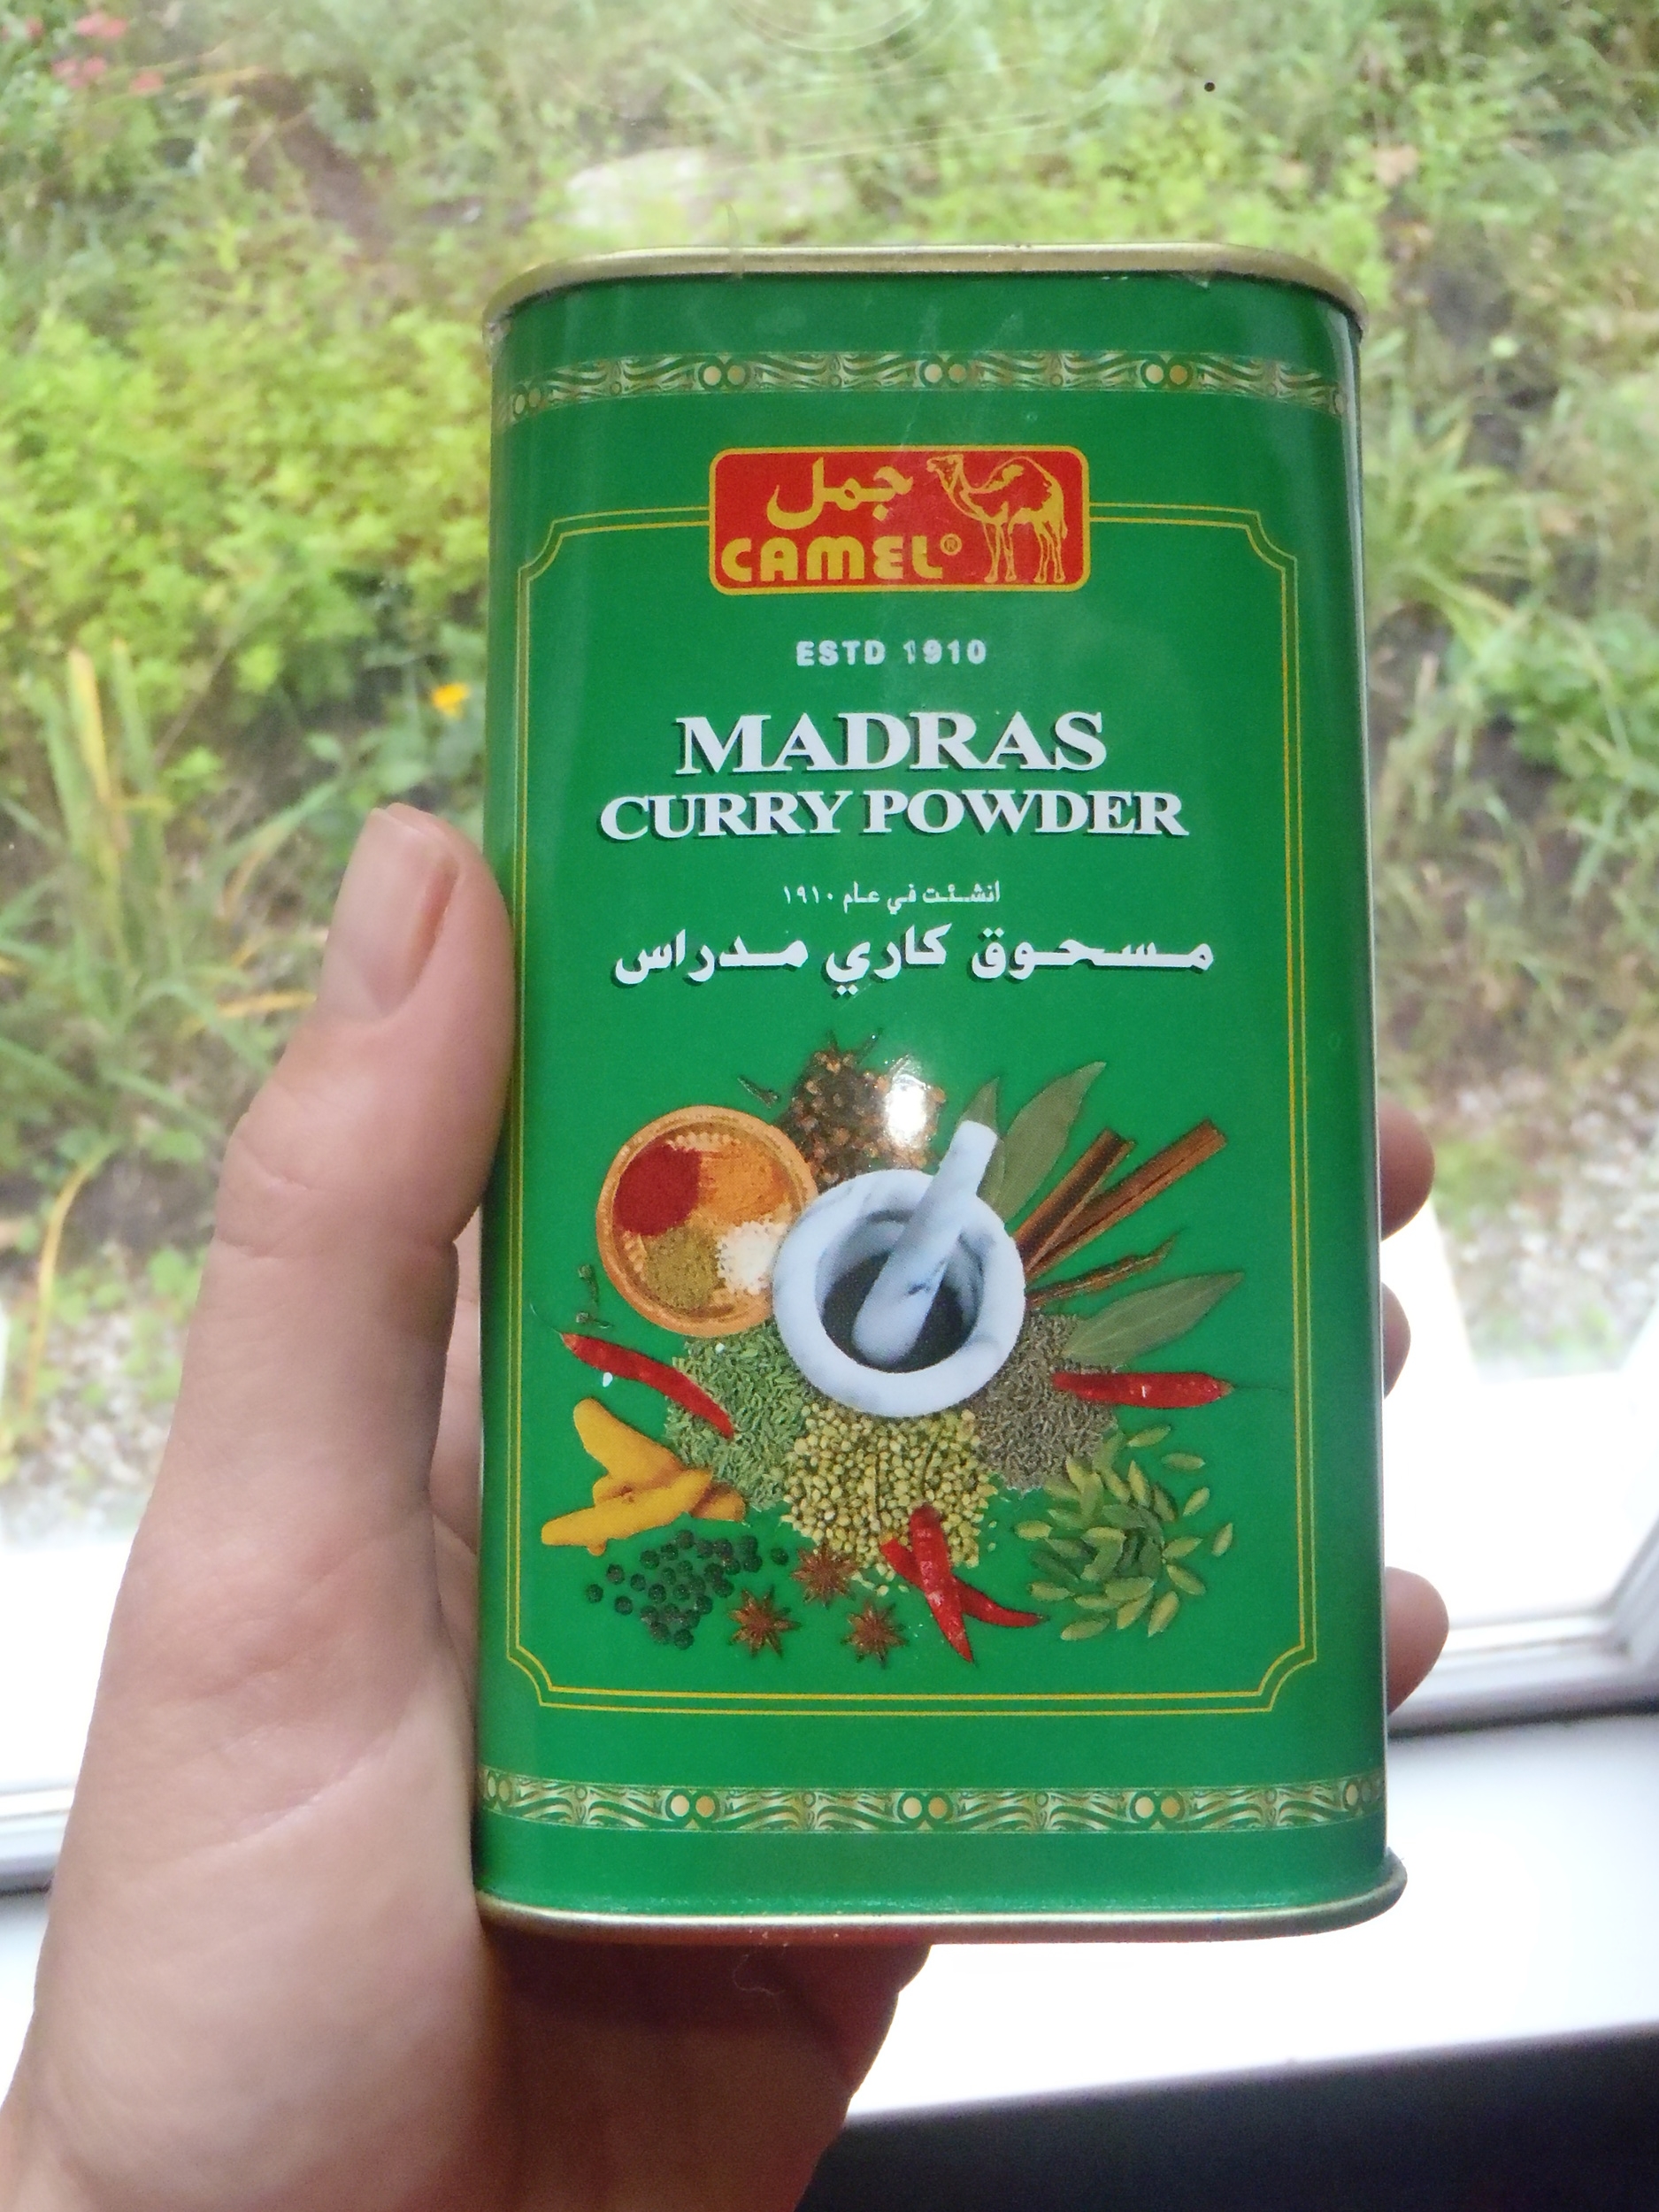
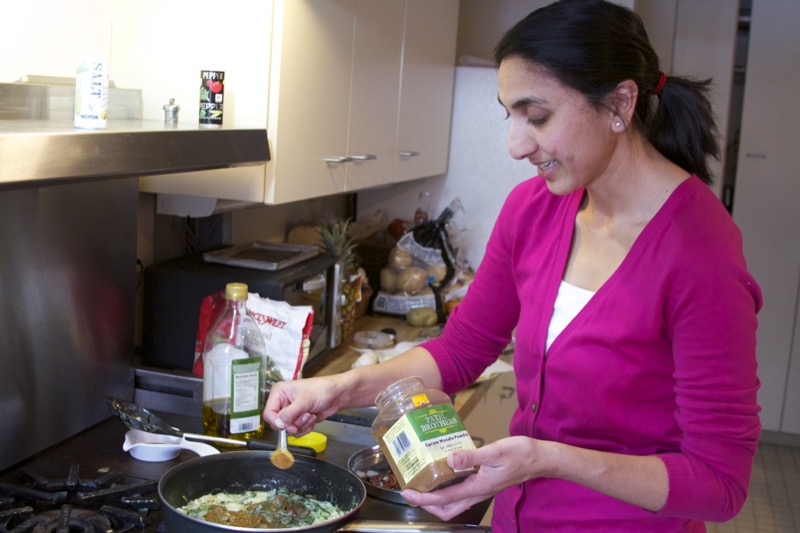
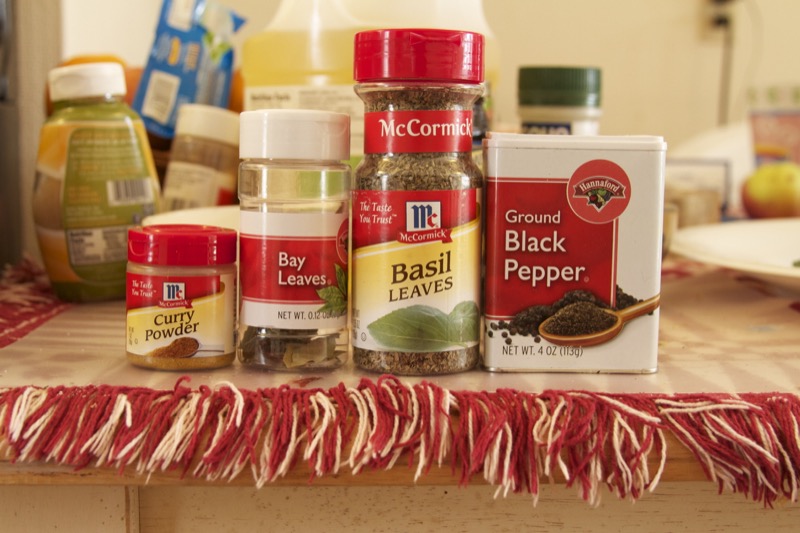
- 1 tsp Madras curry powder
- generous sprinkle turmeric
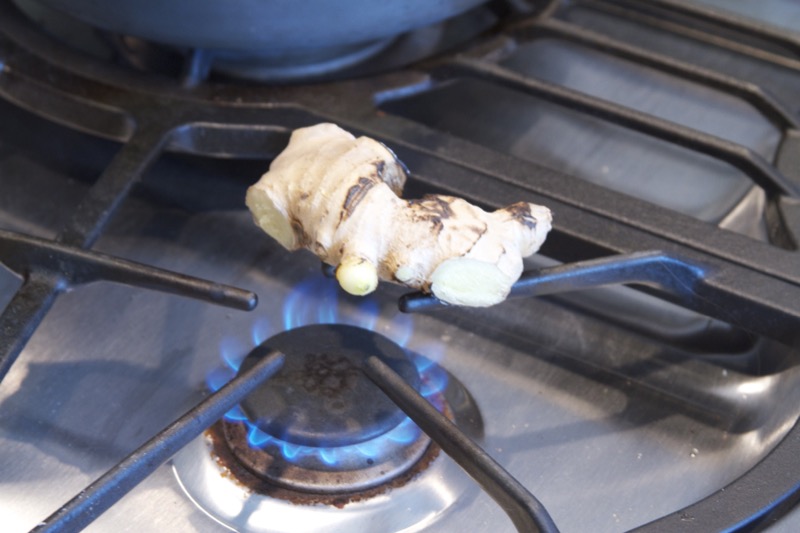
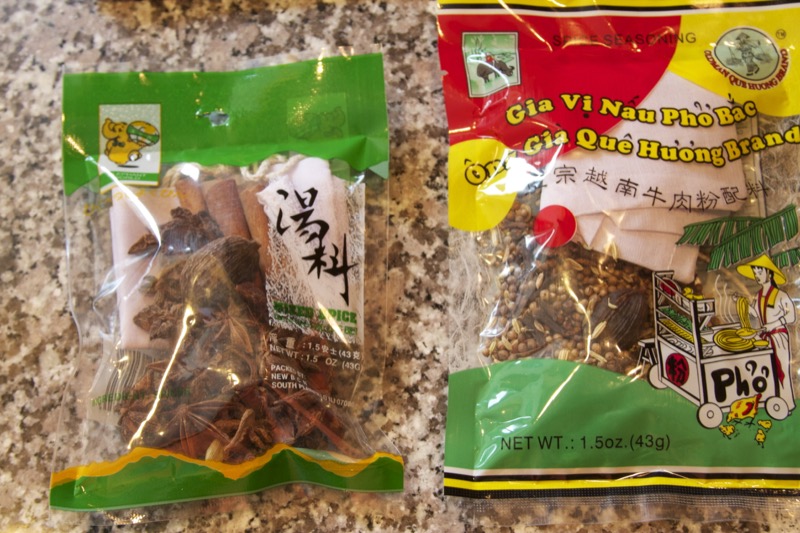
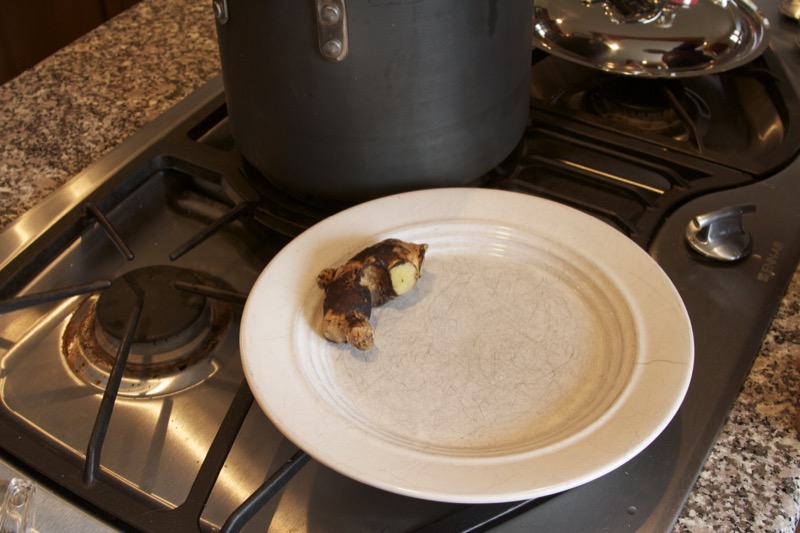
- 1 dried Persian lime, also called loomi*
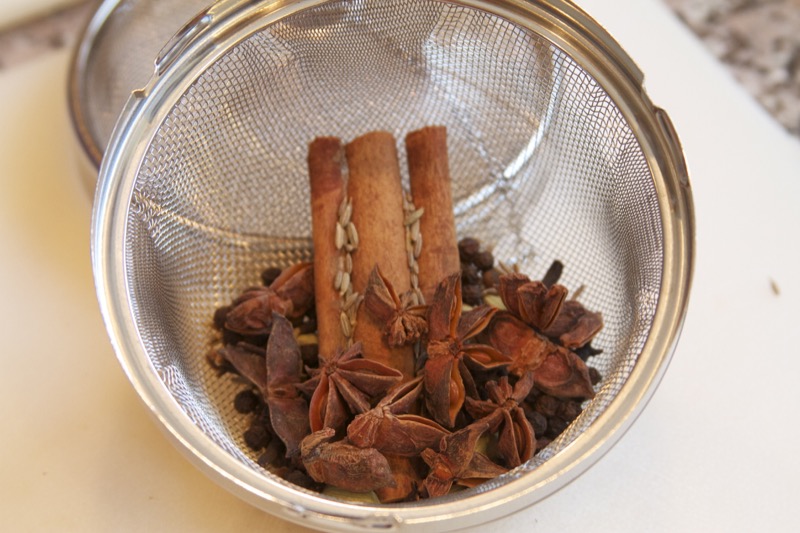
- 1 4-inch cinnamon stick
- 1 Tbsp lemon pepper
- 1-2 Tbsp Kosher salt
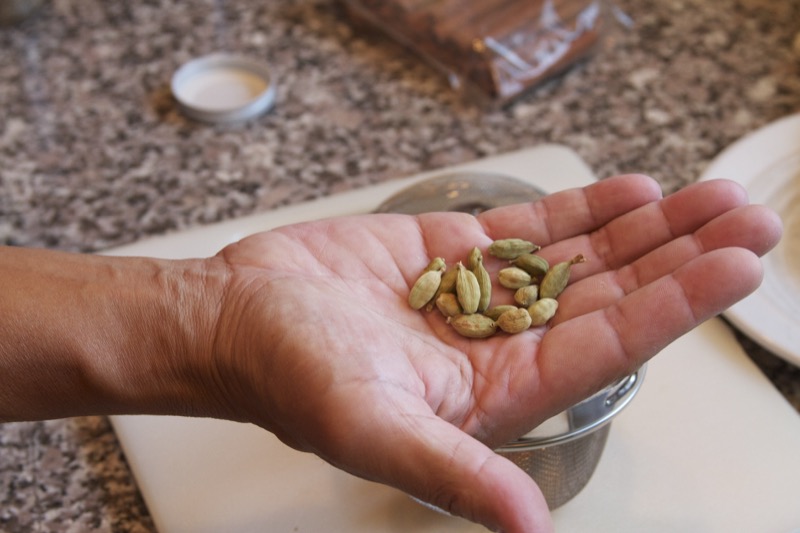
- 6 green cardamom pods
- 1-2 cups water
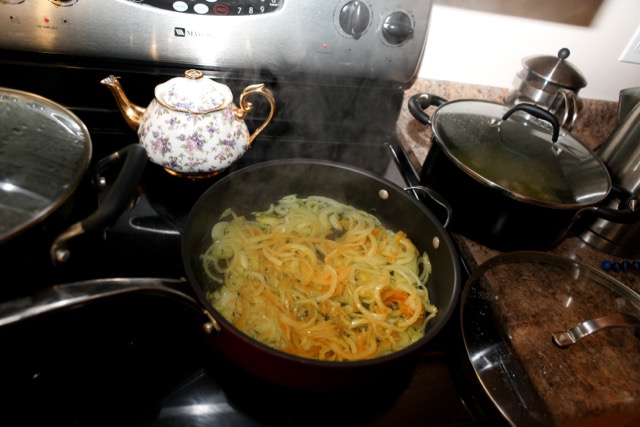
For the rice:
- 2-3 Tbsp vegetable oil
- 1 cup Short Vermicelli egg noodles (omit for gluten-free version)
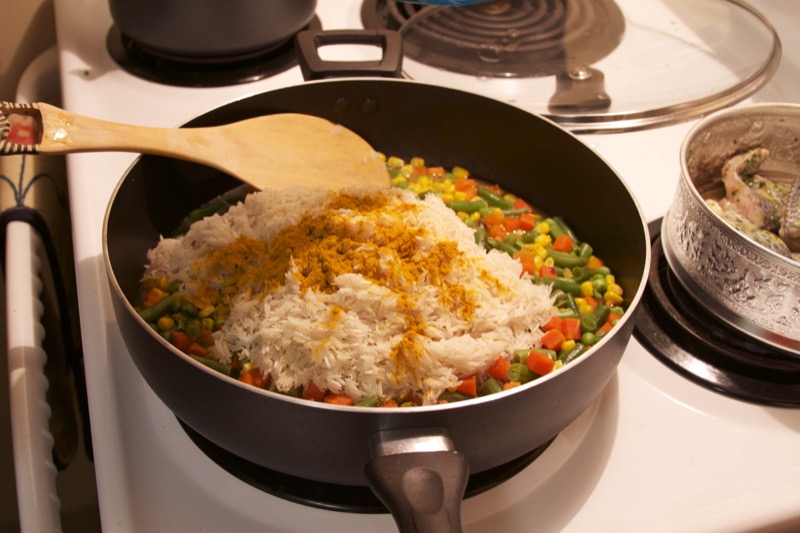
- 2 cups basmati rice
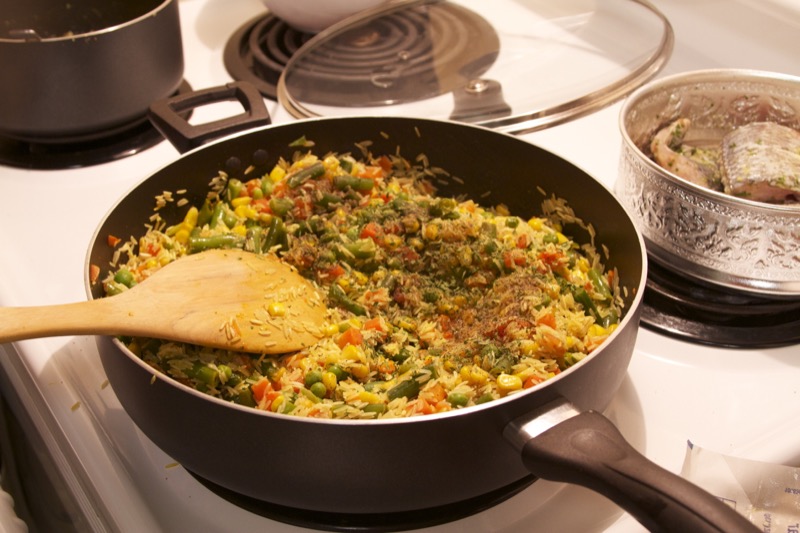
- 1/2 tsp of the bar timon spice mixture**
- 1 tsp salt
- 1/2 tsp turmeric
- 1 cup reserved seasoned chicken broth
- 3 cups water
*loomis, also known as noomi basra and limoo amani, are small persian limes that have been soaked in salt water and then baked in the sun. They are hard, light in weight (like a whiffle ball) and range from tan to black in color. You use one whole in this recipe. It also comes ground into flakes. It imparts a tangy, lime flavor. Tasted alone, dried lime is similar to the sourness of a Sourpatch Kid candy but without the sugar coating. In Portland, ME, you can get these at Al Sindabad Market, 710 Forest Avenue.
For the bar timon pice mixture:
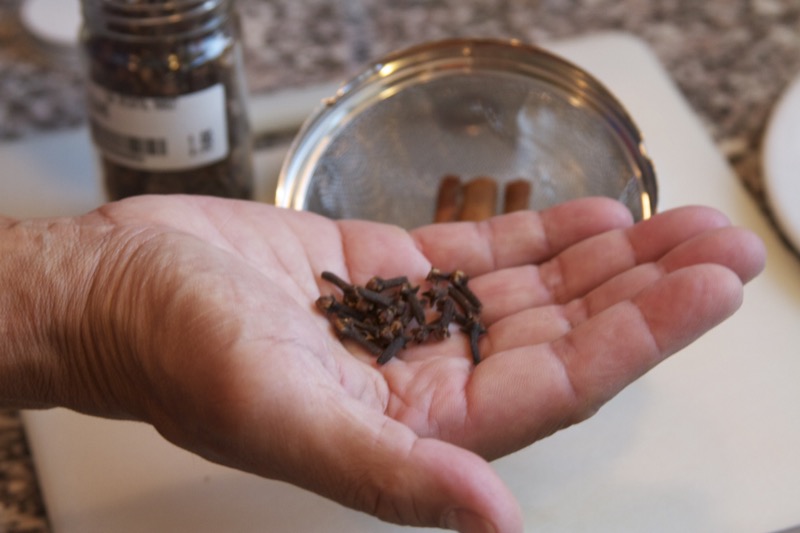
- 2 1/4 tsp whole cloves
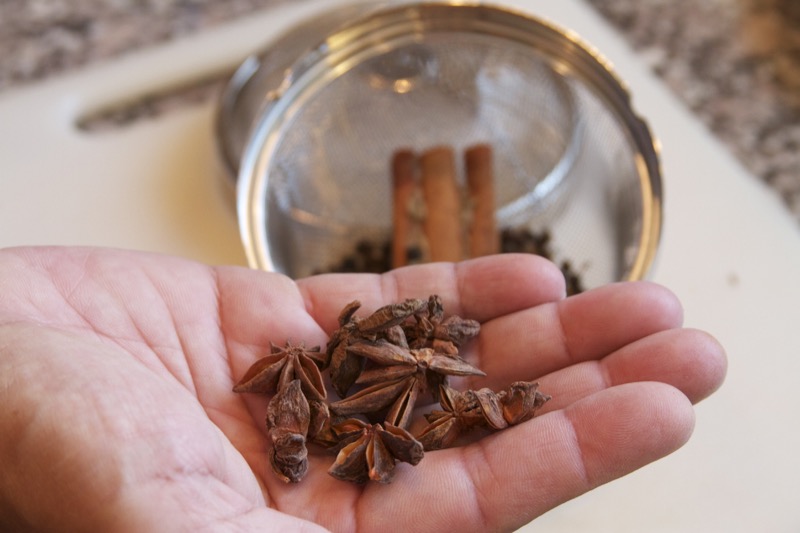
- 1 full handfuls green cardamom pods
- 1 Tbsp ground cinnamon
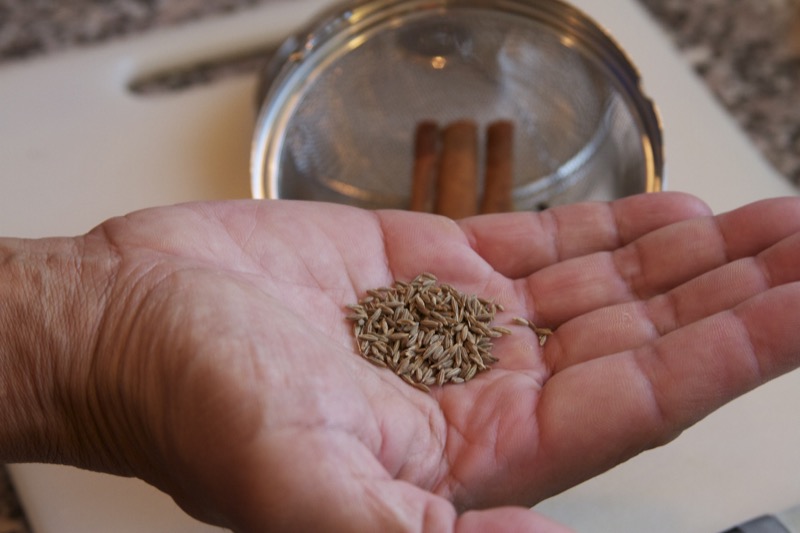
- 1 Tbsp cumin
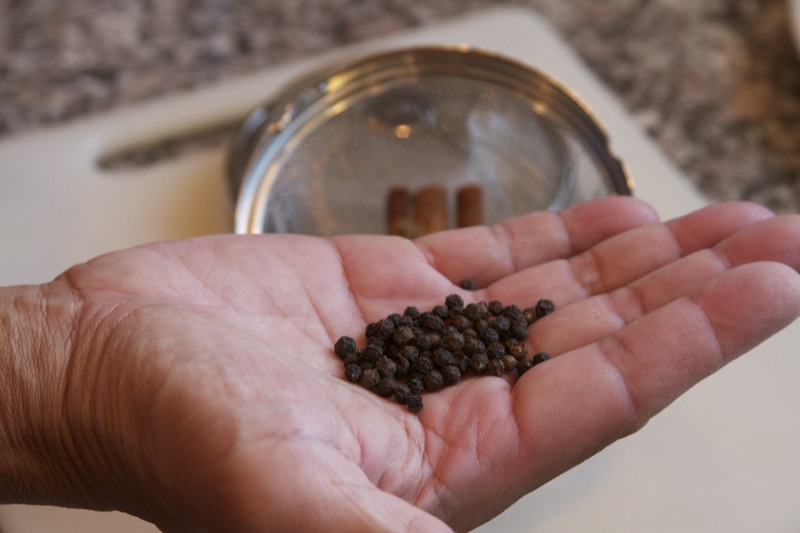
- 1/2 Tbsp black pepper
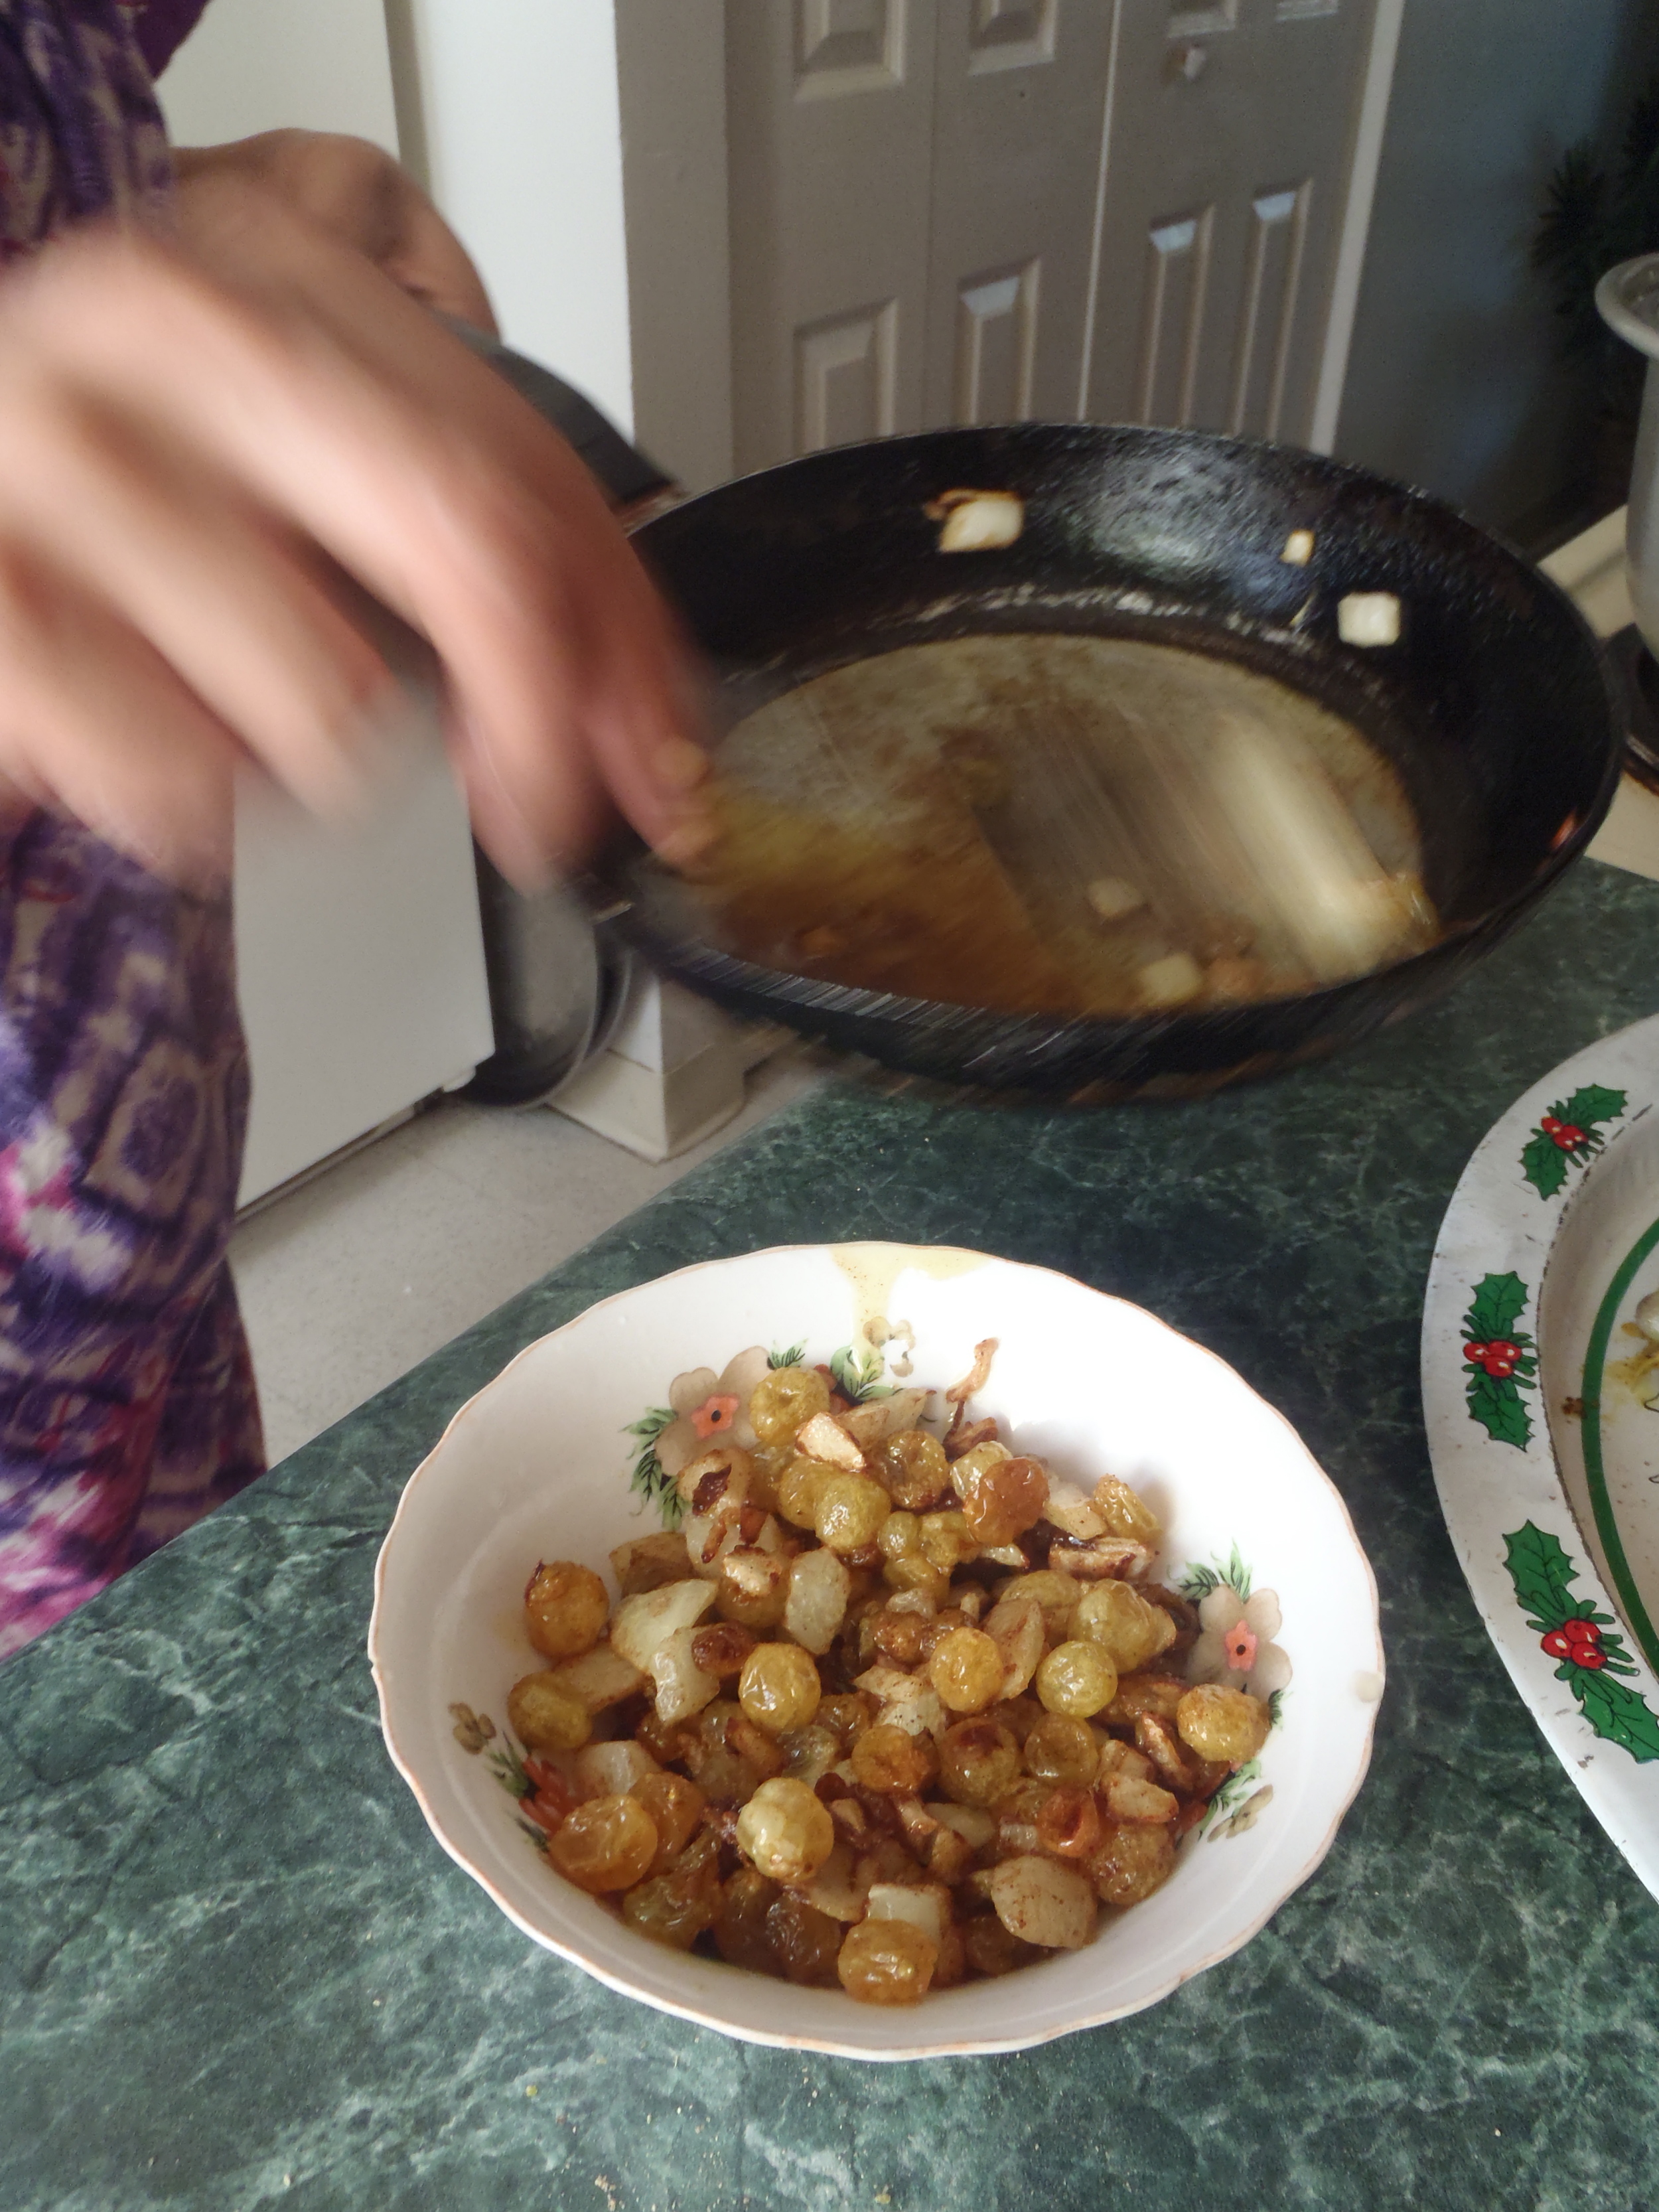
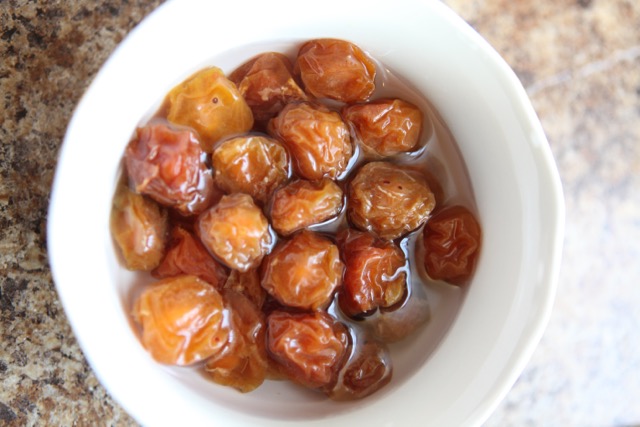
For the Raisin and onion topping:
- 1/4 cup golden raisins
- 1/4 onion, medium dice
- 3 shakes cinnamon
- 1 shake turmeric
- 2 shakes salt
Equipment
- chef knife
- cutting board
- 2 soup pots with lids
- large frying pan
- strainer and pan for underneath it or a cooling rack nextled in a pan that can catch liquid
- small frying pan
- large platter or cookie sheet
- large serving platter for rice and chicken
- tongs
- cereal bowl
Instructions
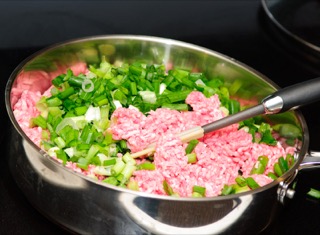
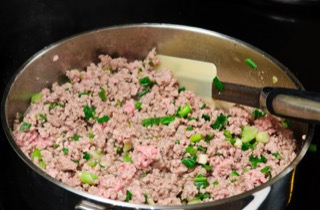
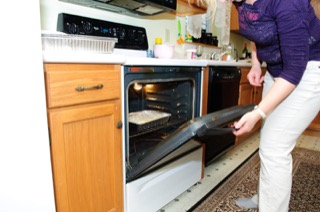
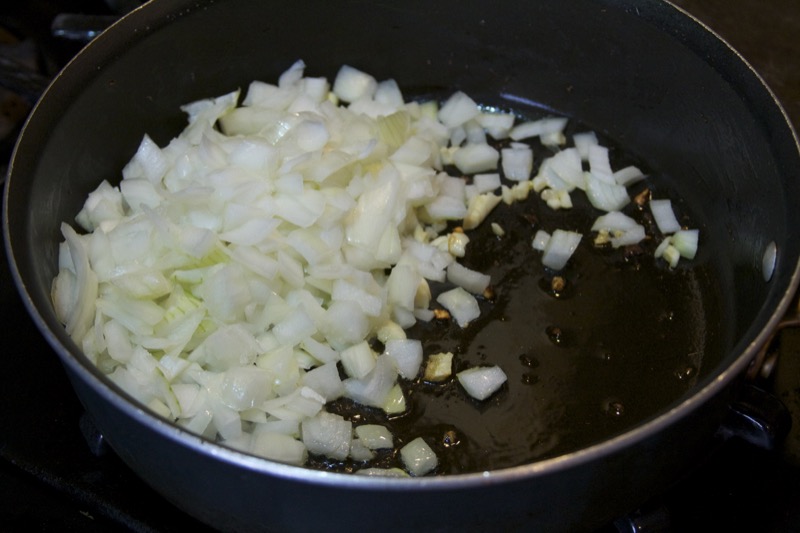
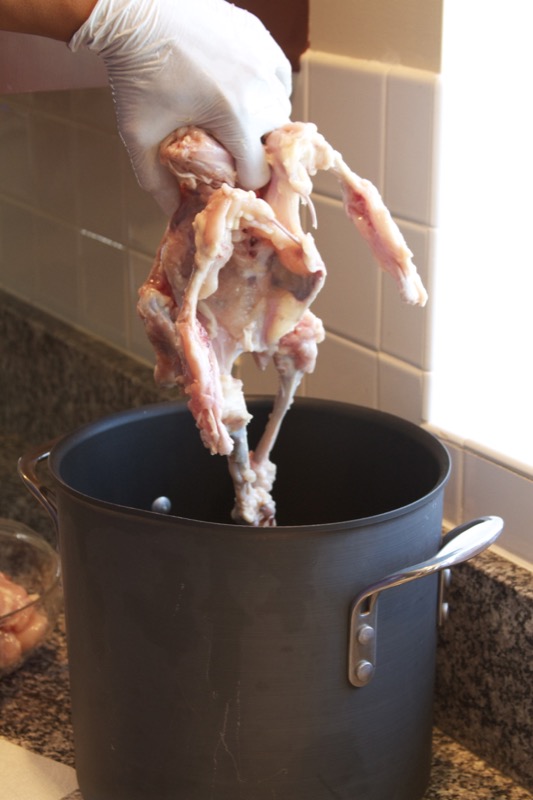
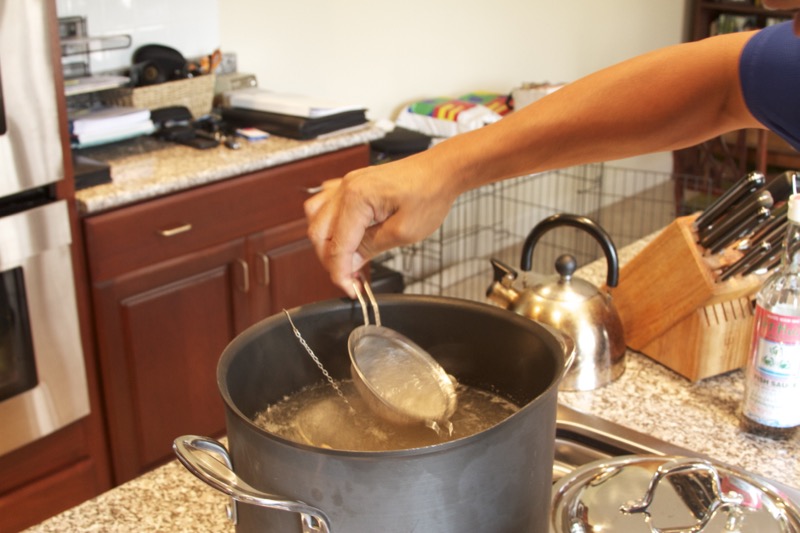
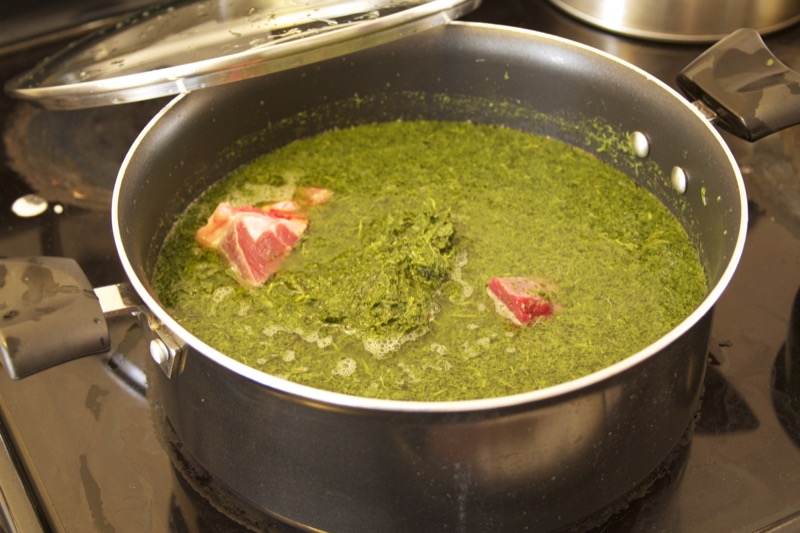
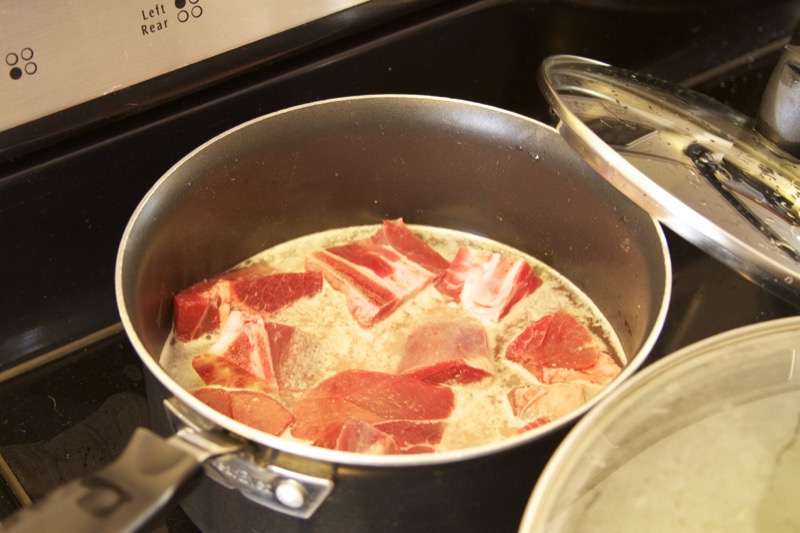
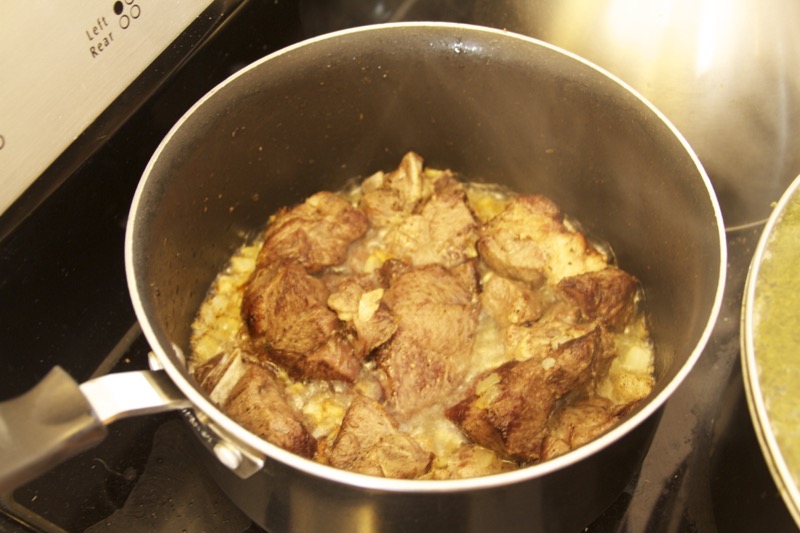
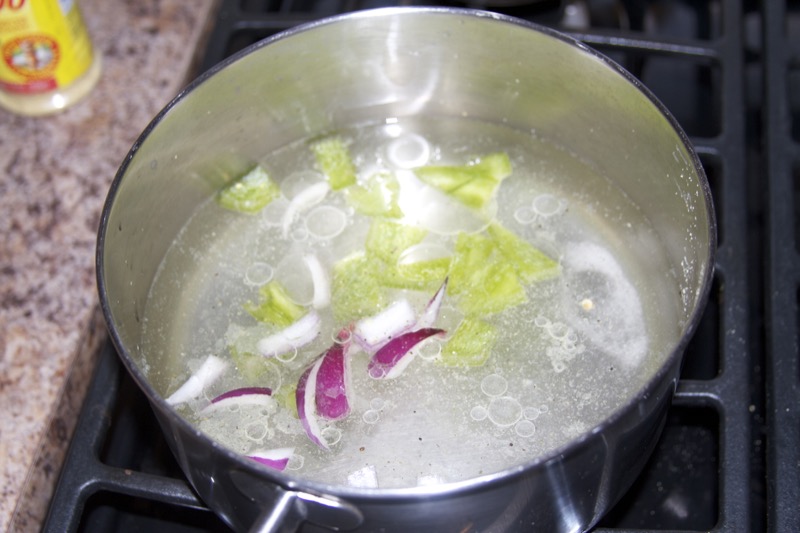
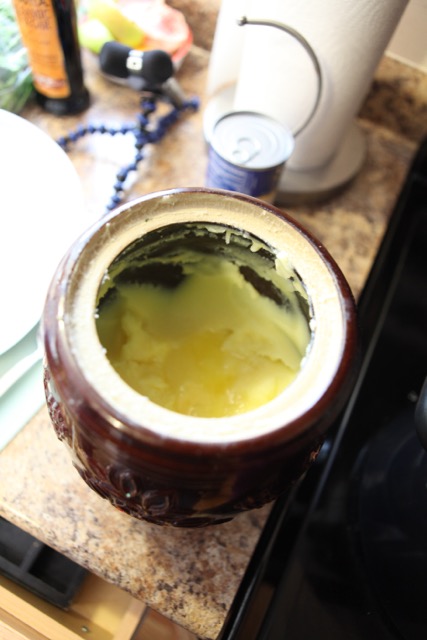
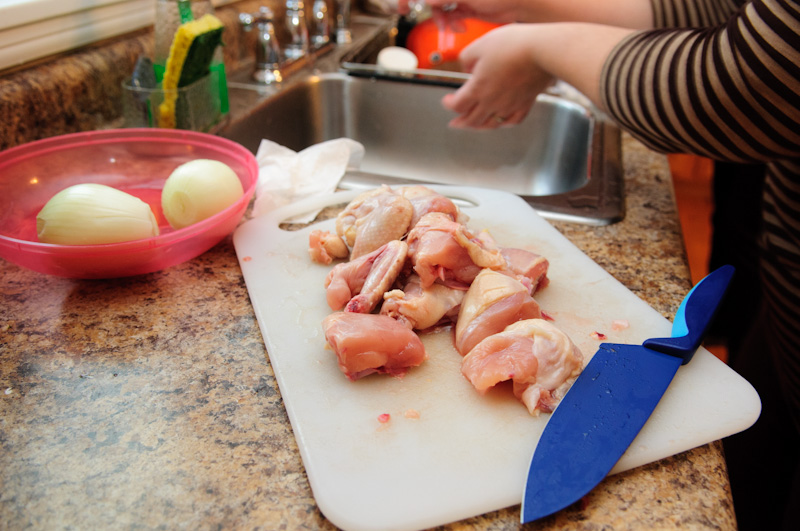
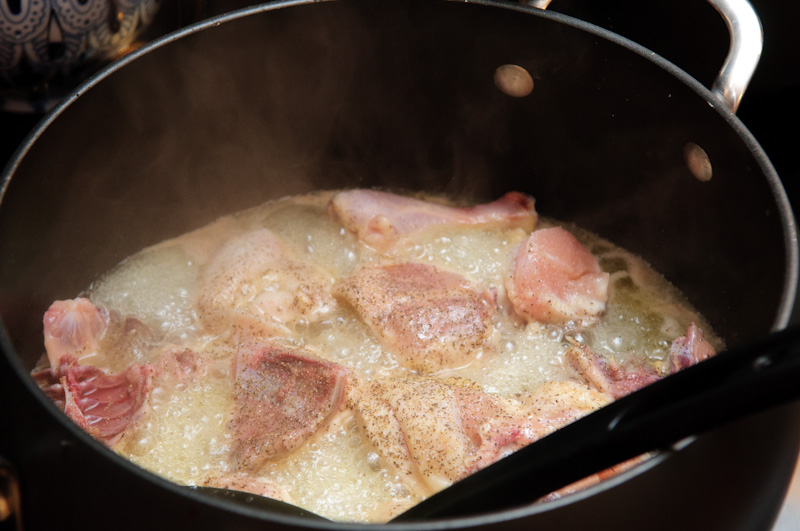
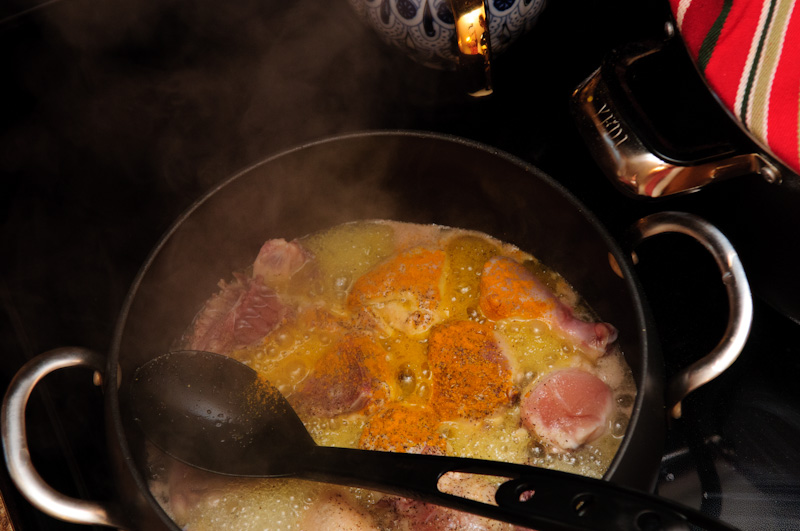
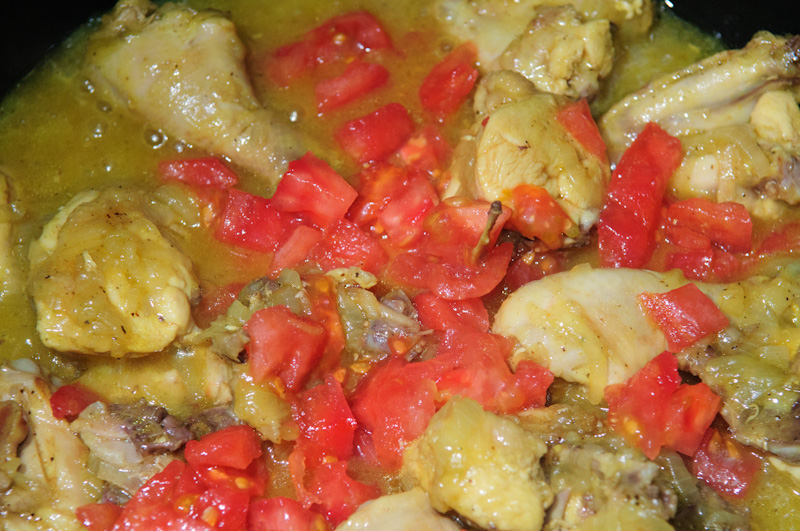
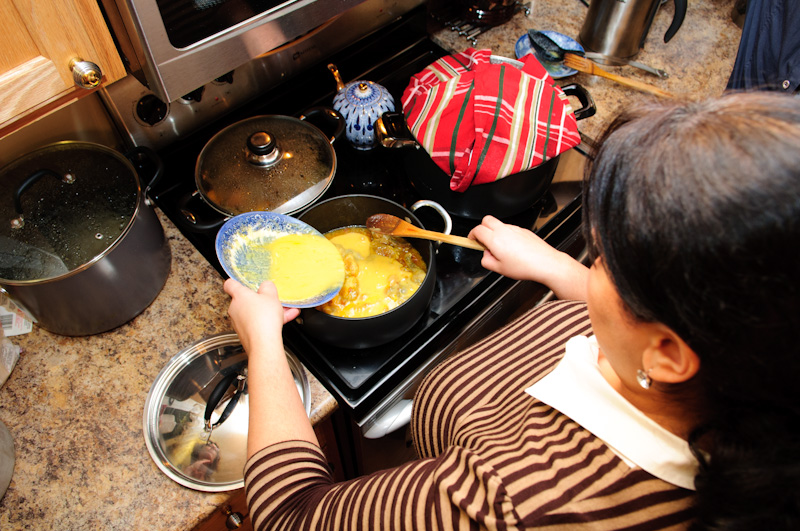
1. Get the chicken started. Split whole chicken down the breast bone to open up the cavity. Rinse splayed chicken with cold water. Put the whole bird in a large soup pot with lid on medium high (she used a special pot she called a gidduh, but my soup pot worked fine). Add to the pot, 1/4 cup oil, and onto the chicken: 1/4 chopped yellow onion, 1 tsp madras curry powder, generous sprinkle of turmeric, 1 toasted lime, 1 cinnamon stick, 1 Tbsp lemon pepper, 2 Tbsp Kosher salt, and 6 green cardamom pods. Let chicken cook with oil in spices with lid on for ten minutes, then add water until it’s 1 inch below the top of the chicken. Cook covered until chicken is cooked through (about 40 minutes).
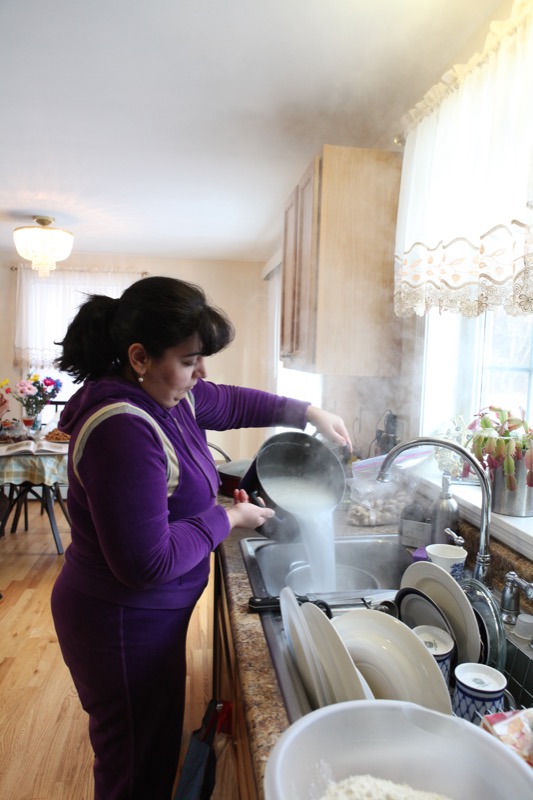
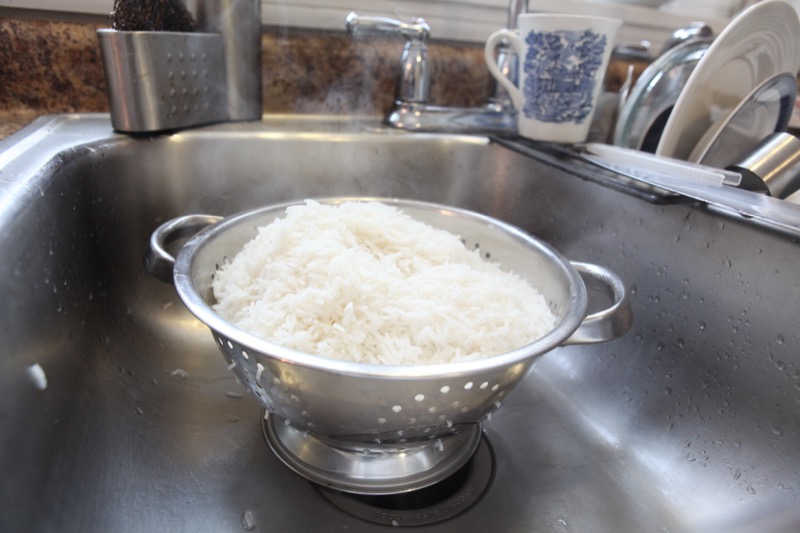
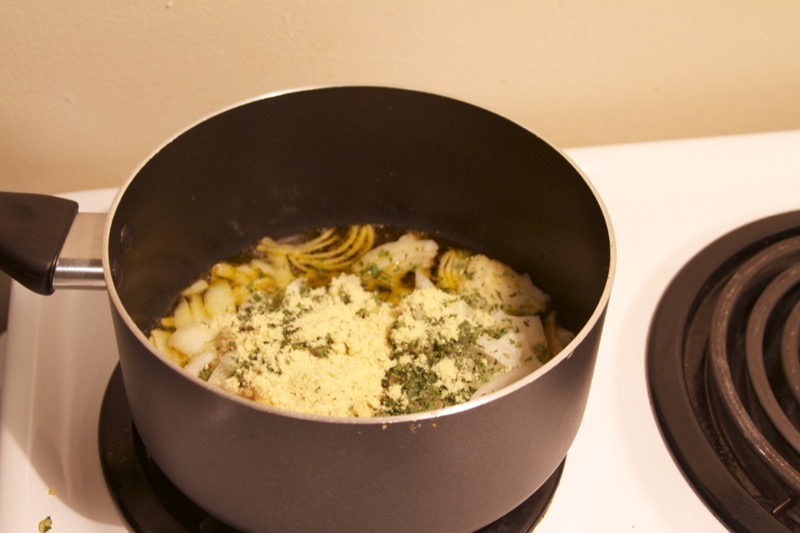
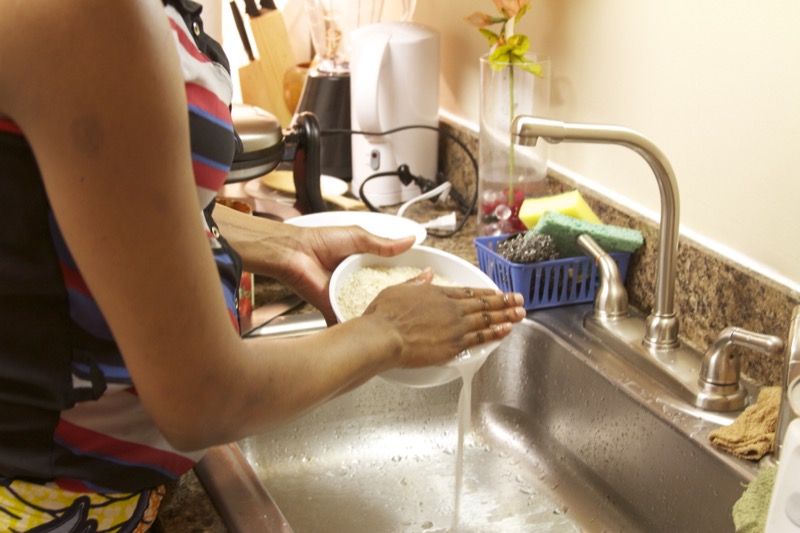
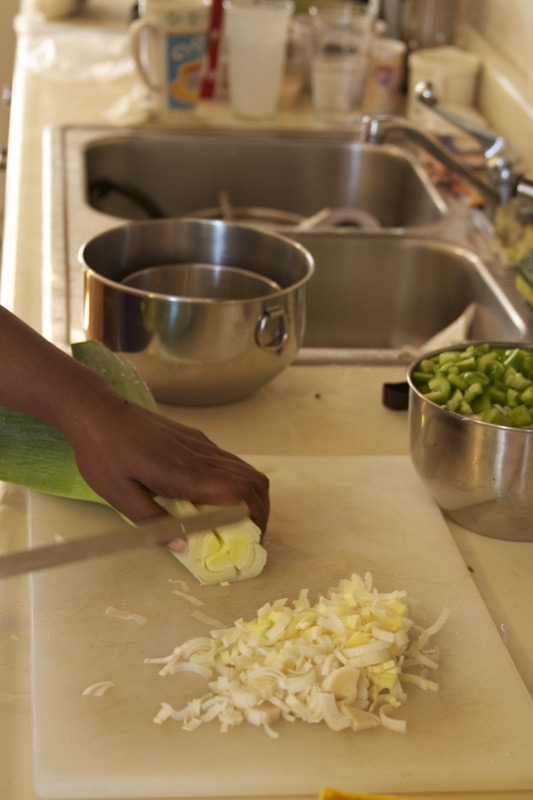
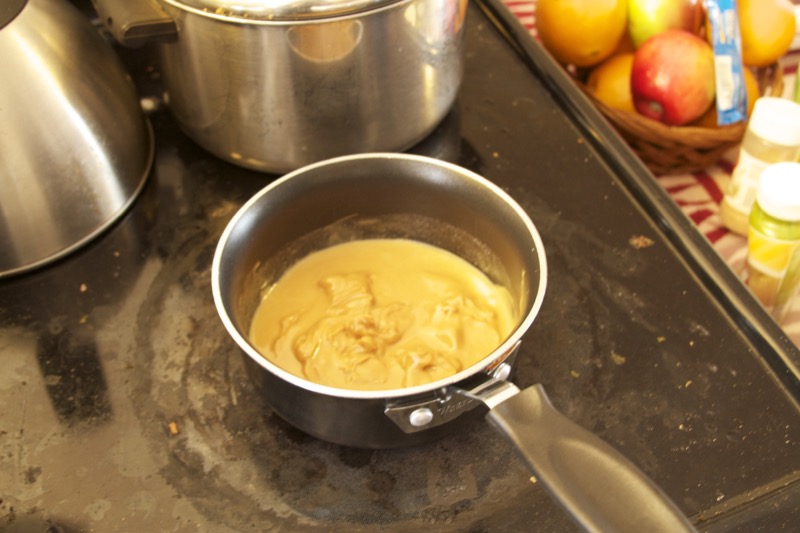
2. Do some prep work while chicken is cooking, make the spice mixture for the rice, called bar timon. Blend in spice grinder: 1/4 cup cardamom pods, 2 1/4 tsp cloves, 1 Tbsp ground cinnamon, 1 Tbsp cumin, and 1/2 Tbsp black pepper. Cover rice with water and strain three times so the water stops turning cloudy. Let it drip dry in the strainer for 20 minutes. In a small dish, cover the golden raisins with water to plump.
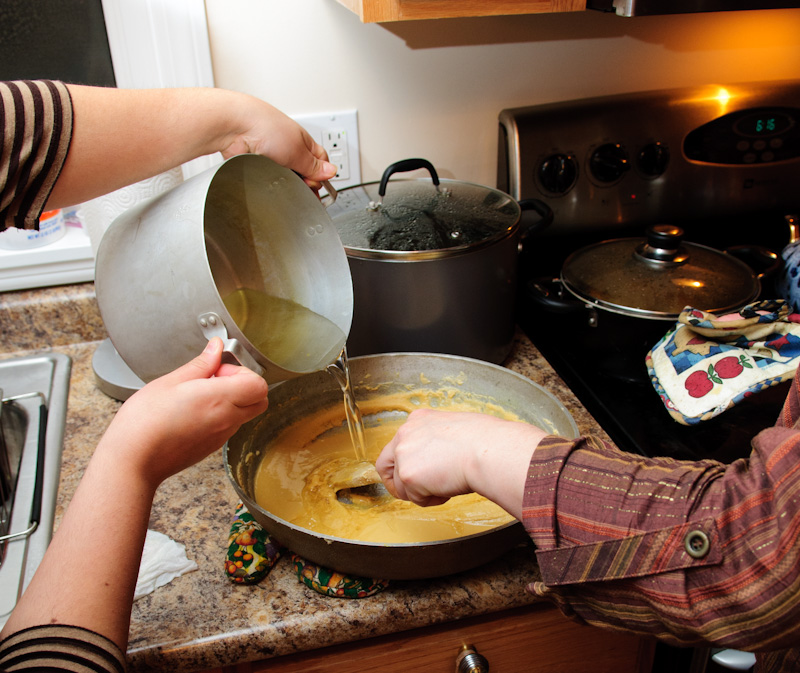
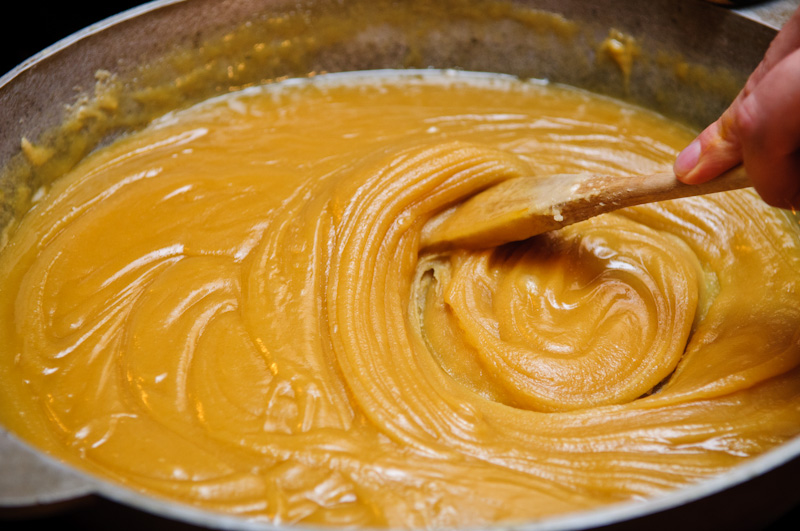
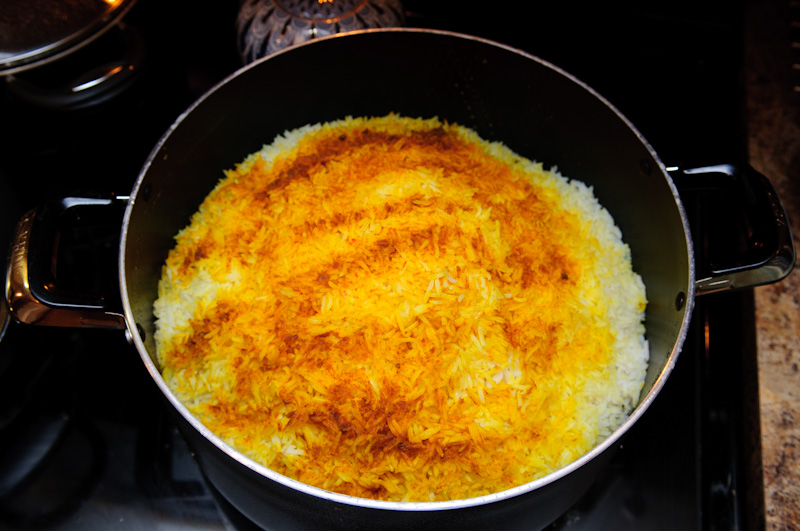
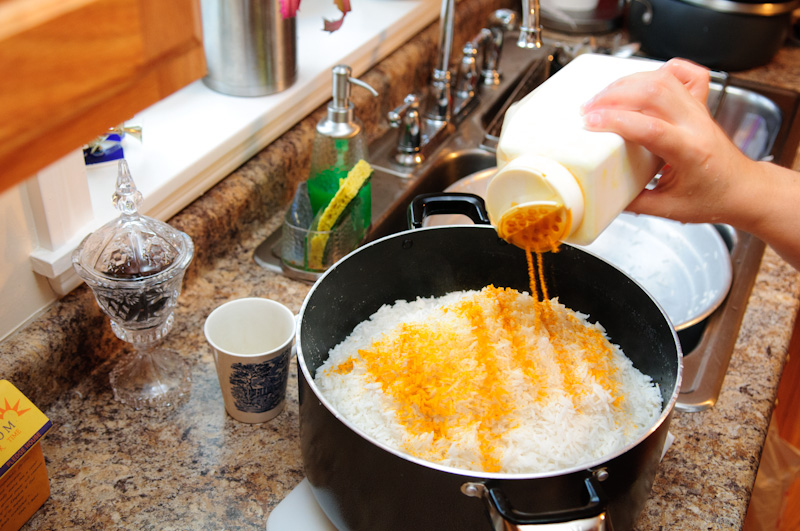
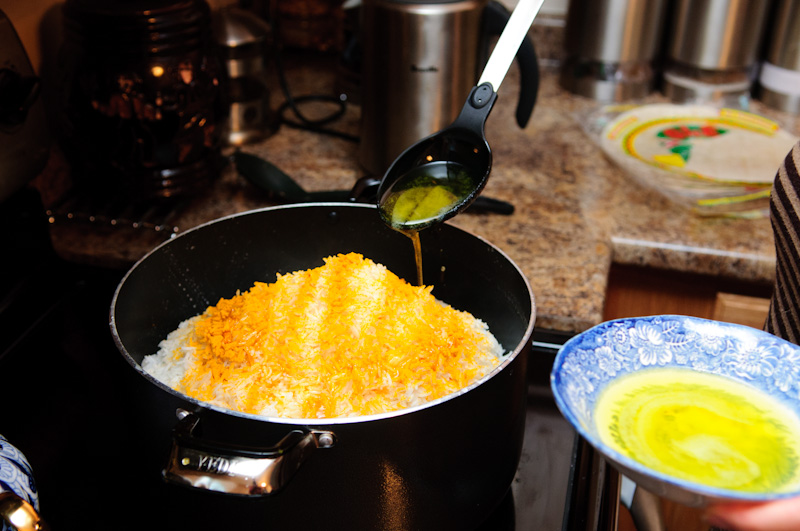
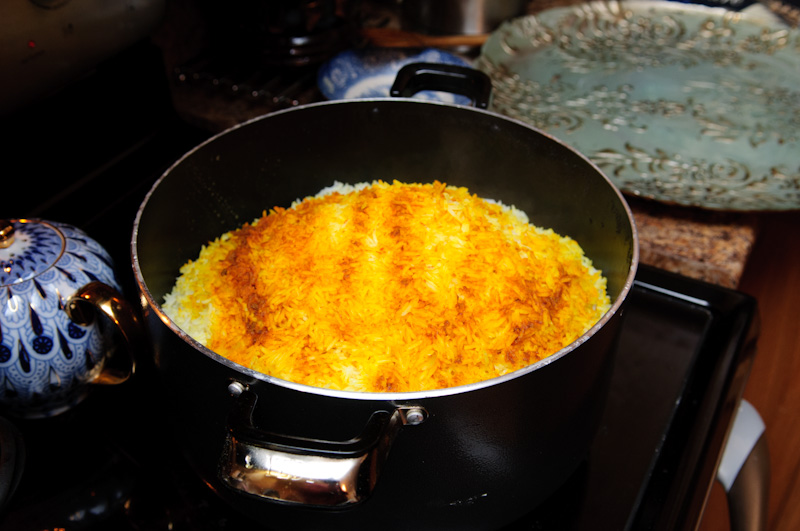
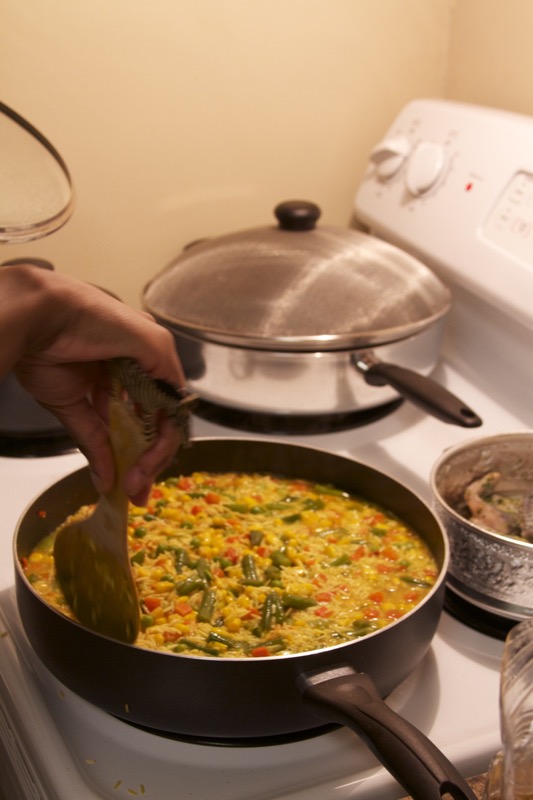
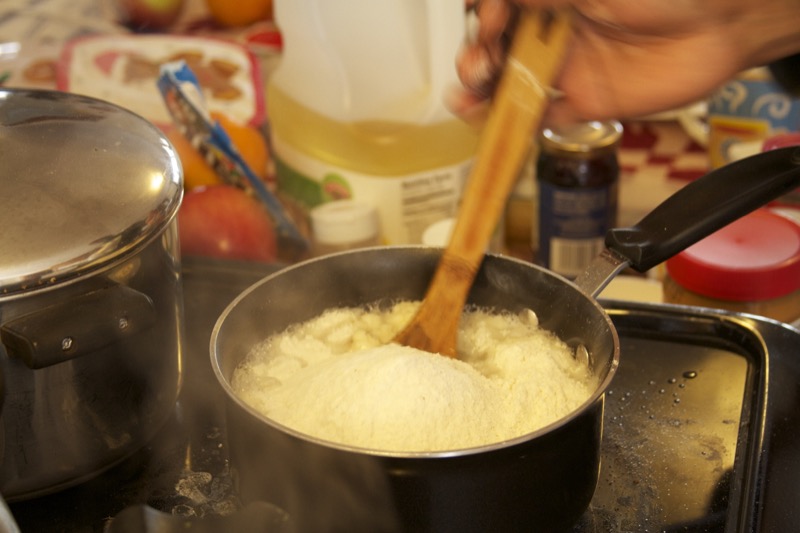
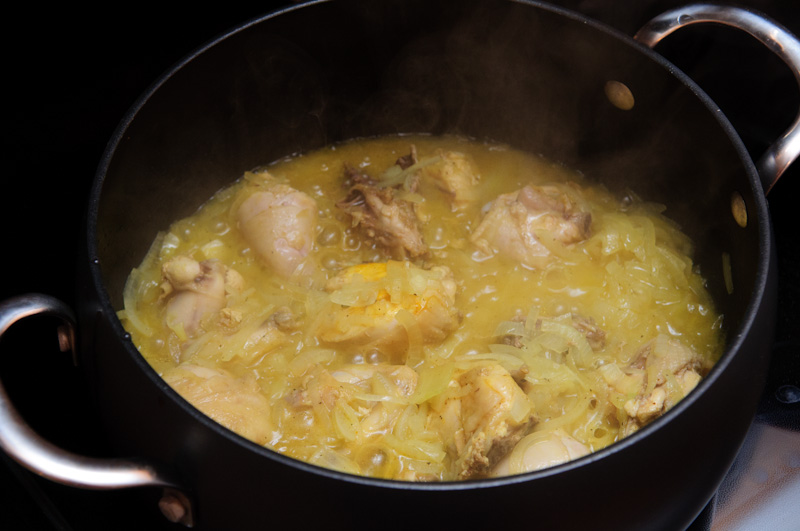
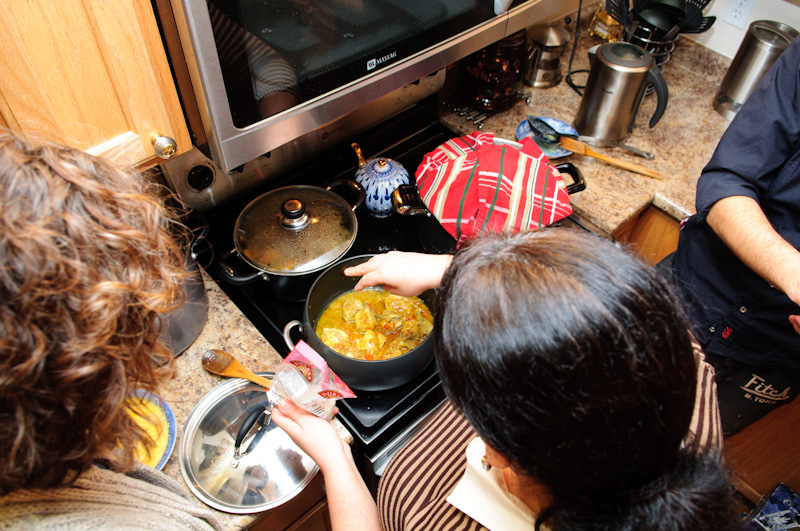
3. Get the rice started. Once the chicken has cooked through in the broth, remove the chicken from the broth and put it on rack nestled in a shallow pan to drip dry. Put 2 Tbsp vegetable oil back in the bottom of the emptied pot on medium high. Once hot, add vermicelli noodles if using and toast until they turn reddish brown. Add the rice, 1/2 tsp of the bar timon spice mixture (store what’s left for when you make this again), 1/2 tsp turmeric, and 1 tsp salt, stir and let the rice soak in the oils for a couple minutes, stirring. Then add 1 cup of the reserved seasoned chicken broth and enough water (about 3 cups) so that the rice is covered by 1/2 inch of liquid. Cook on high. Once the water has disappeared from the rice (ten minutes), then put the lid on tightly (she put a plastic bag over the opening to seal in moisture but I don't like cooking with plastic so I left this off). Turn to low heat for another ten minutes.
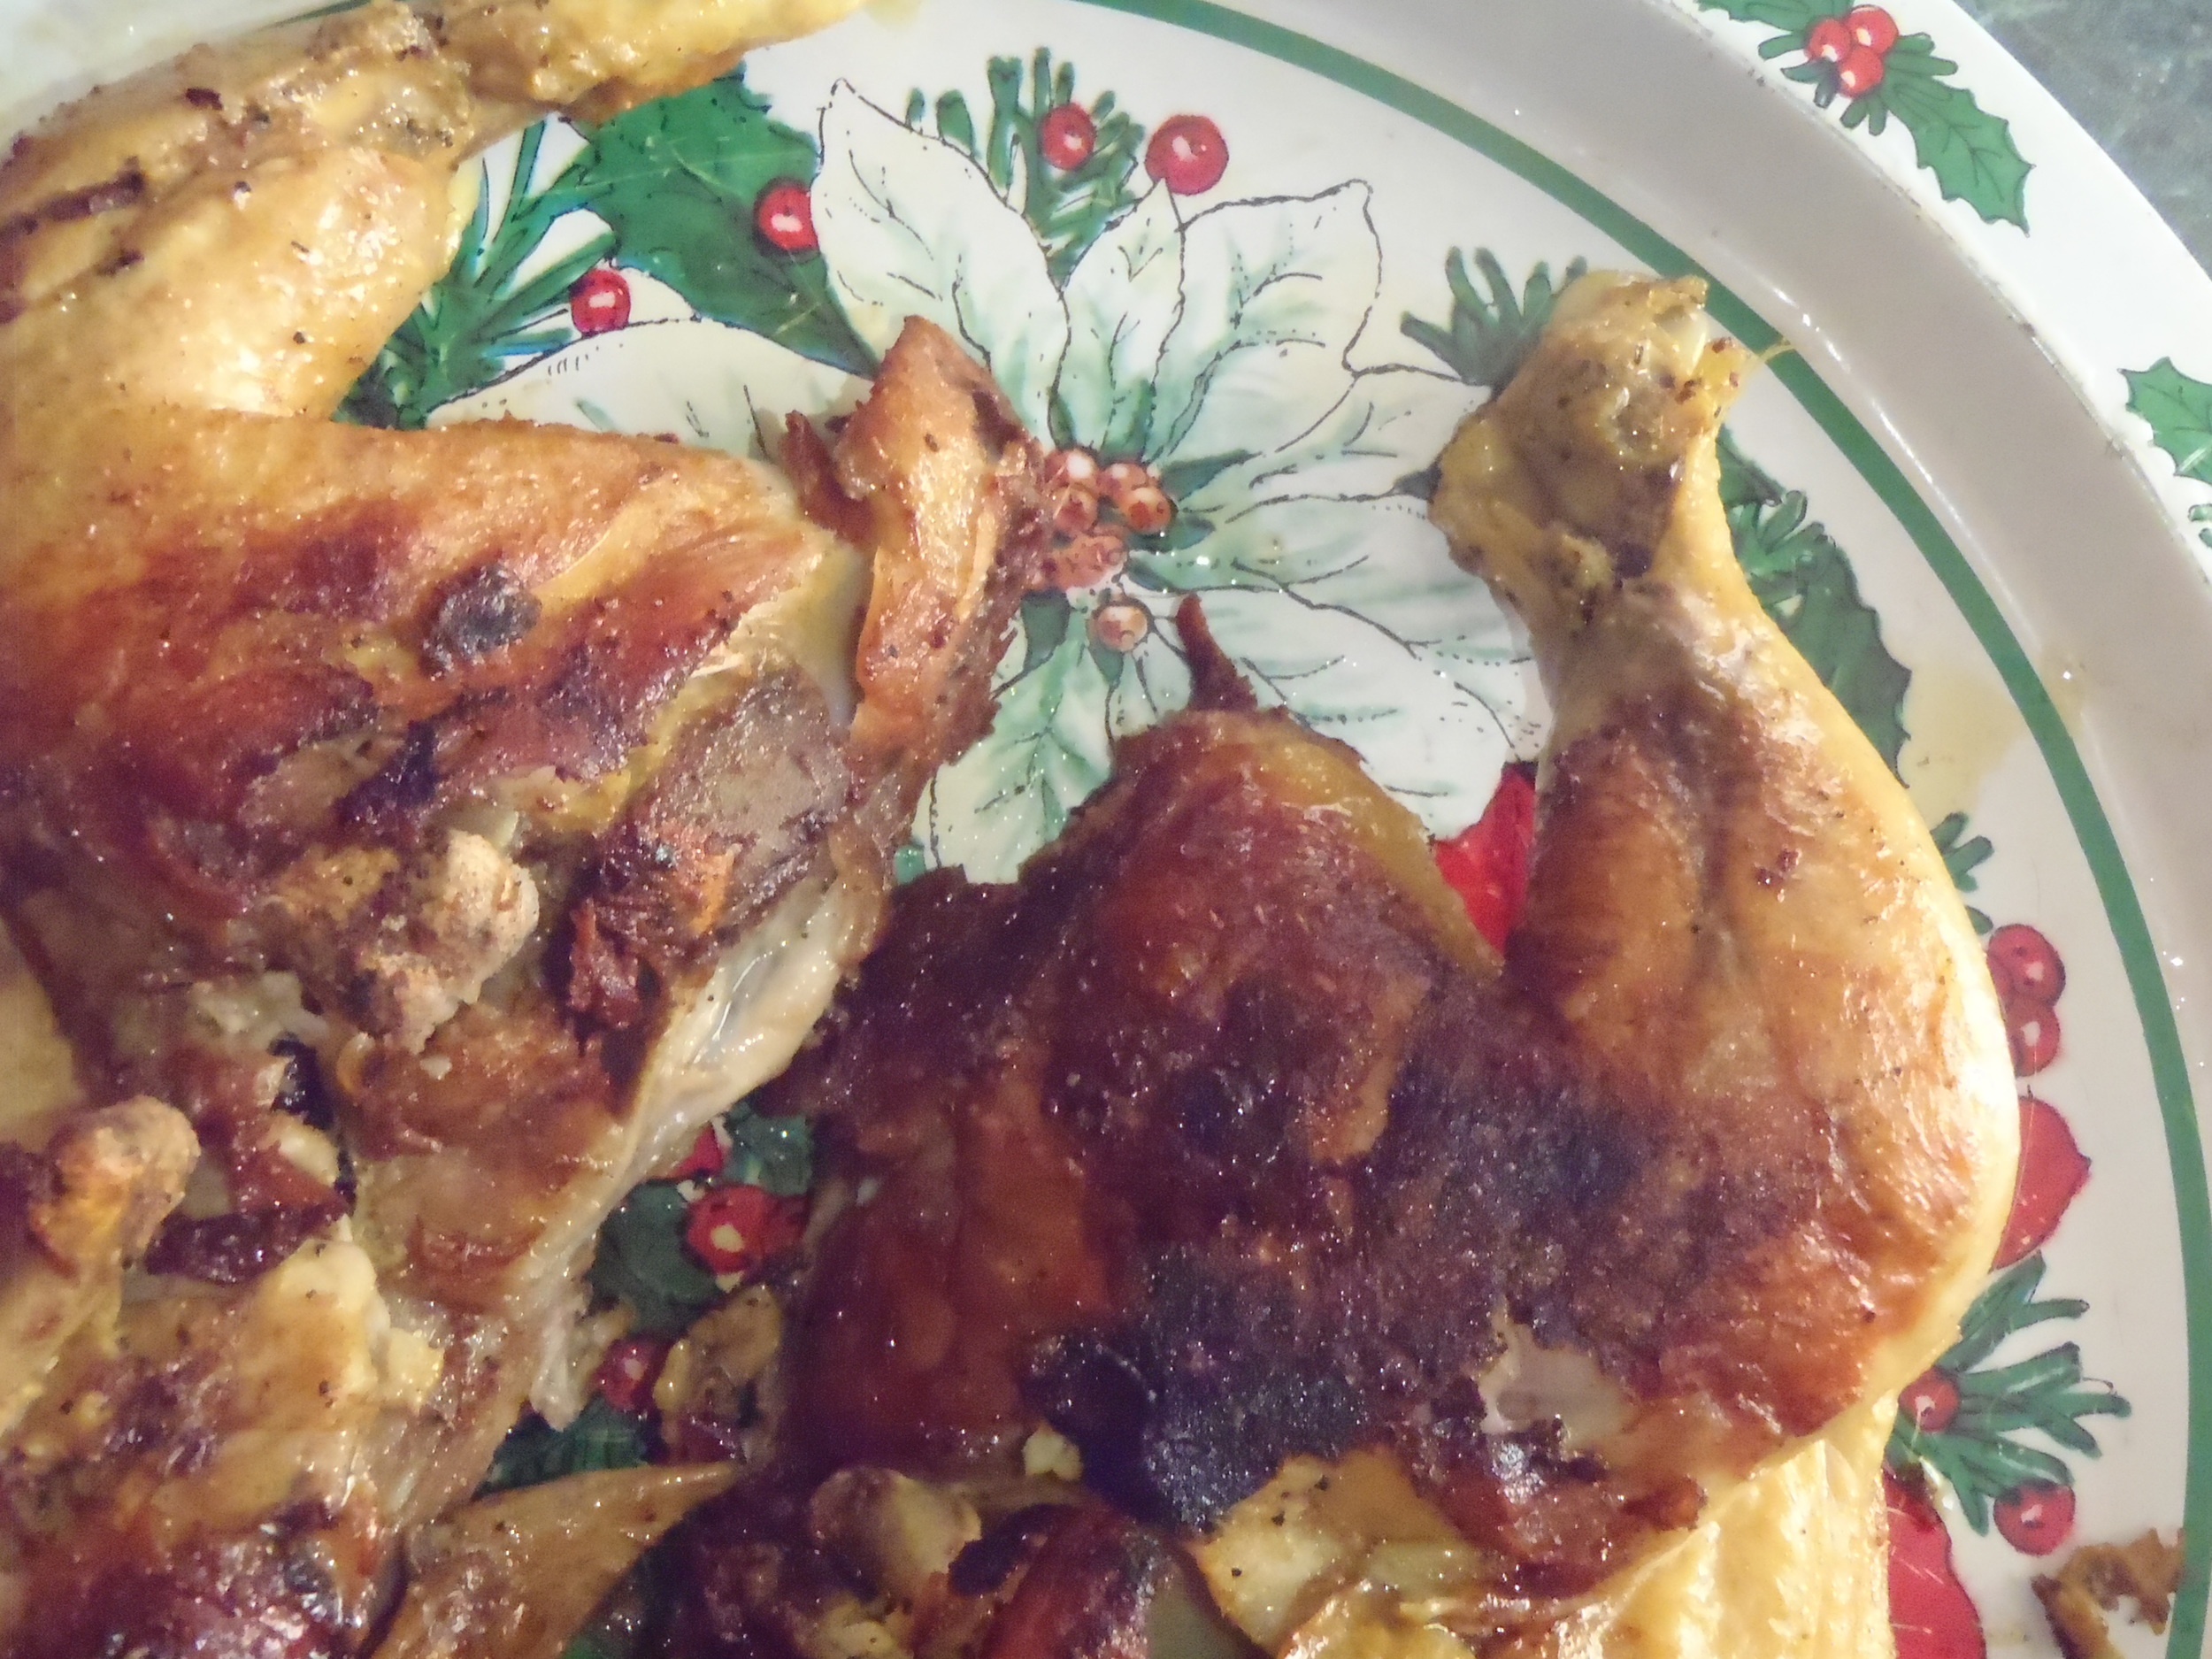
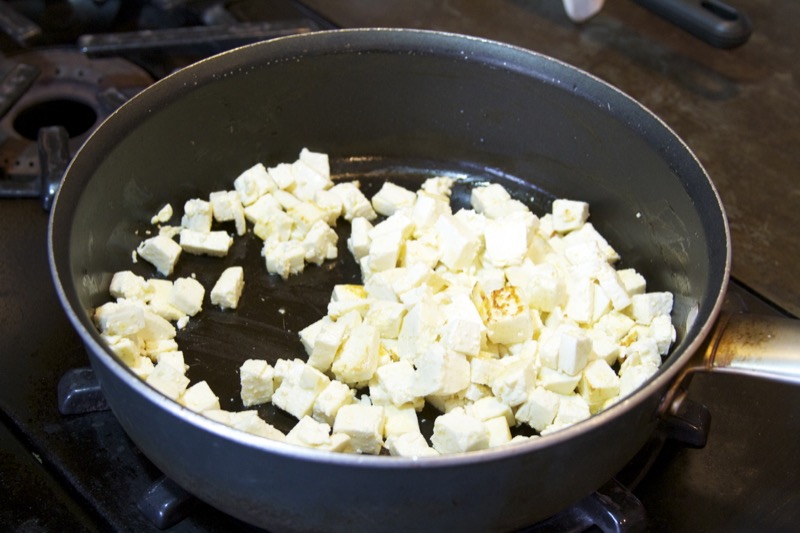
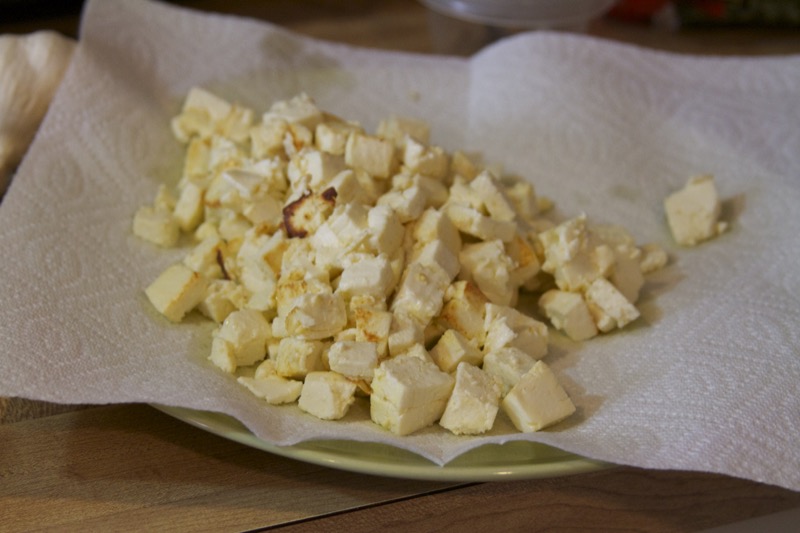
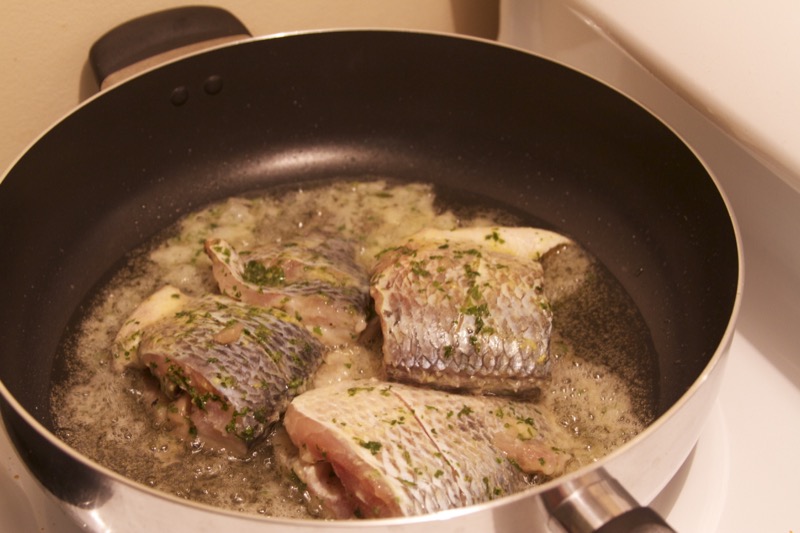
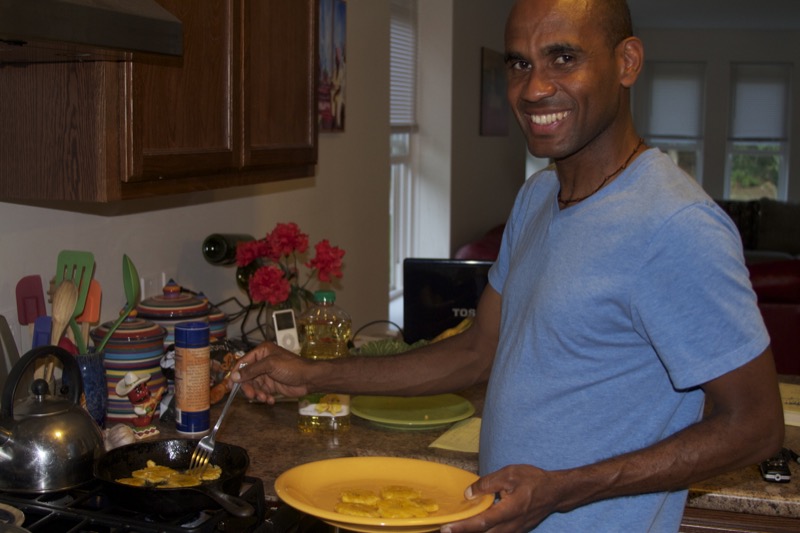
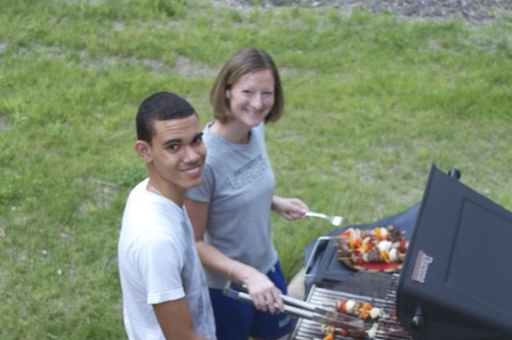
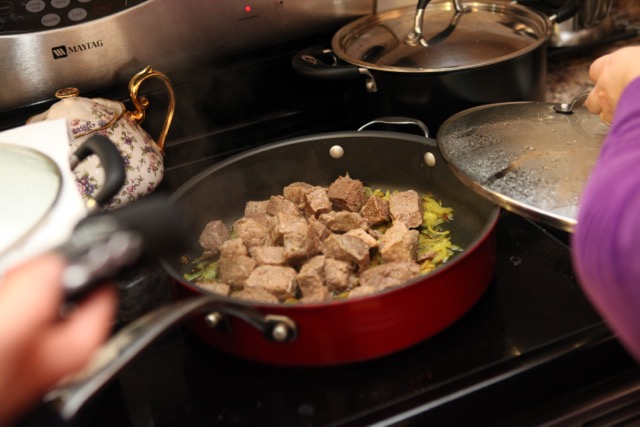
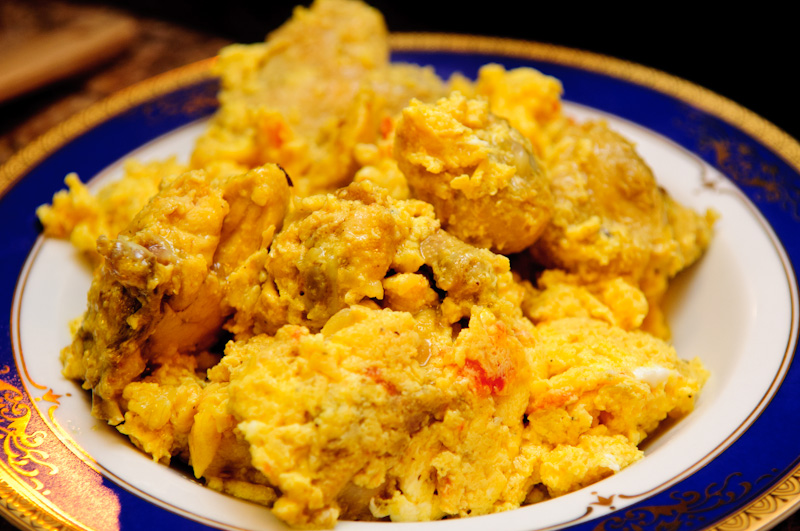
4. Shallow-fry the chicken. When the rest of the meal is almost finished, shallow-fry the chicken which has drained and drip-dried. She used a wok with oil 1/4 inch deep on medium-high heat. I've used a large iron skillet with oil 1/4 inch deep. Wear long sleeves because any drips from the chicken will pop and splatter in the hot oil. Make sure the oil is hot but not smoking before you put the chicken in. When the chicken turns golden on one side, flip it so that both sides become nicely colored. The combination of soft, boiled chicken with fried exterior pieces is divine.
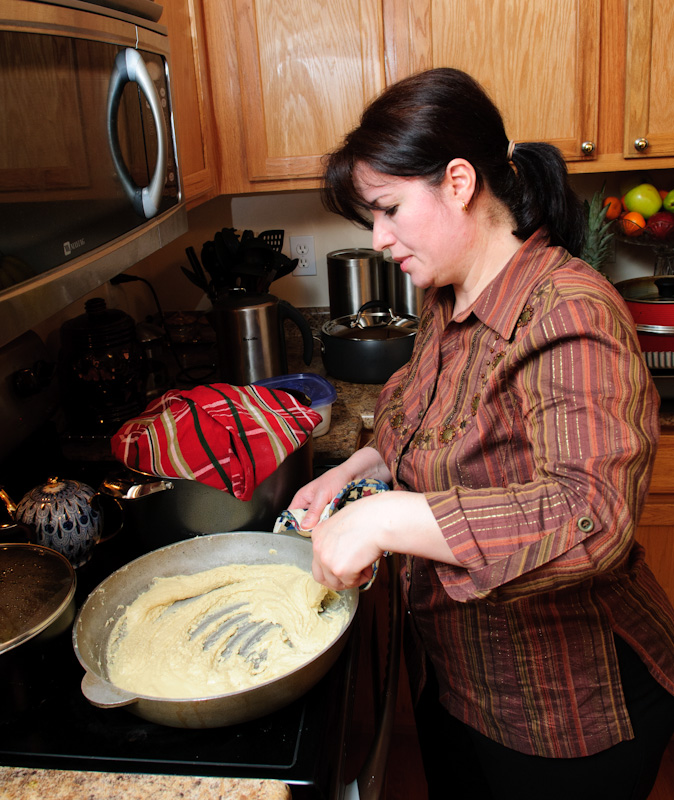
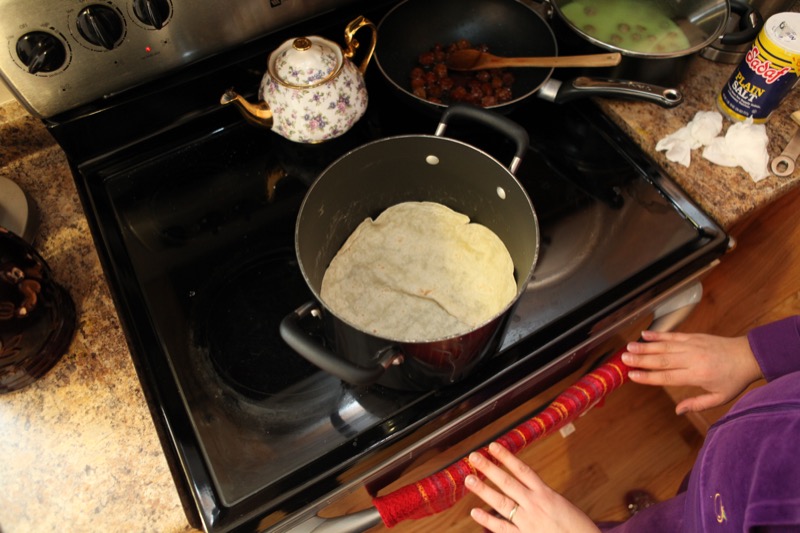
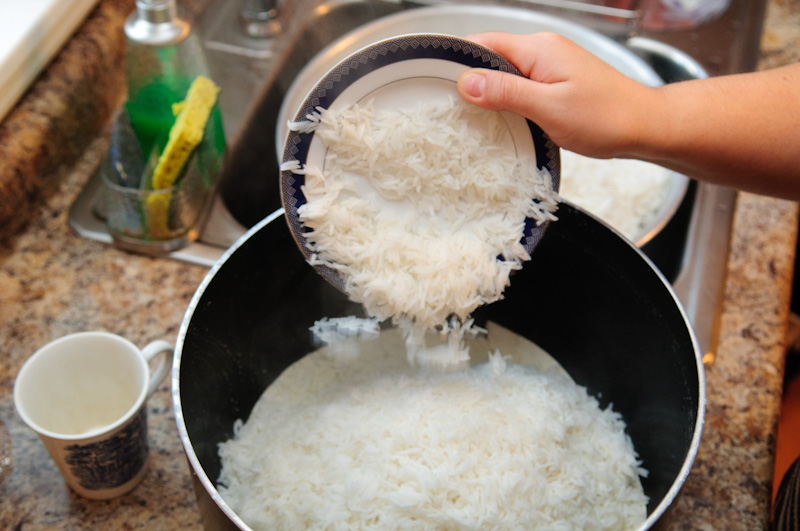
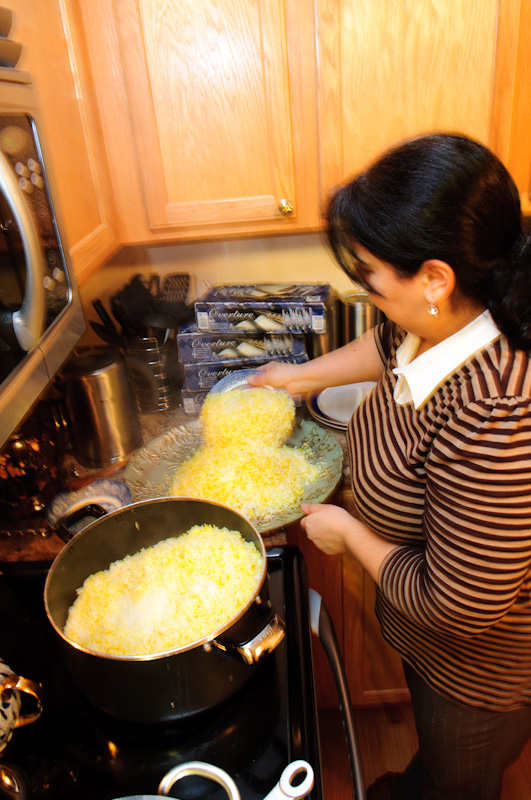
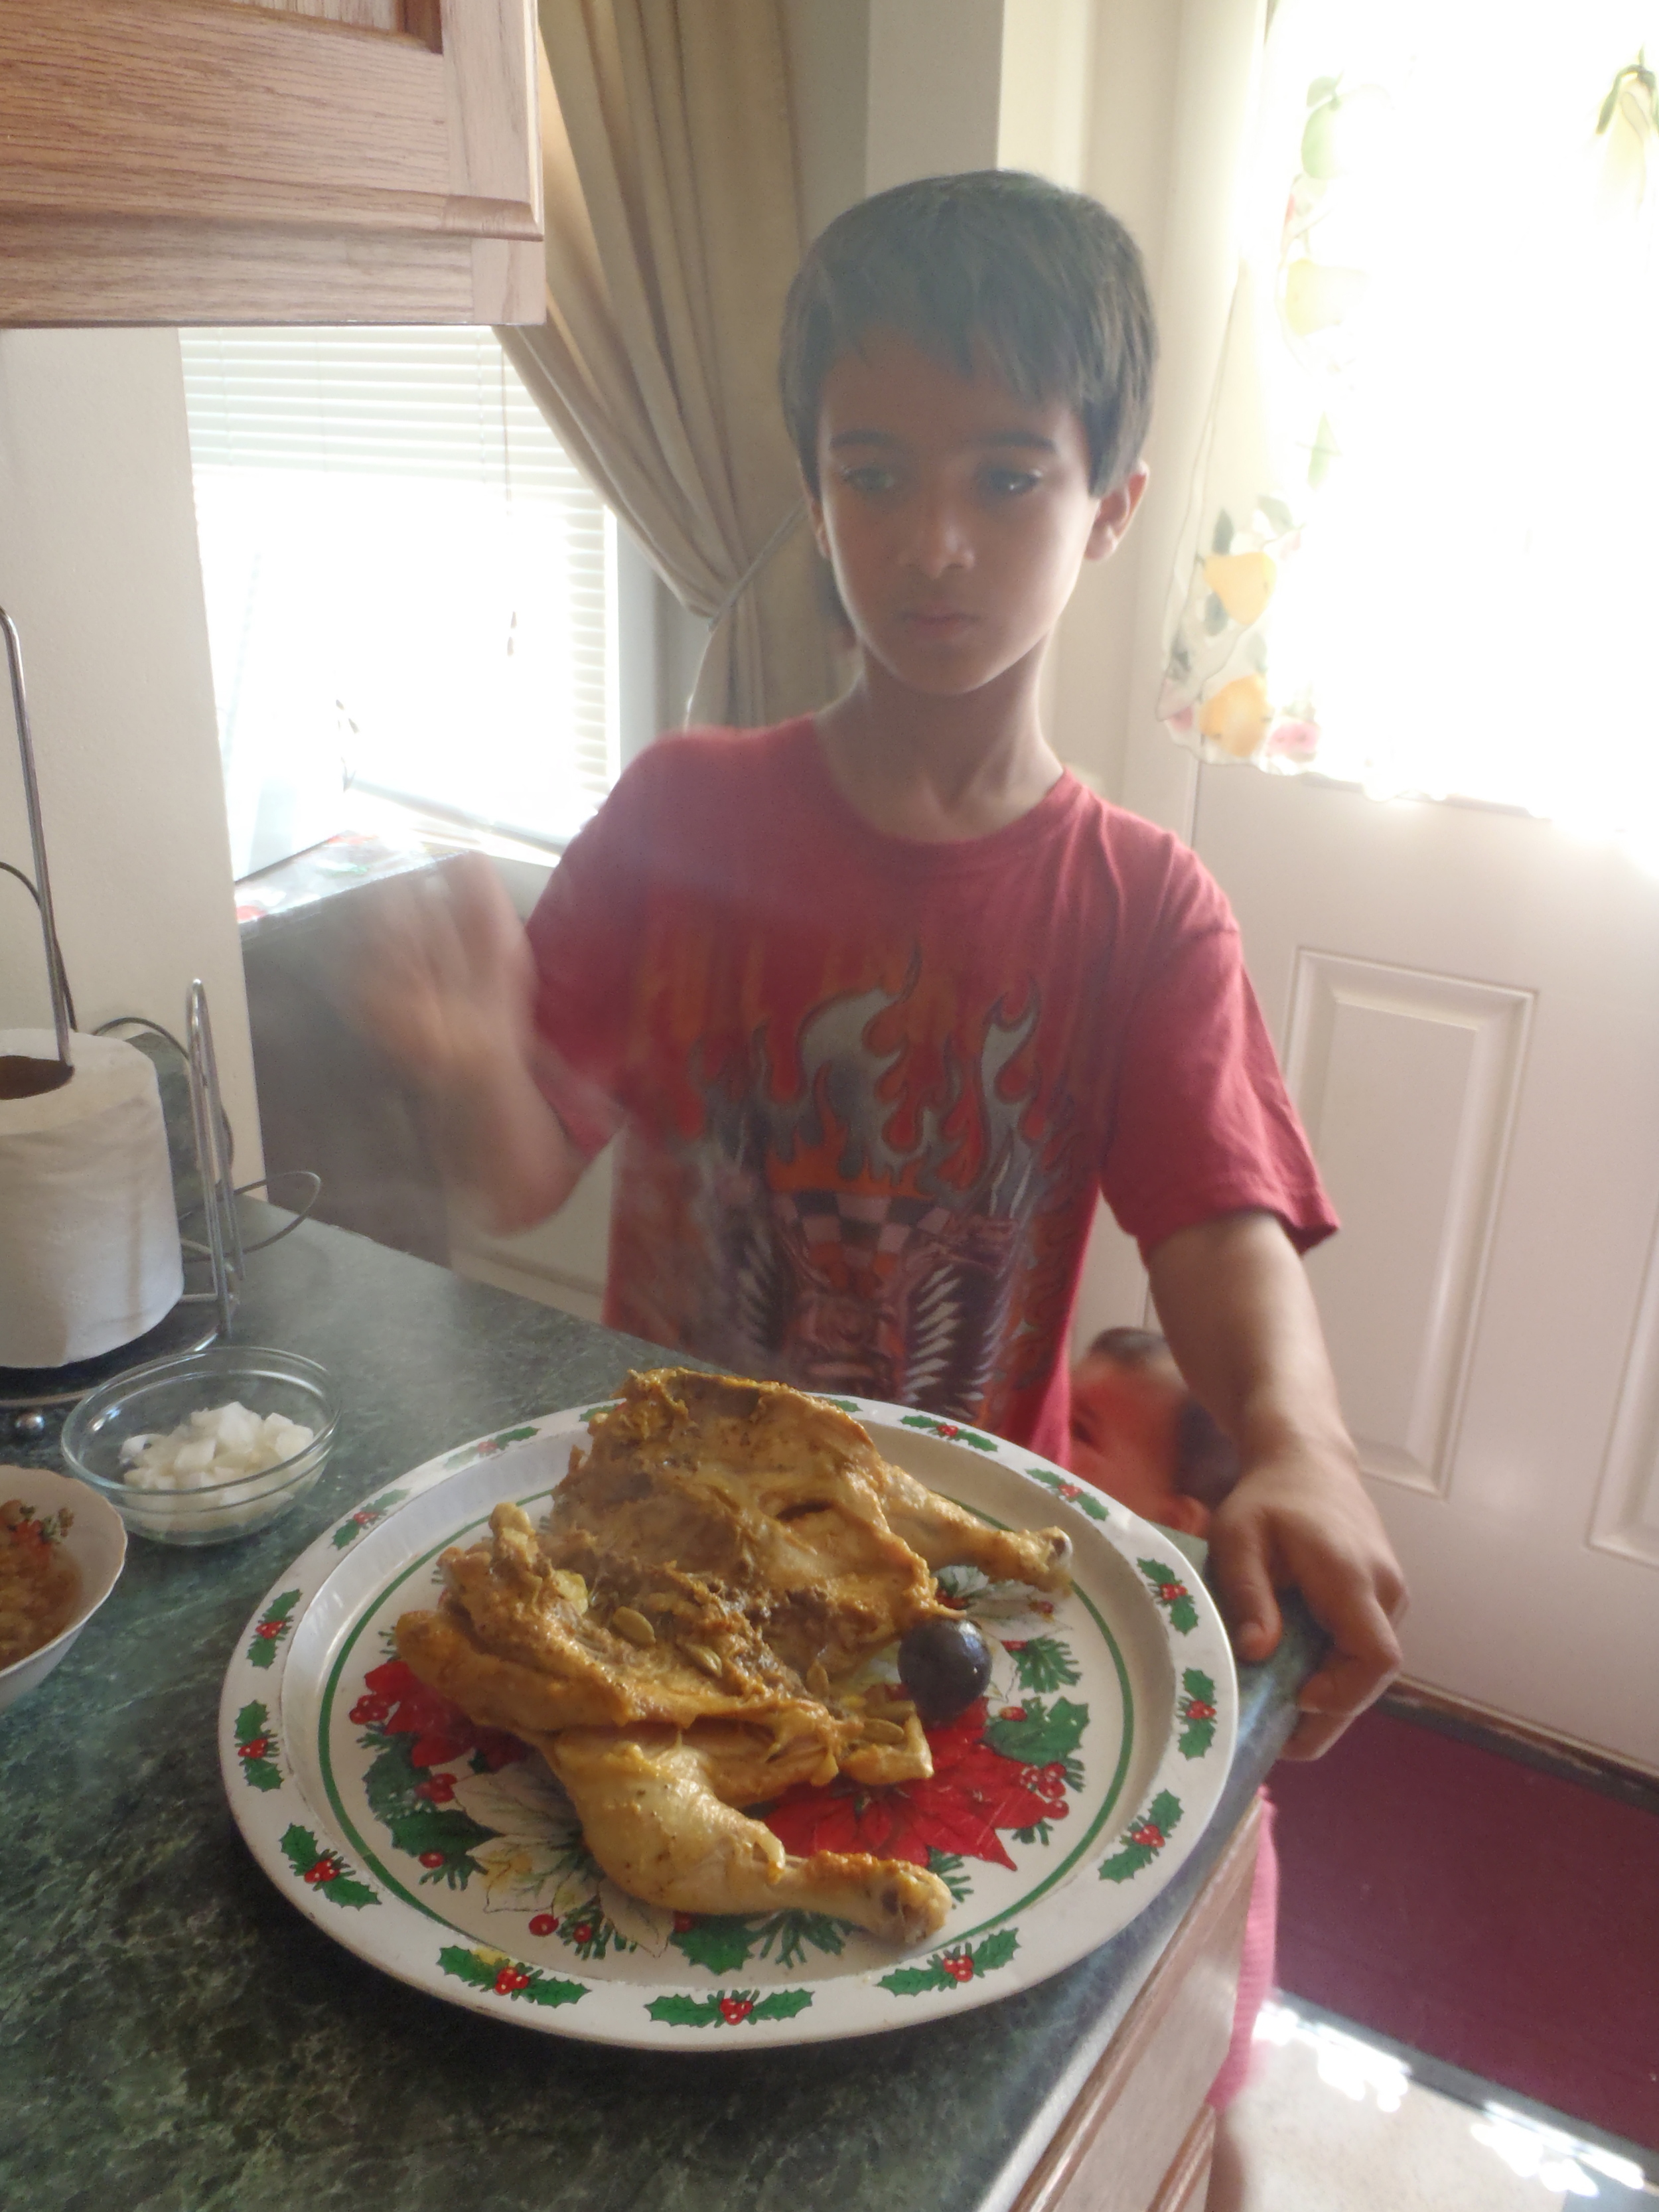
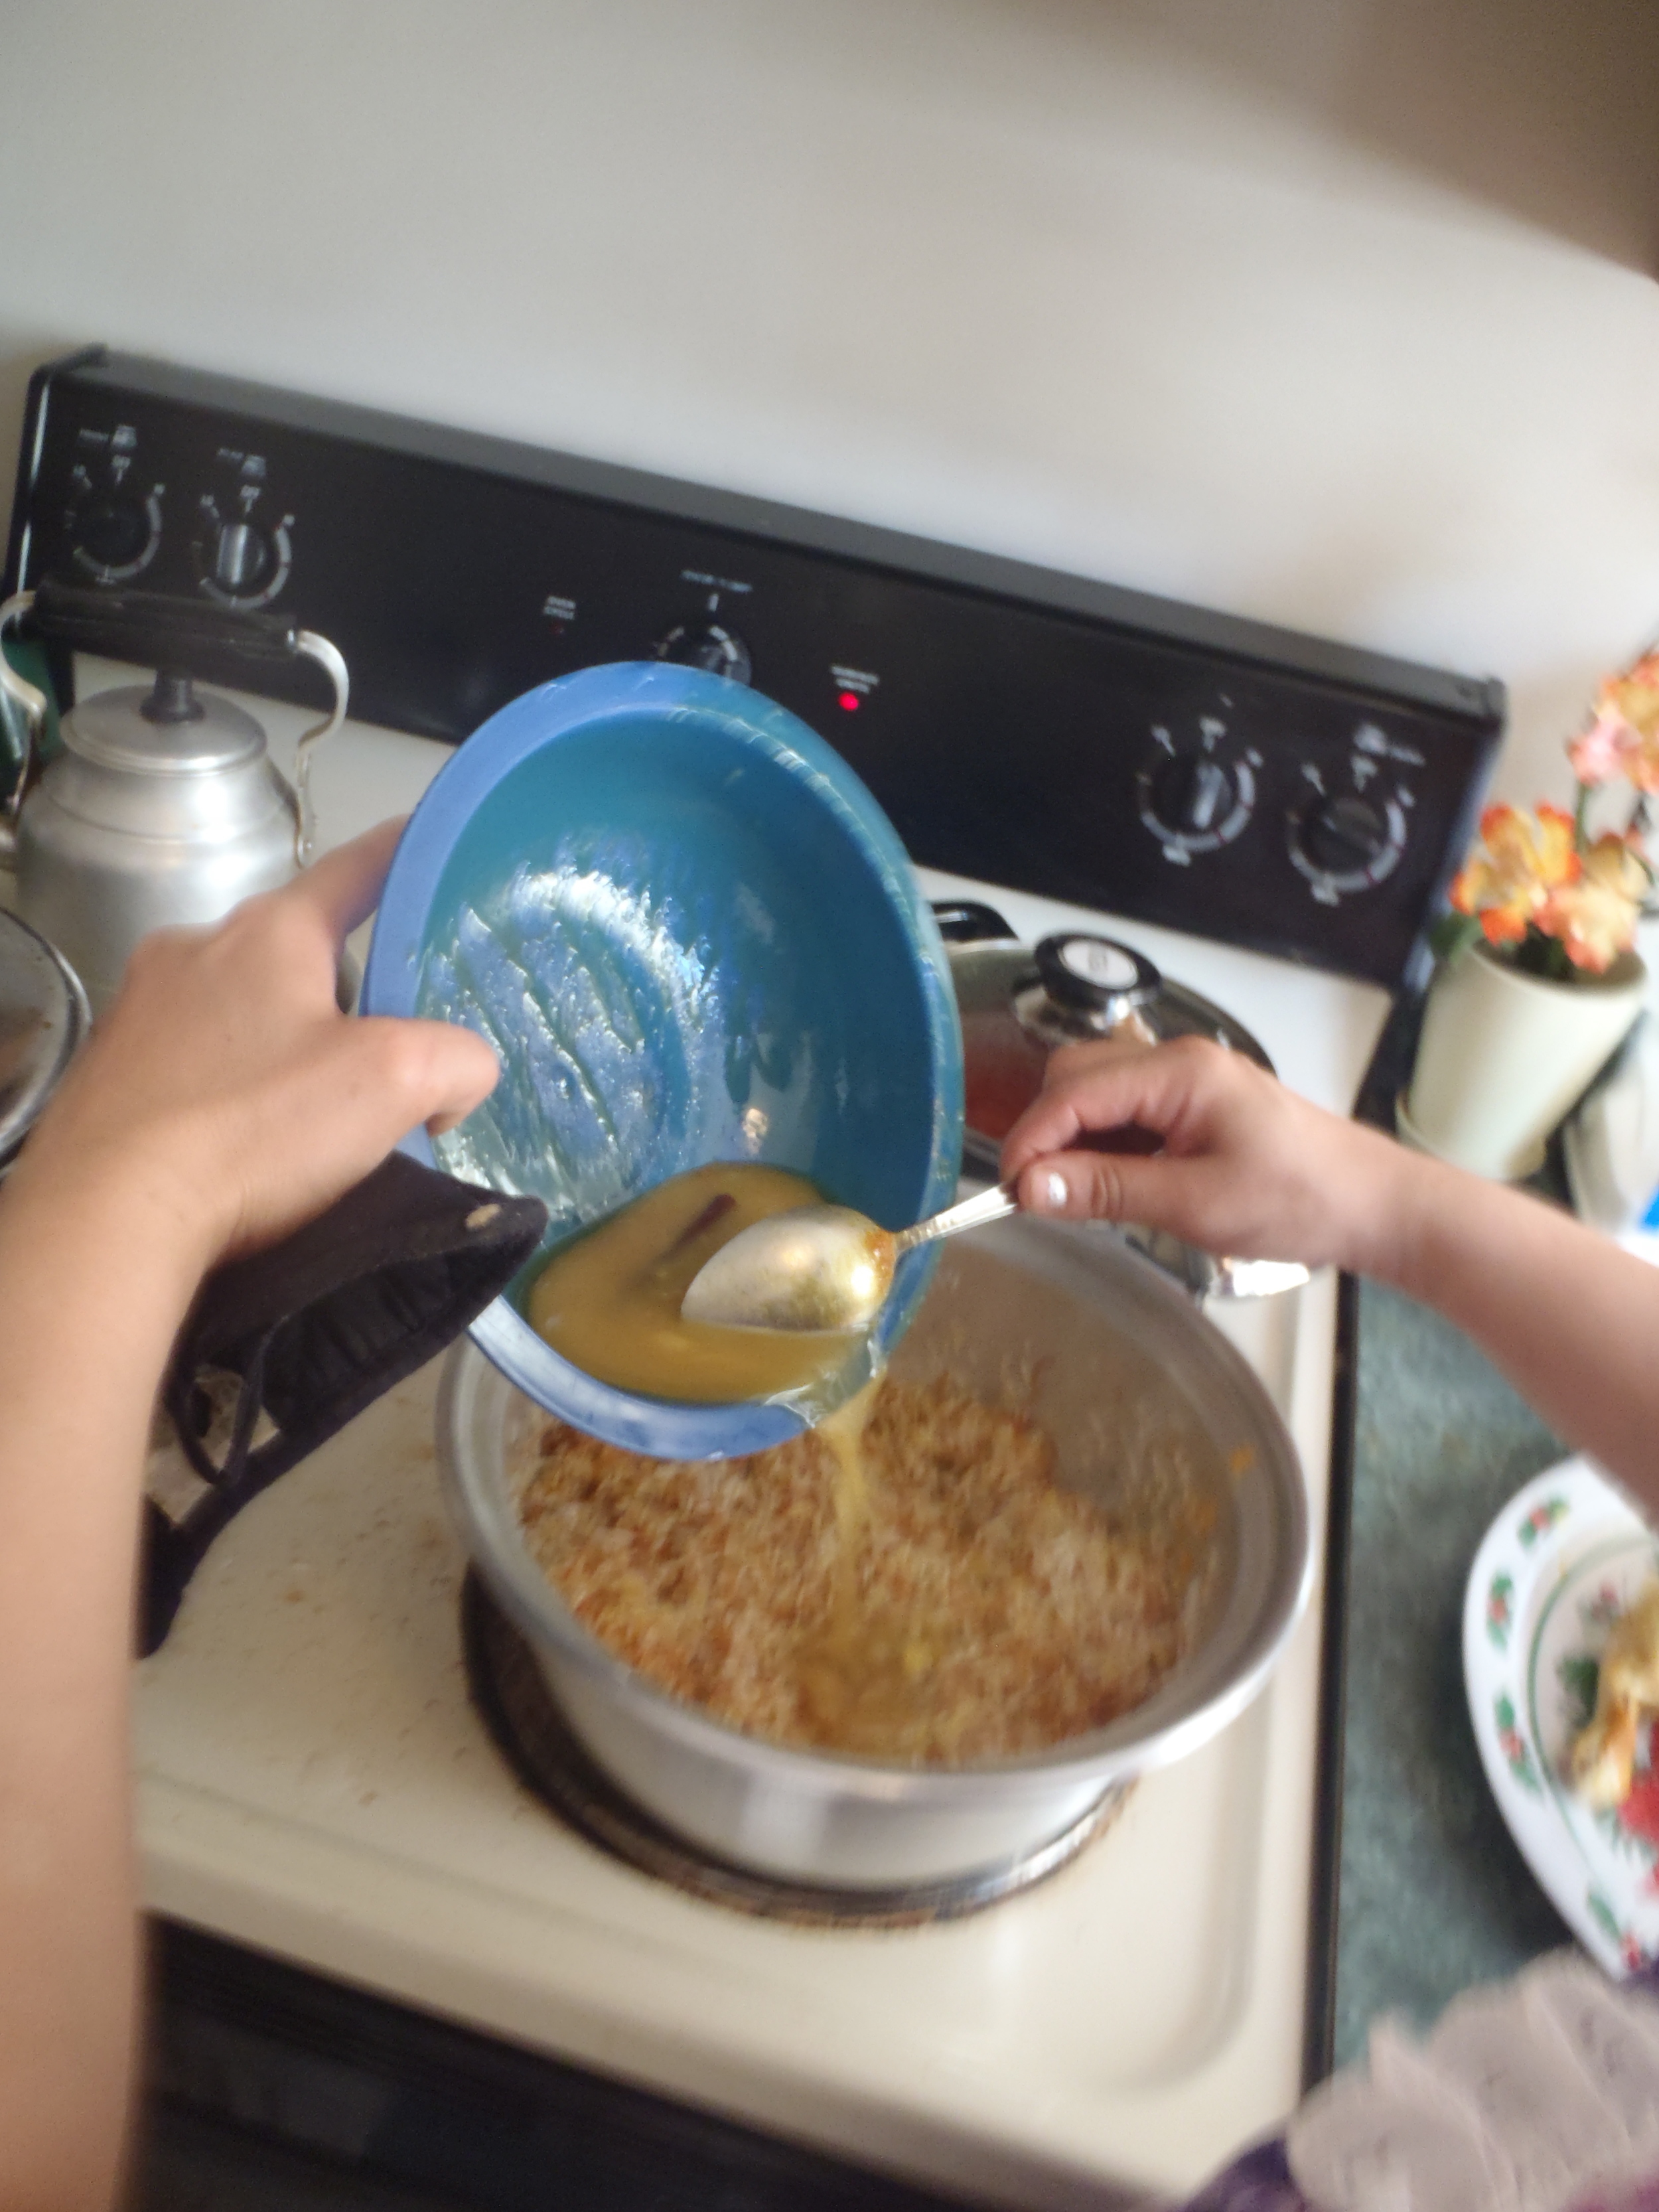
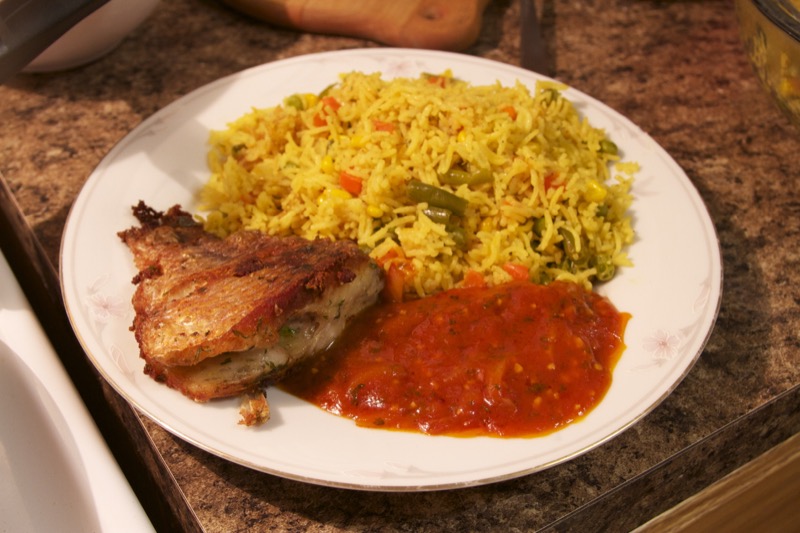
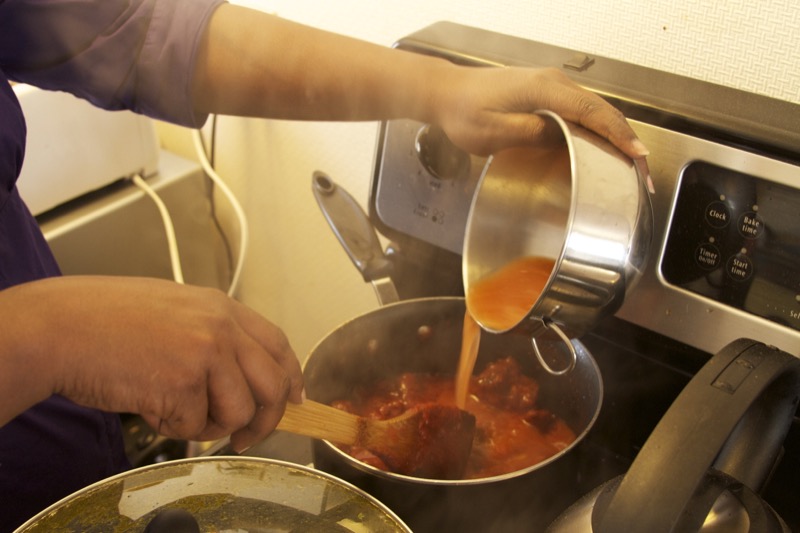
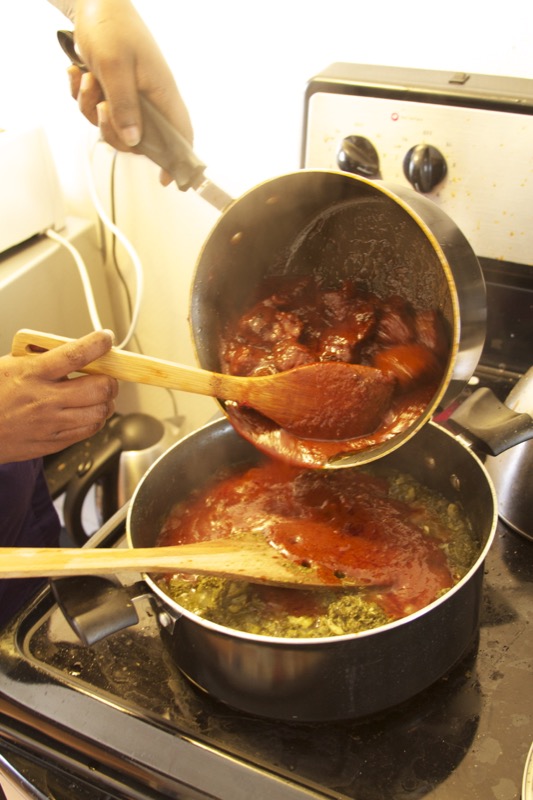
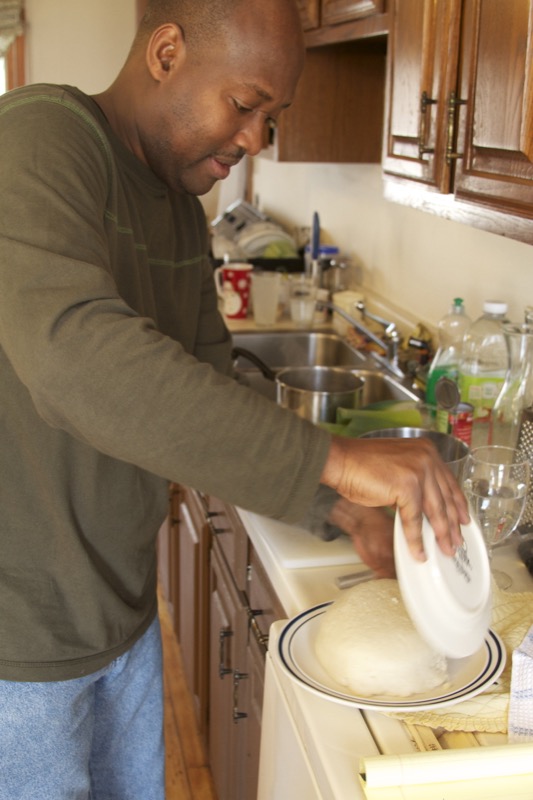
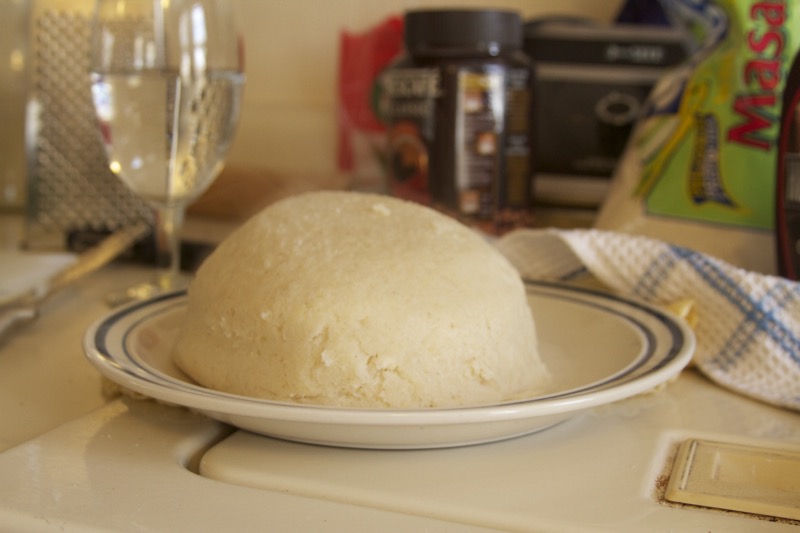
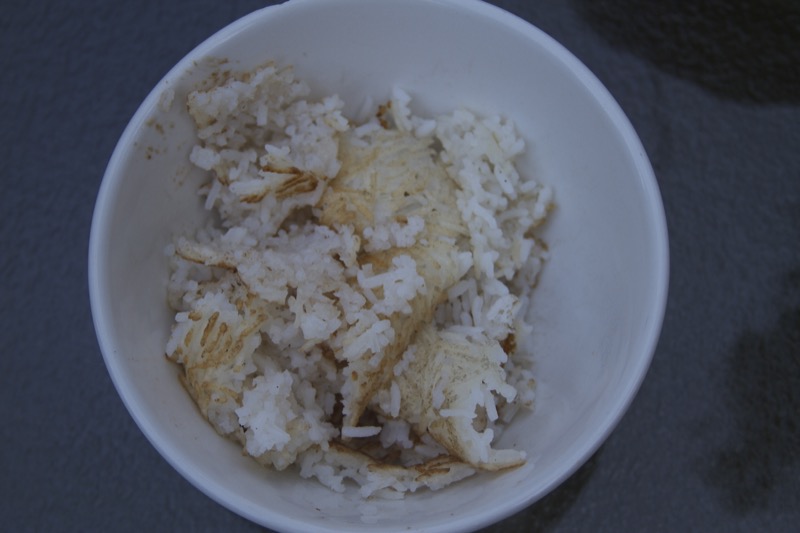
5. Final touches. Make the onion and raisin topping. Drain water out of raisins. In a the smallest sauté pan you have, saute 1/4 onion (medium dice) in a little oil. Once soft, add raisins, three shakes of cinnamon, one shake turmeric, and two shakes salt. When all this soft and hot and the turmeric has colored the oil yellow, turn the heat off. Make a plateau of rice on a serving platter. Put the whole fried chicken (or chicken pieces, if they’ve fallen apart) on the top in the center of rice. Sprinkle raisins and onions in a ring around the chicken.


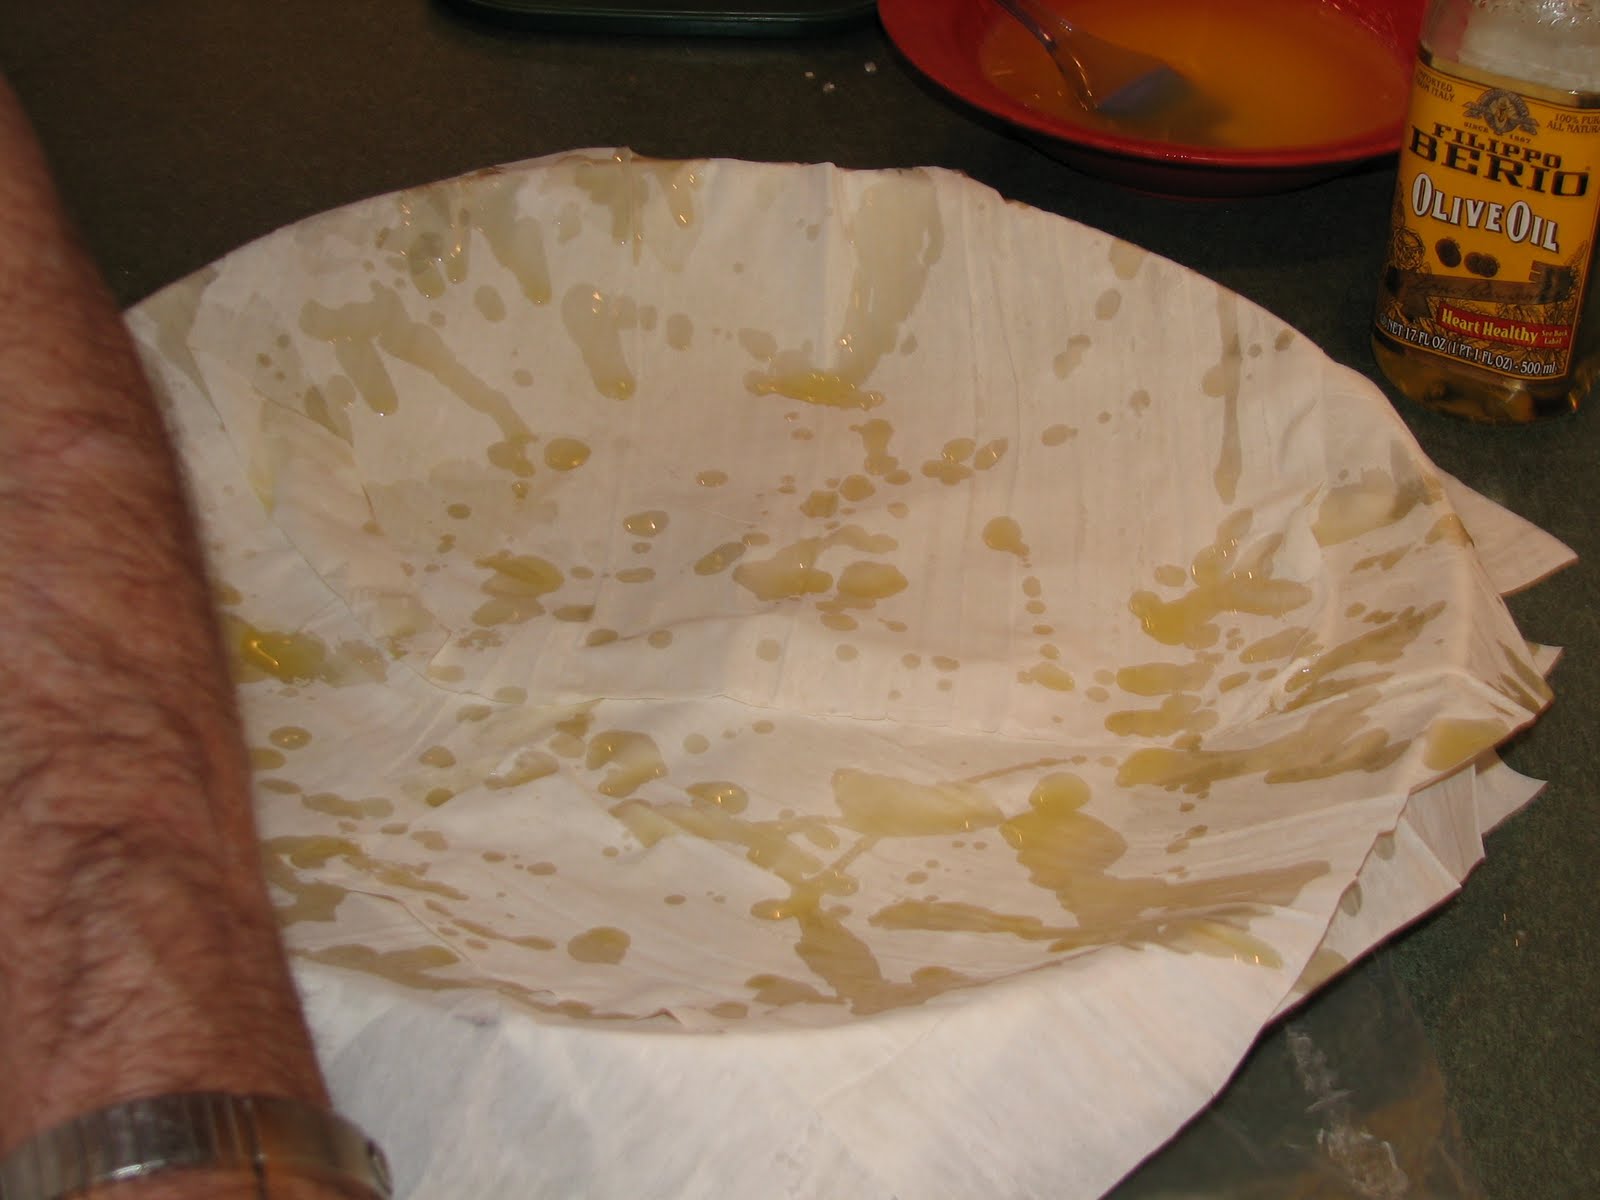
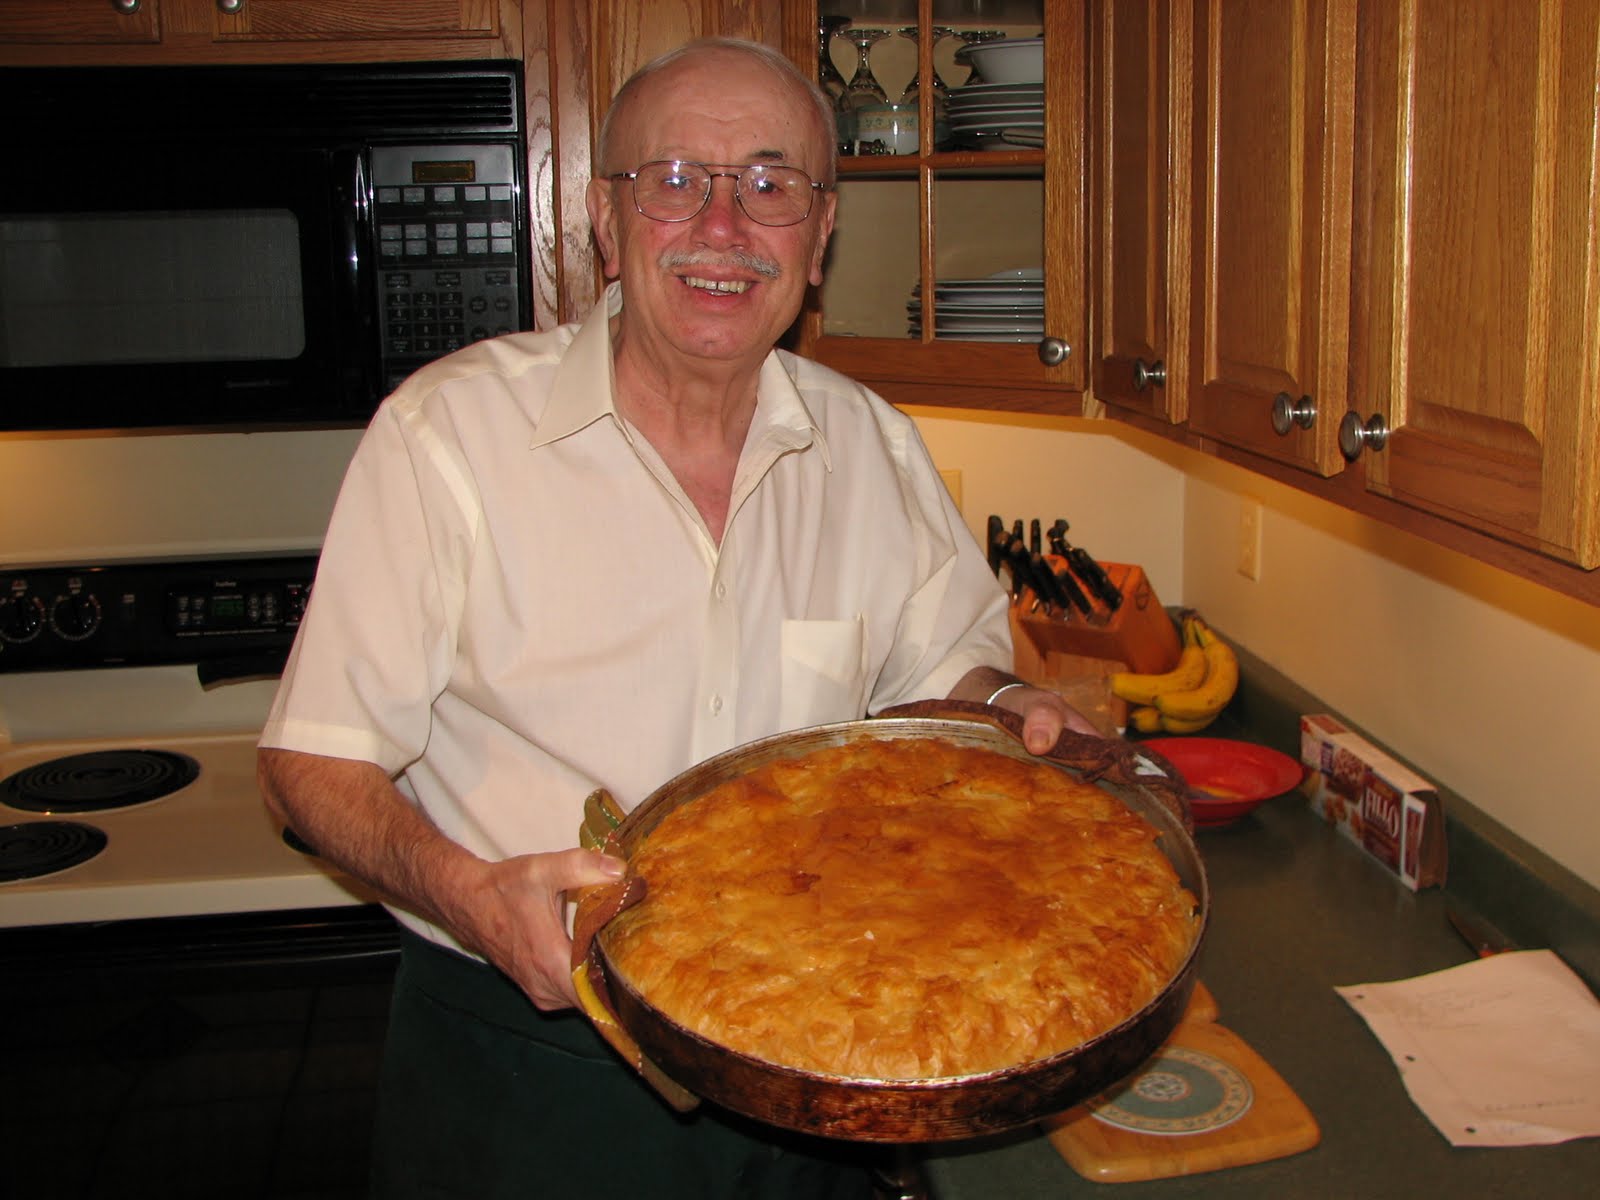
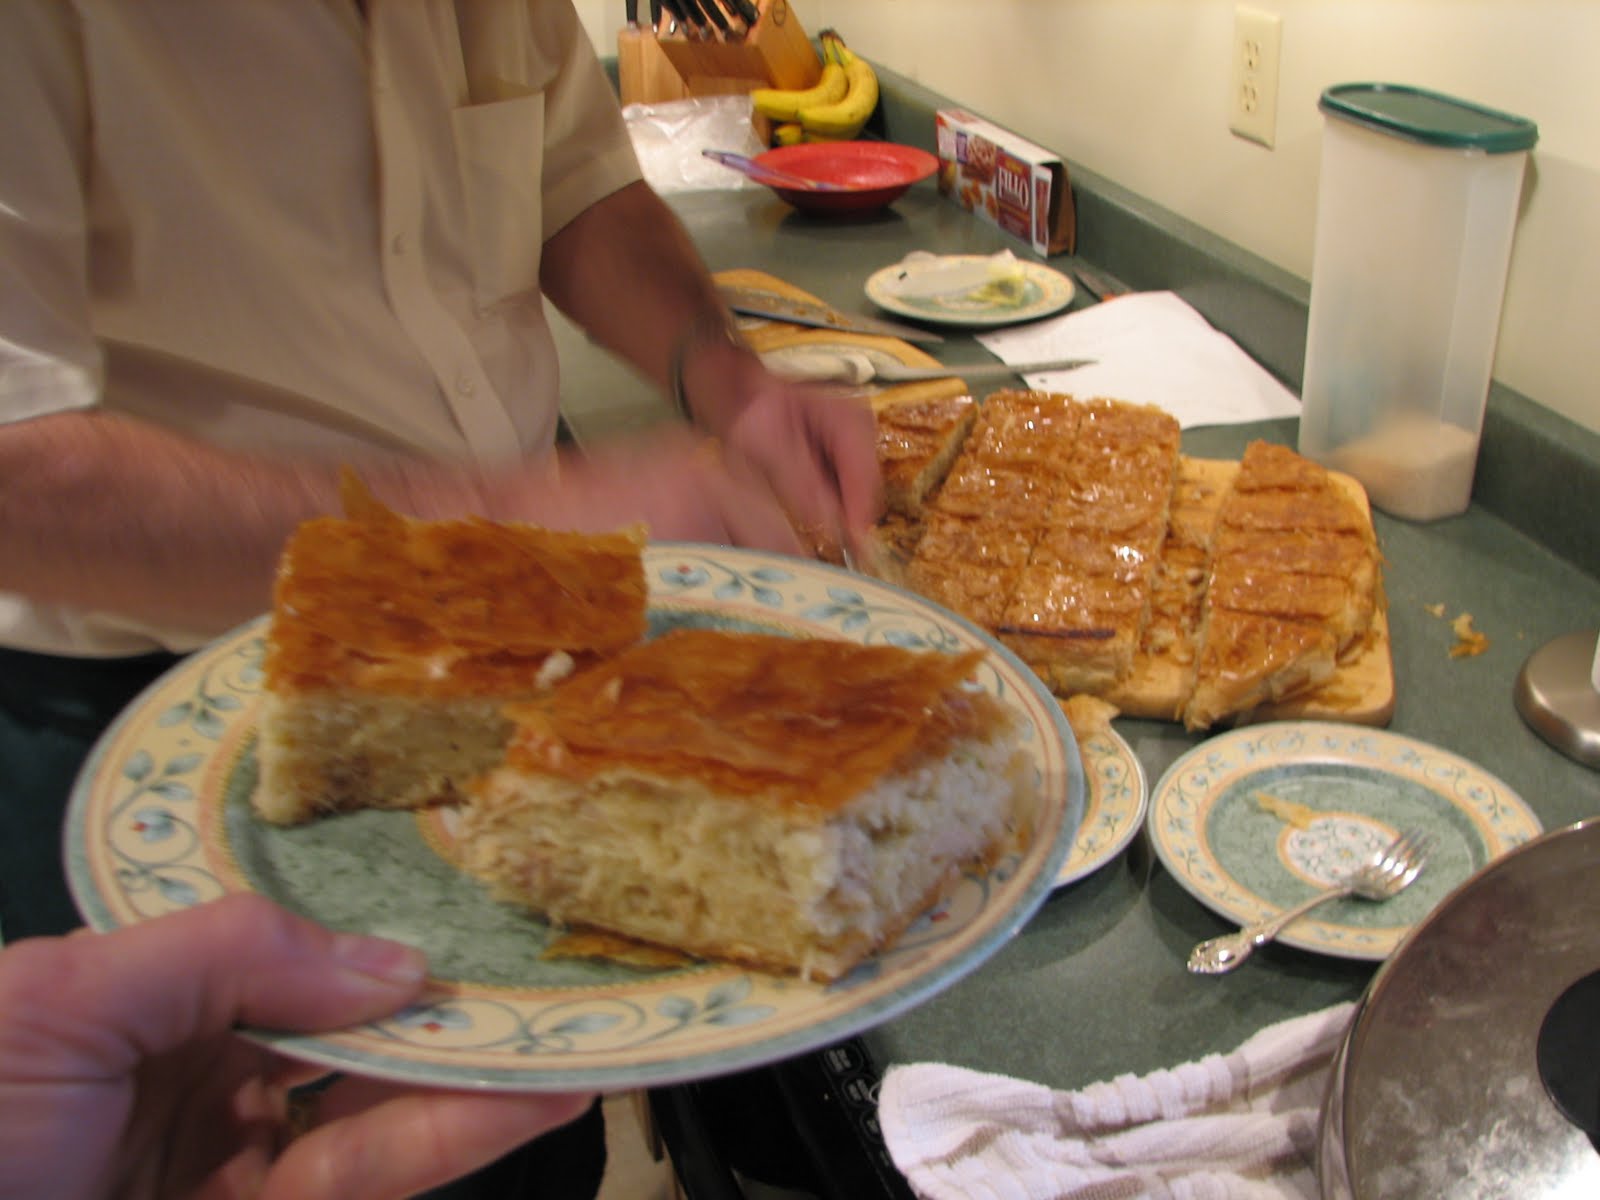
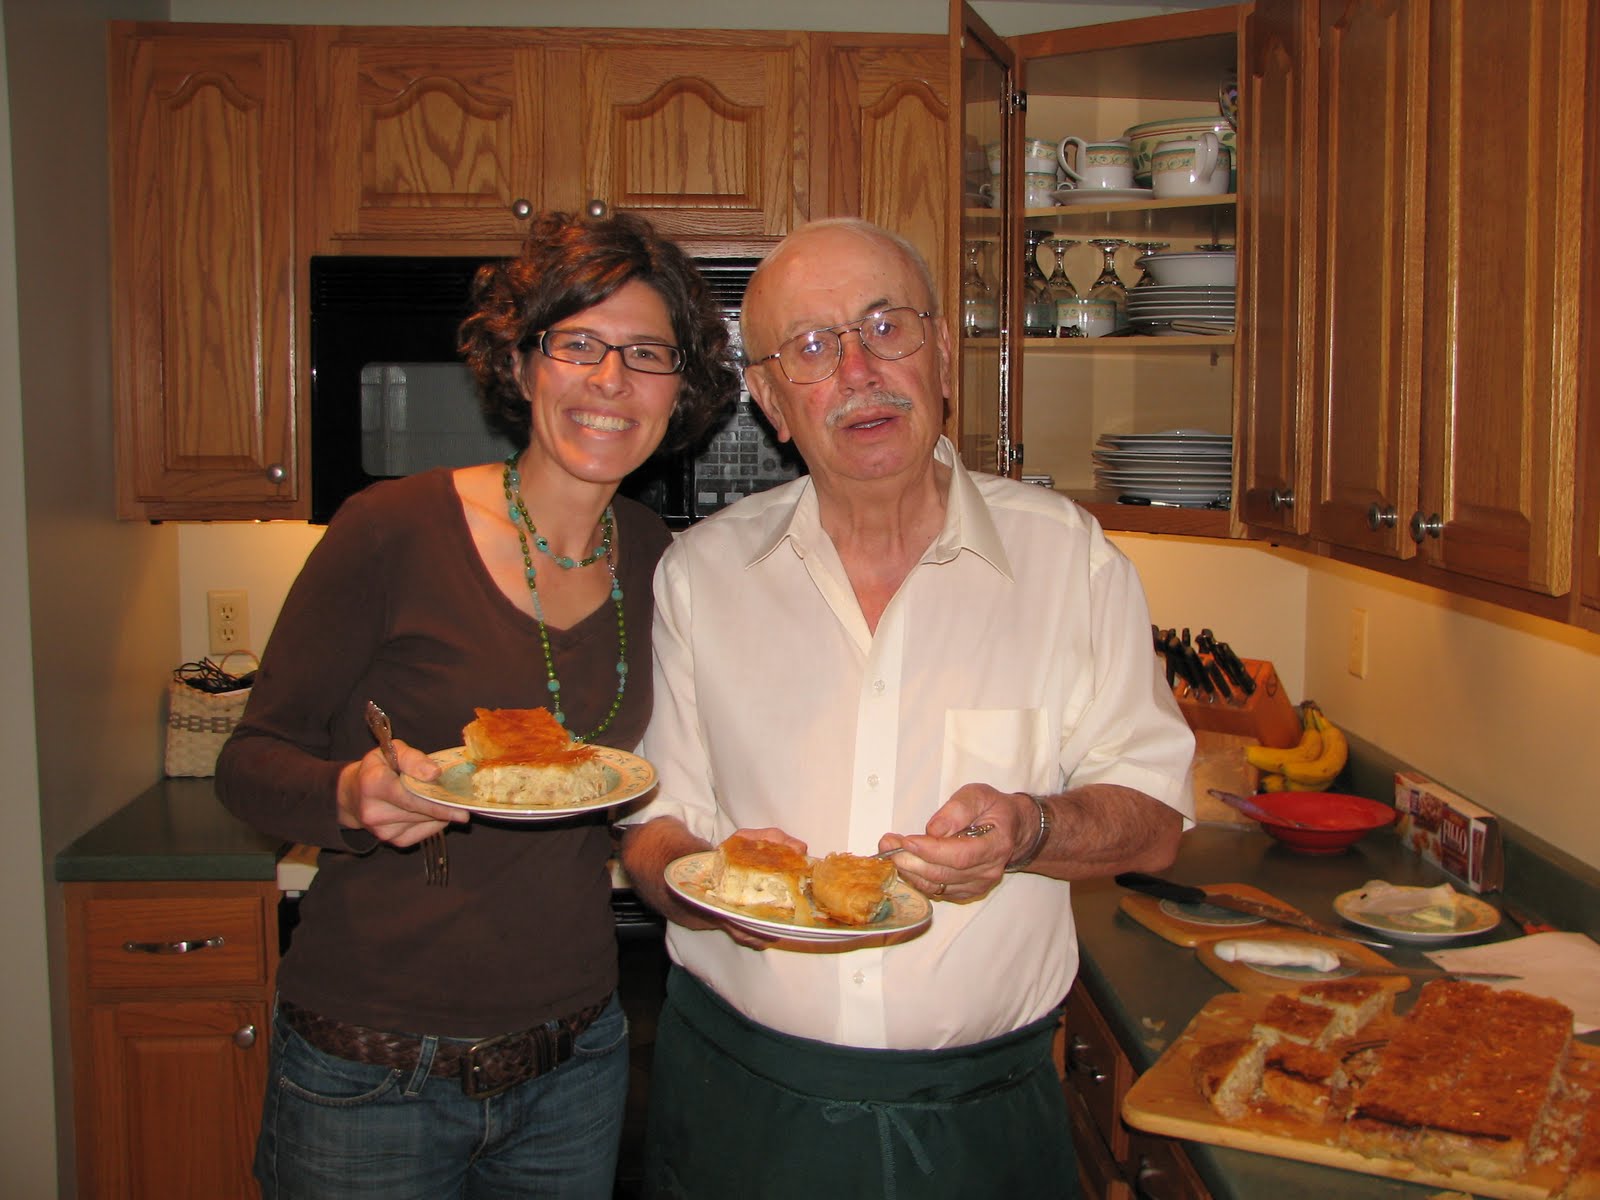
![This is Bill's special pan for making a giant kotopita pie. You can buy one in the Immigrant Kitchens store [link to product page], or simply make more than one pie in smaller baking dishes that you already have. Use butter or olive oil to butter t](https://images.squarespace-cdn.com/content/v1/56ddca5159827e507d71c8f3/1458584285339-N4O4PM0SKVNUMAXASF6O/IMG_4227.JPG)