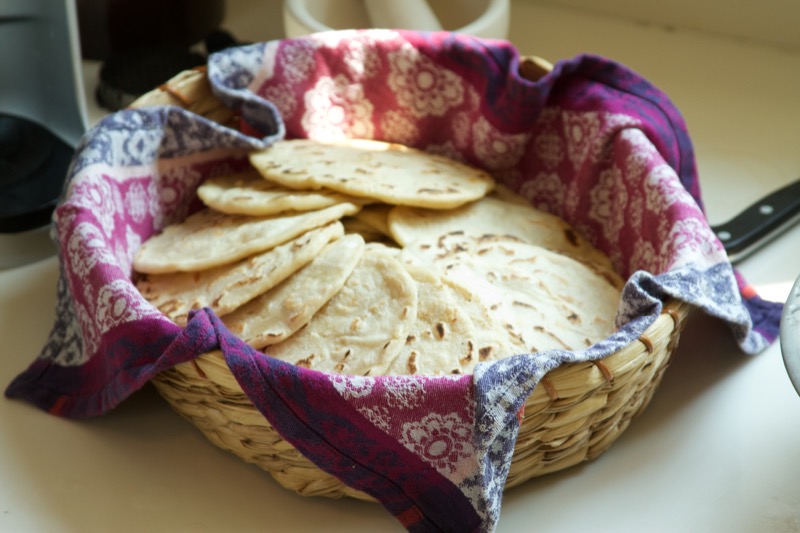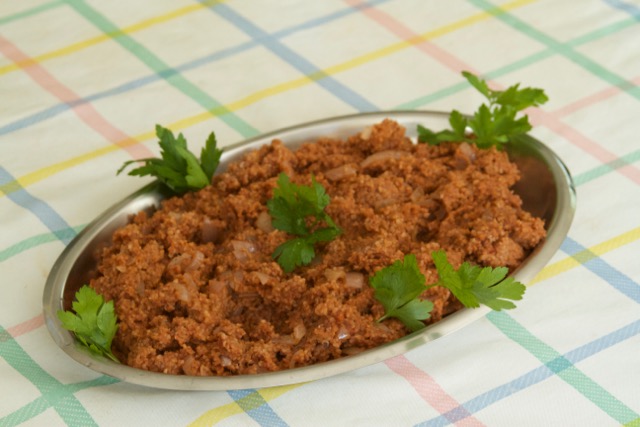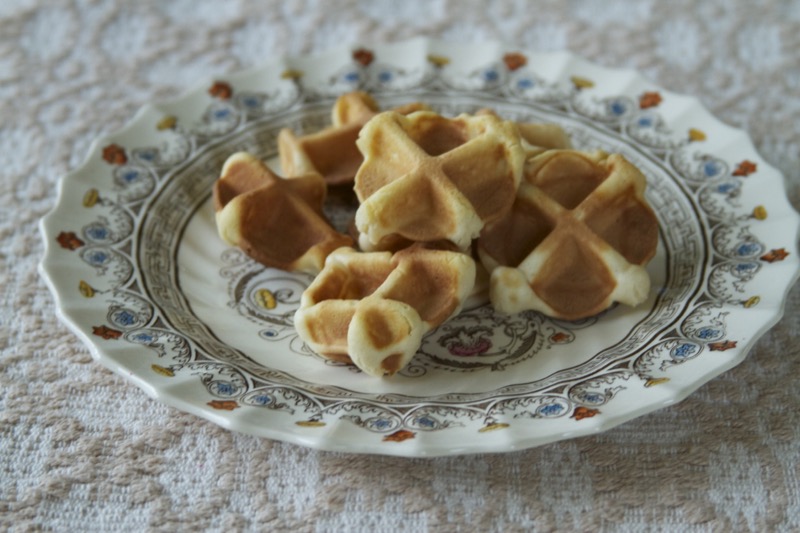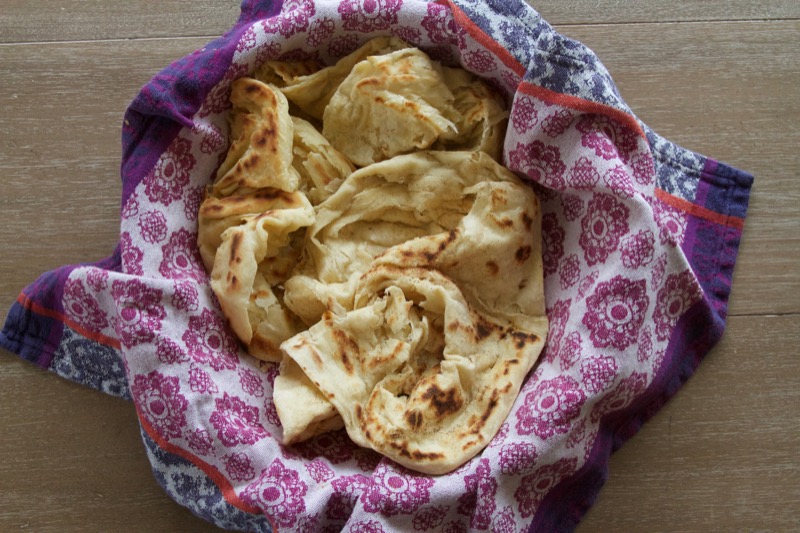

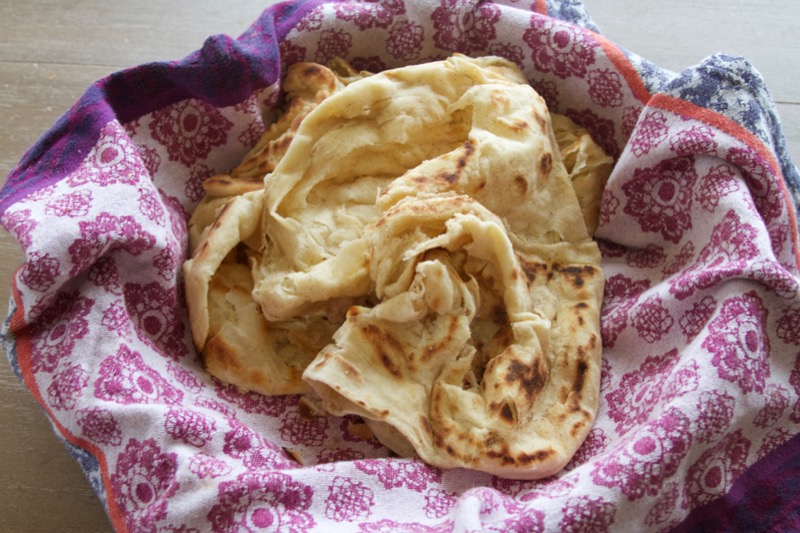
Buss up Shut
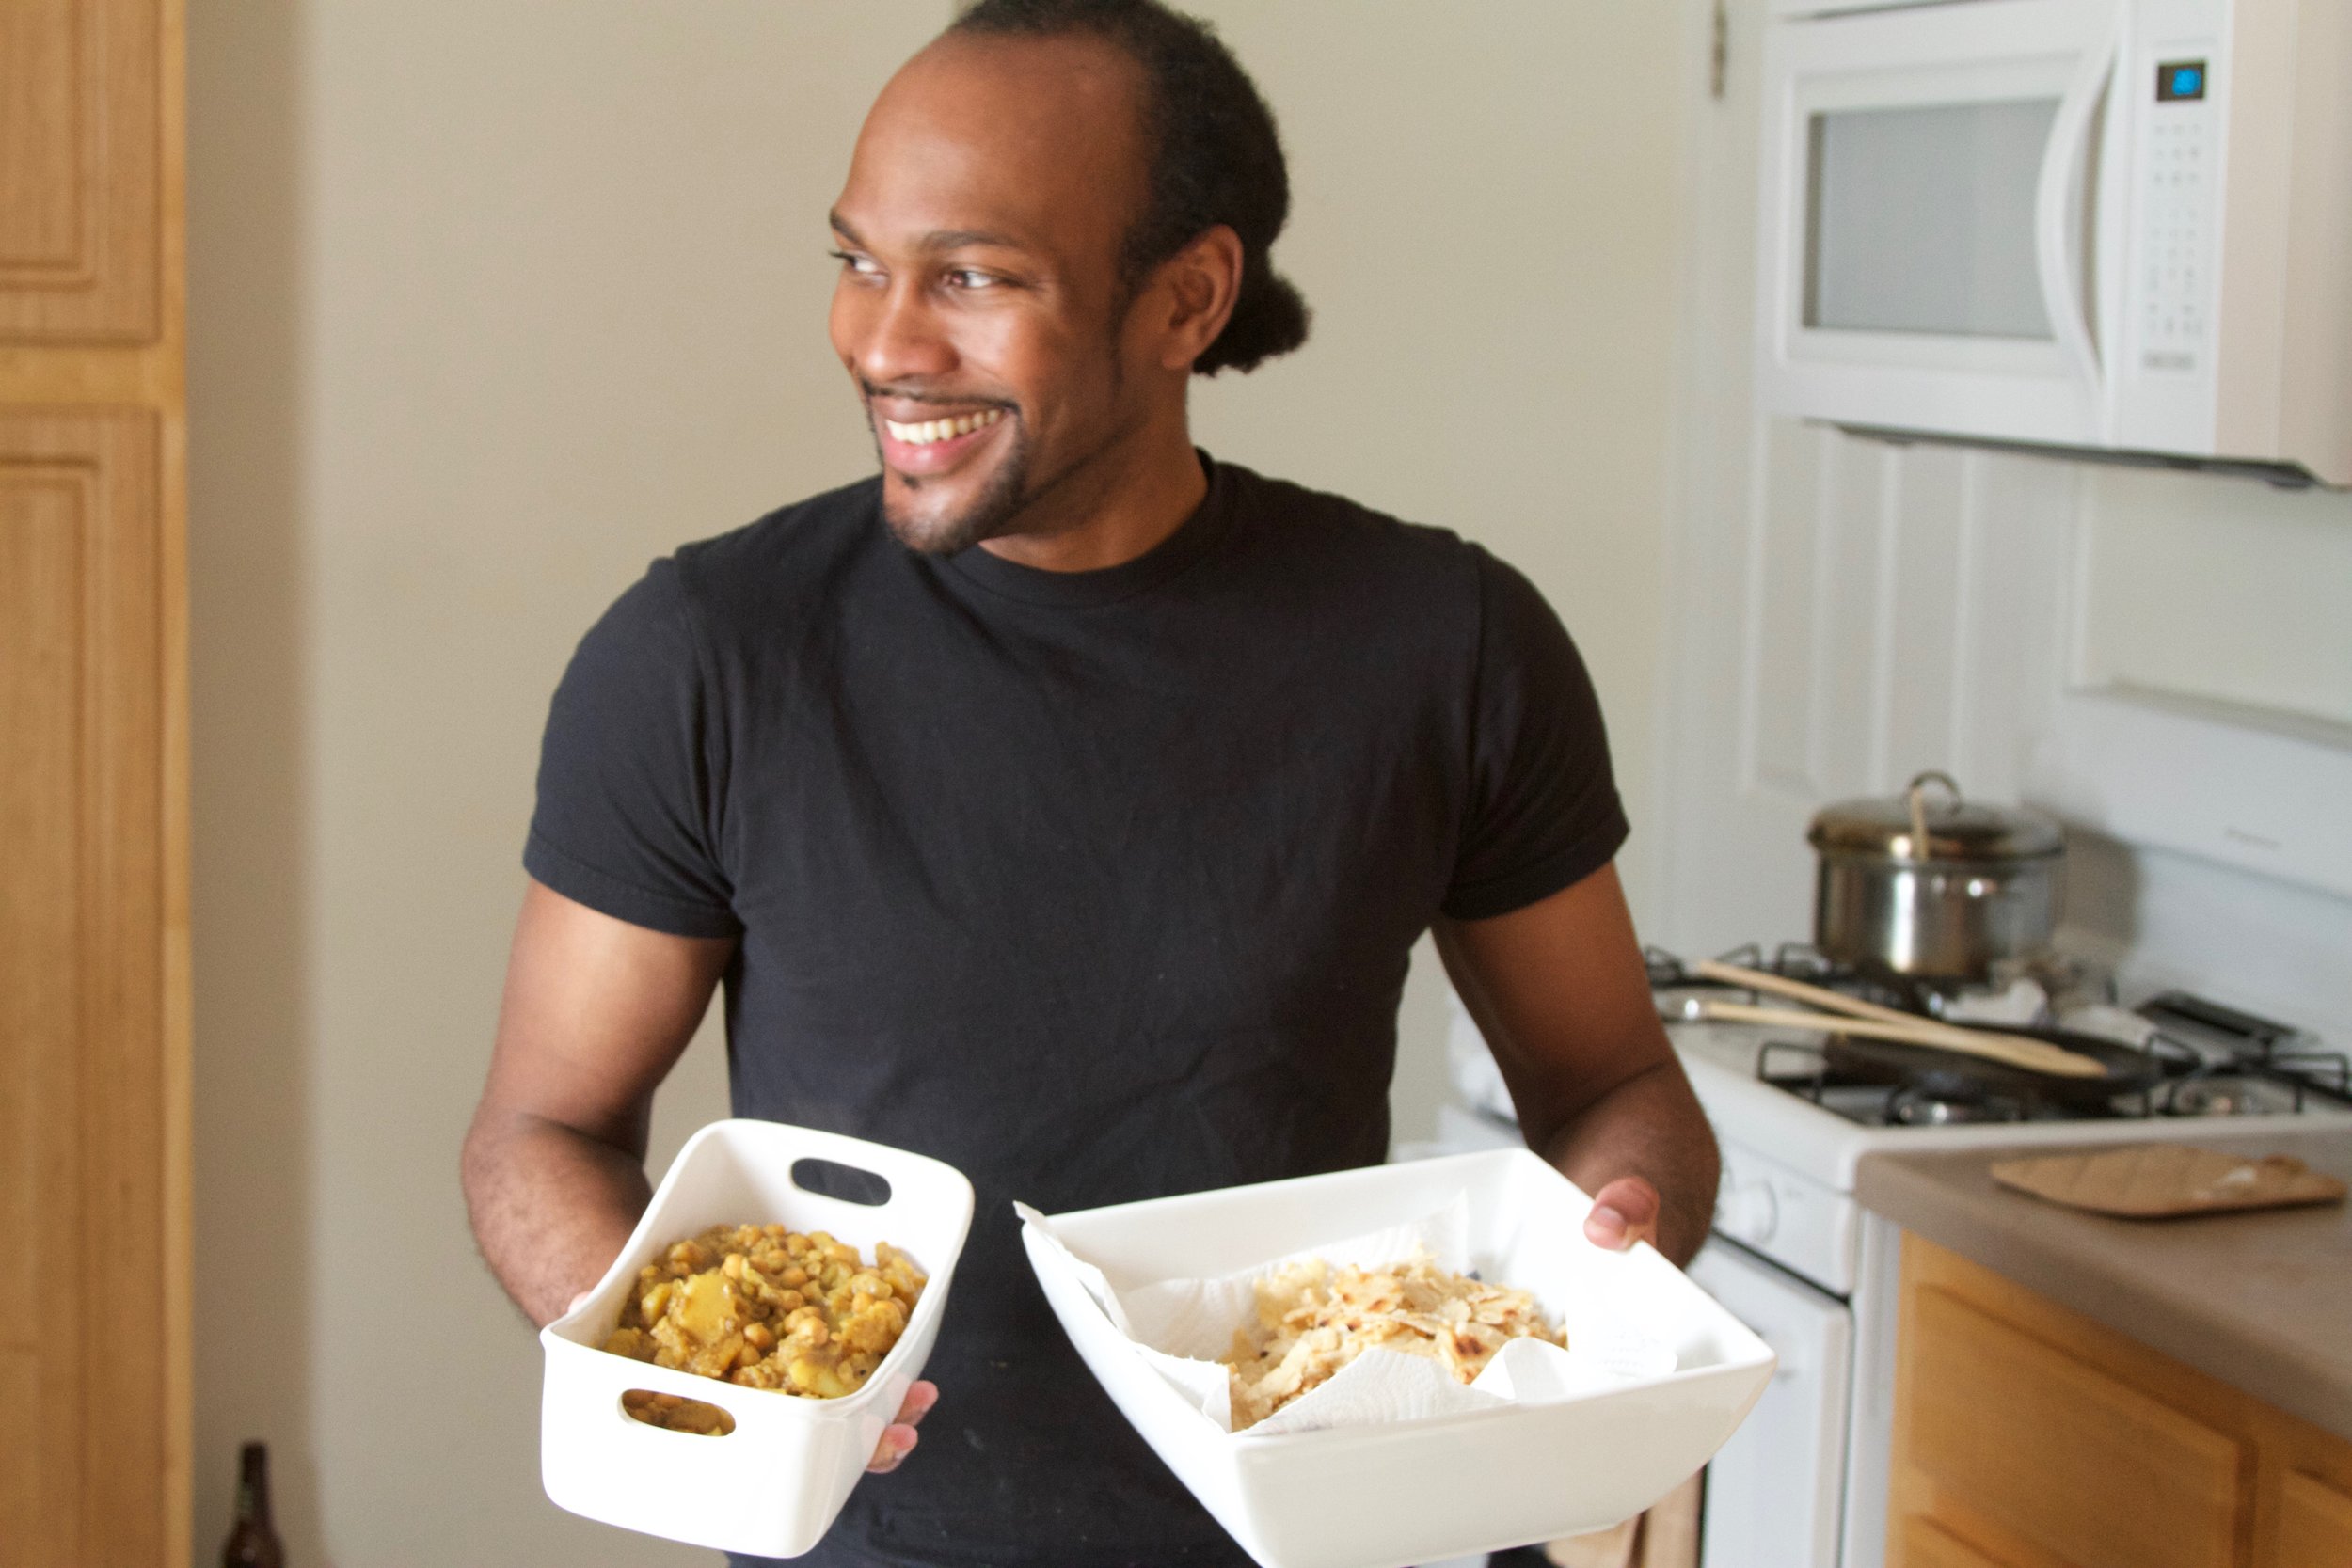
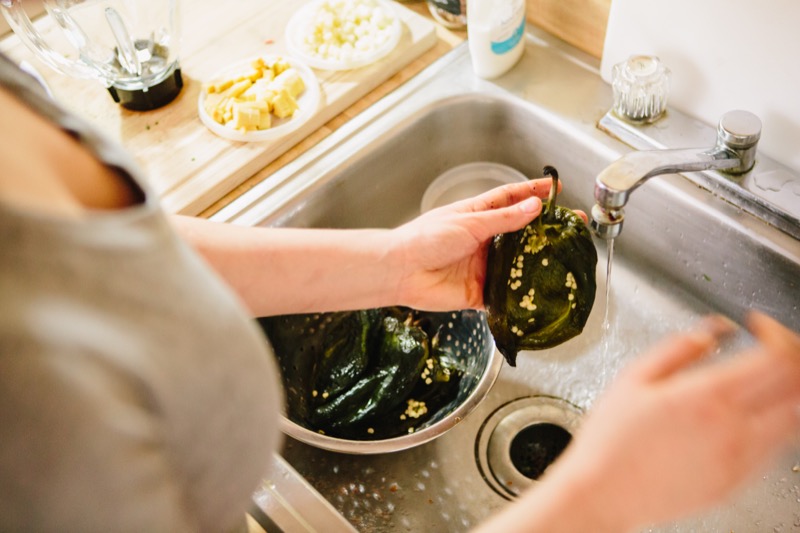
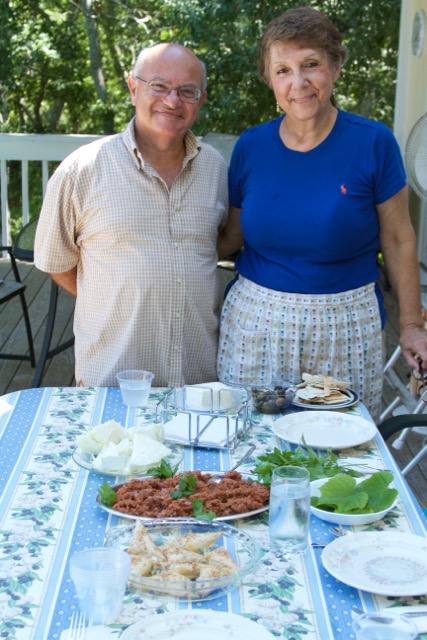
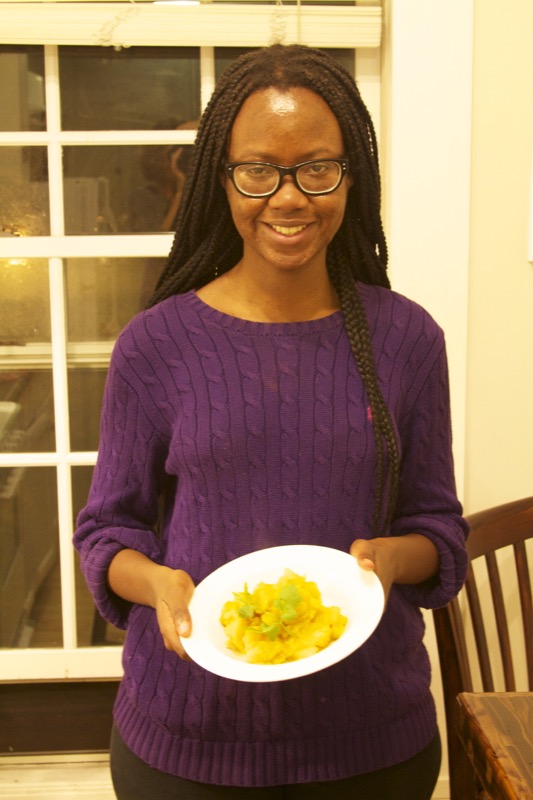
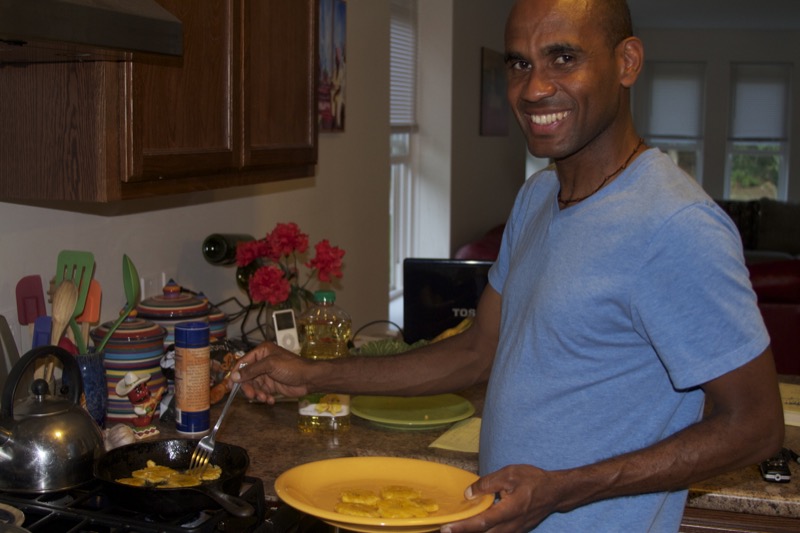
As Steve Fortune, from Marabella, Trinidad and Tobago, taught Lindsay Sterling in South Portland, Maine. Photos by Lindsay Sterling.
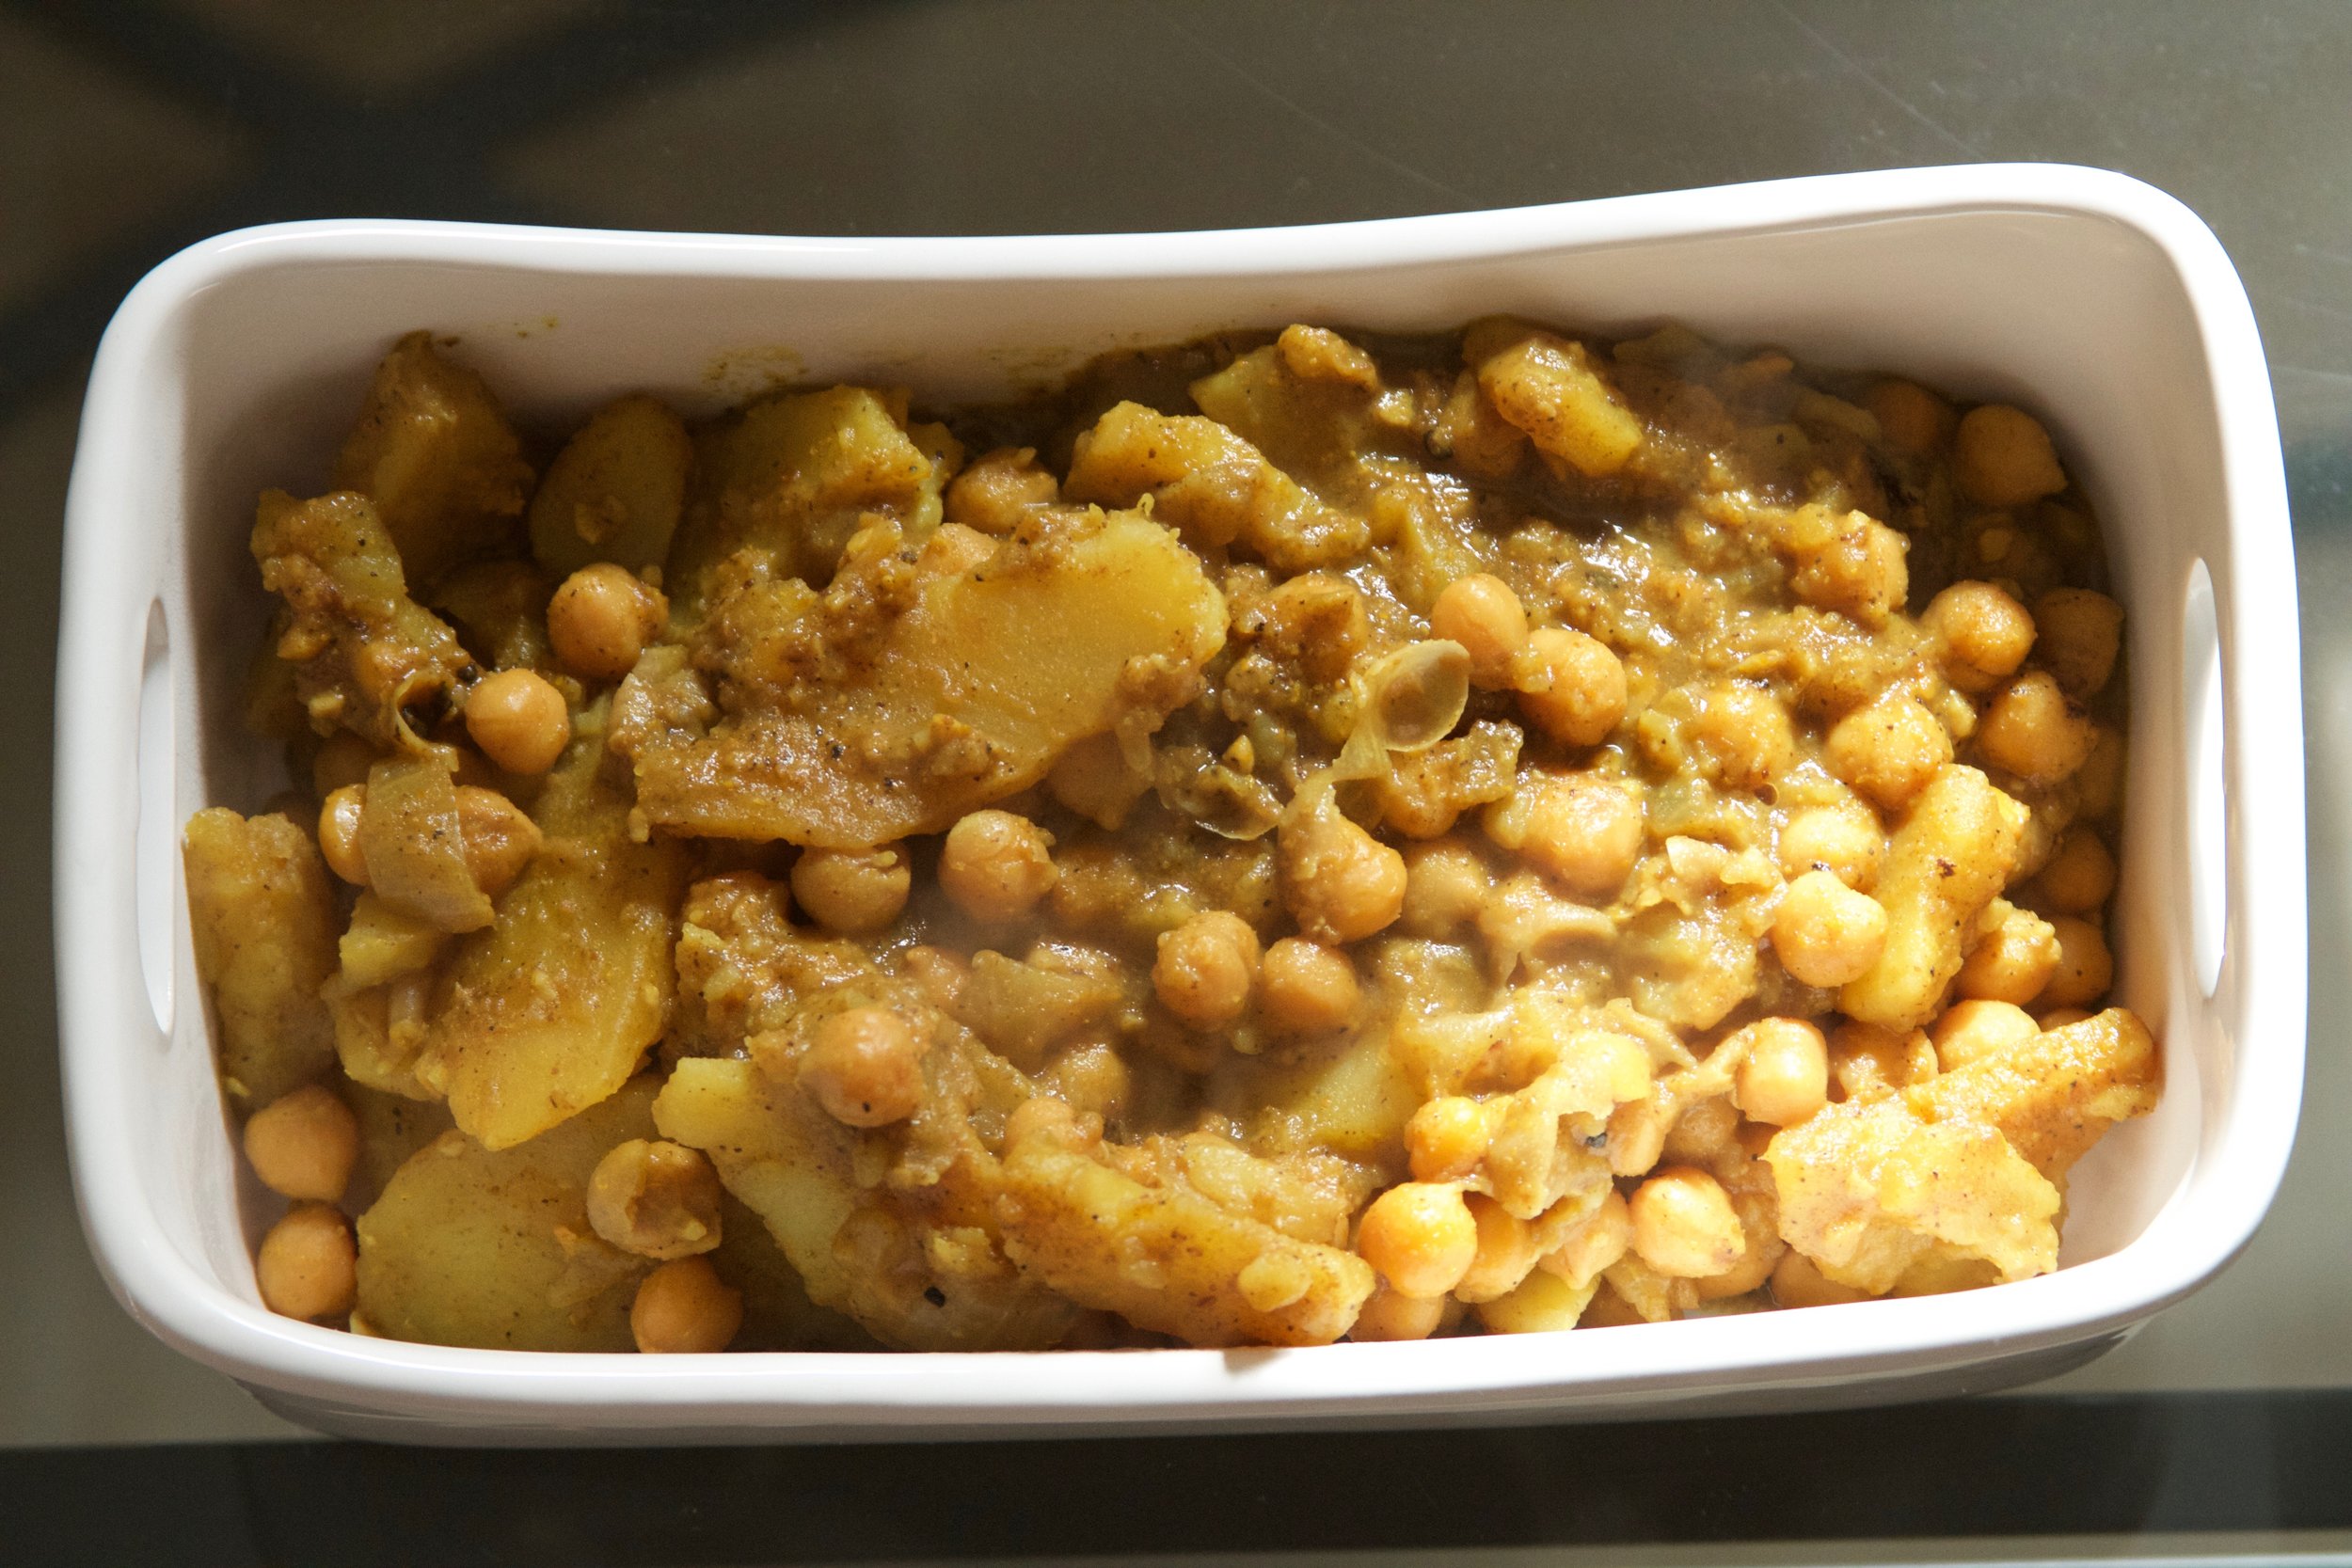
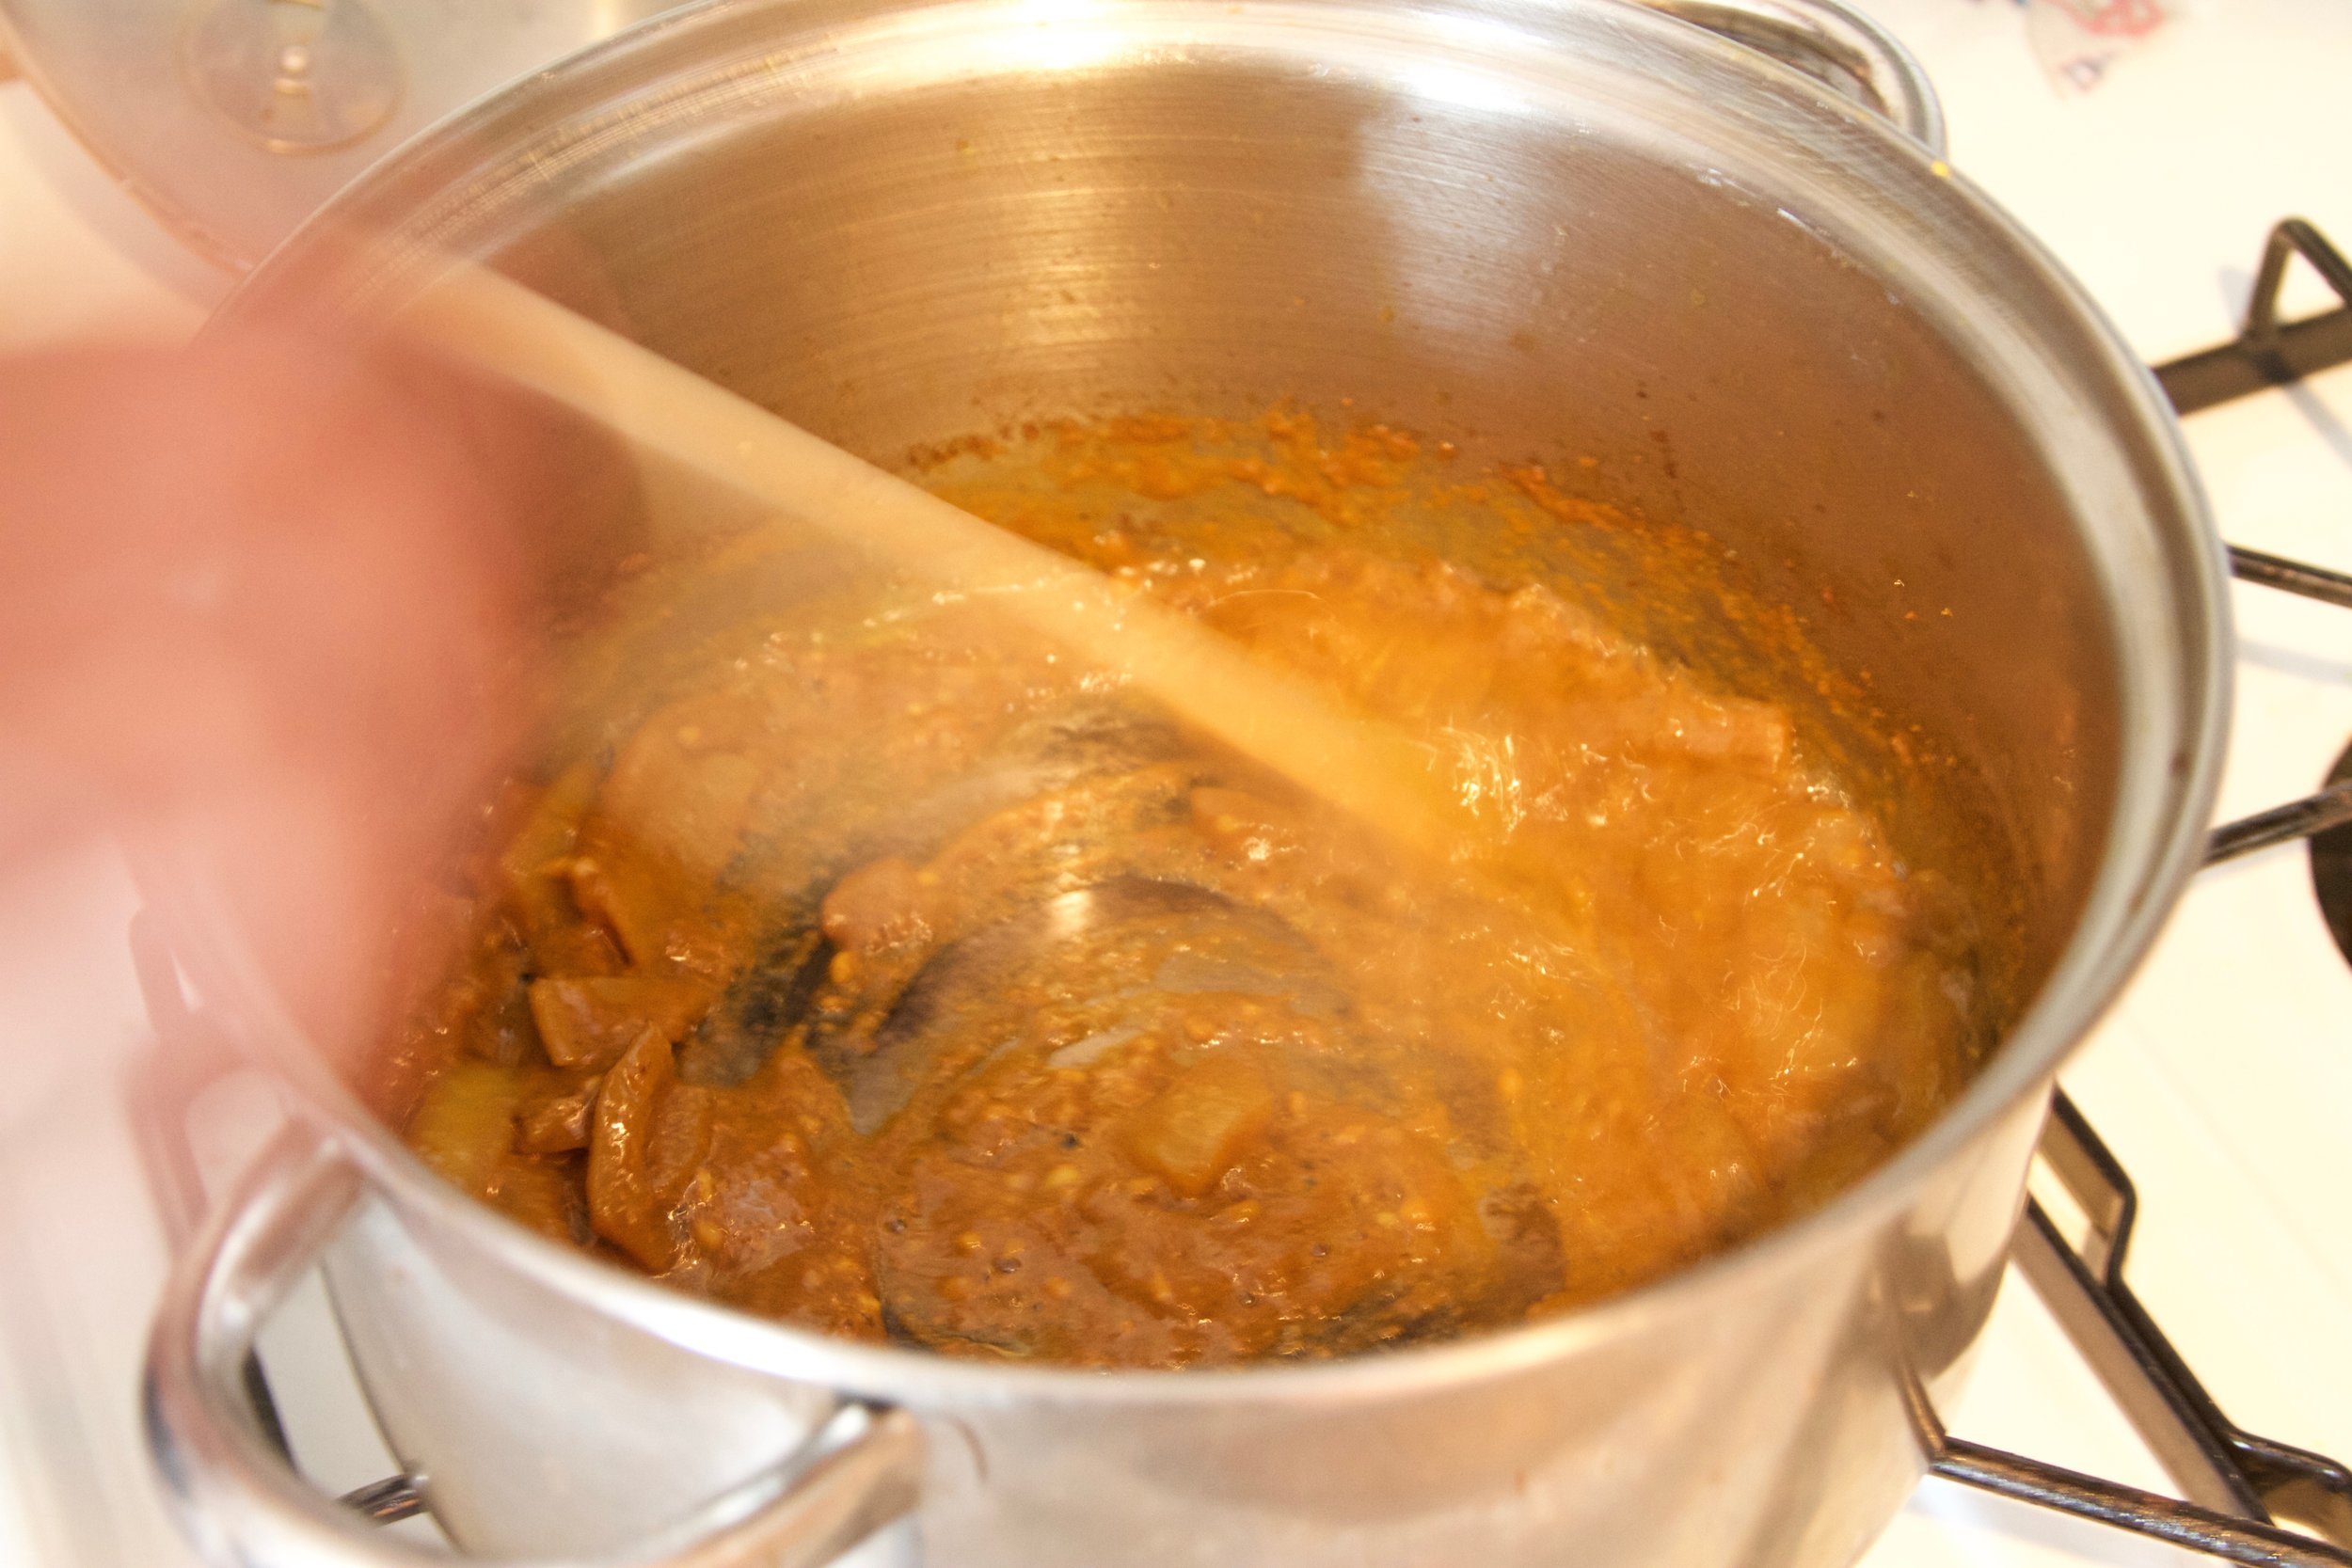
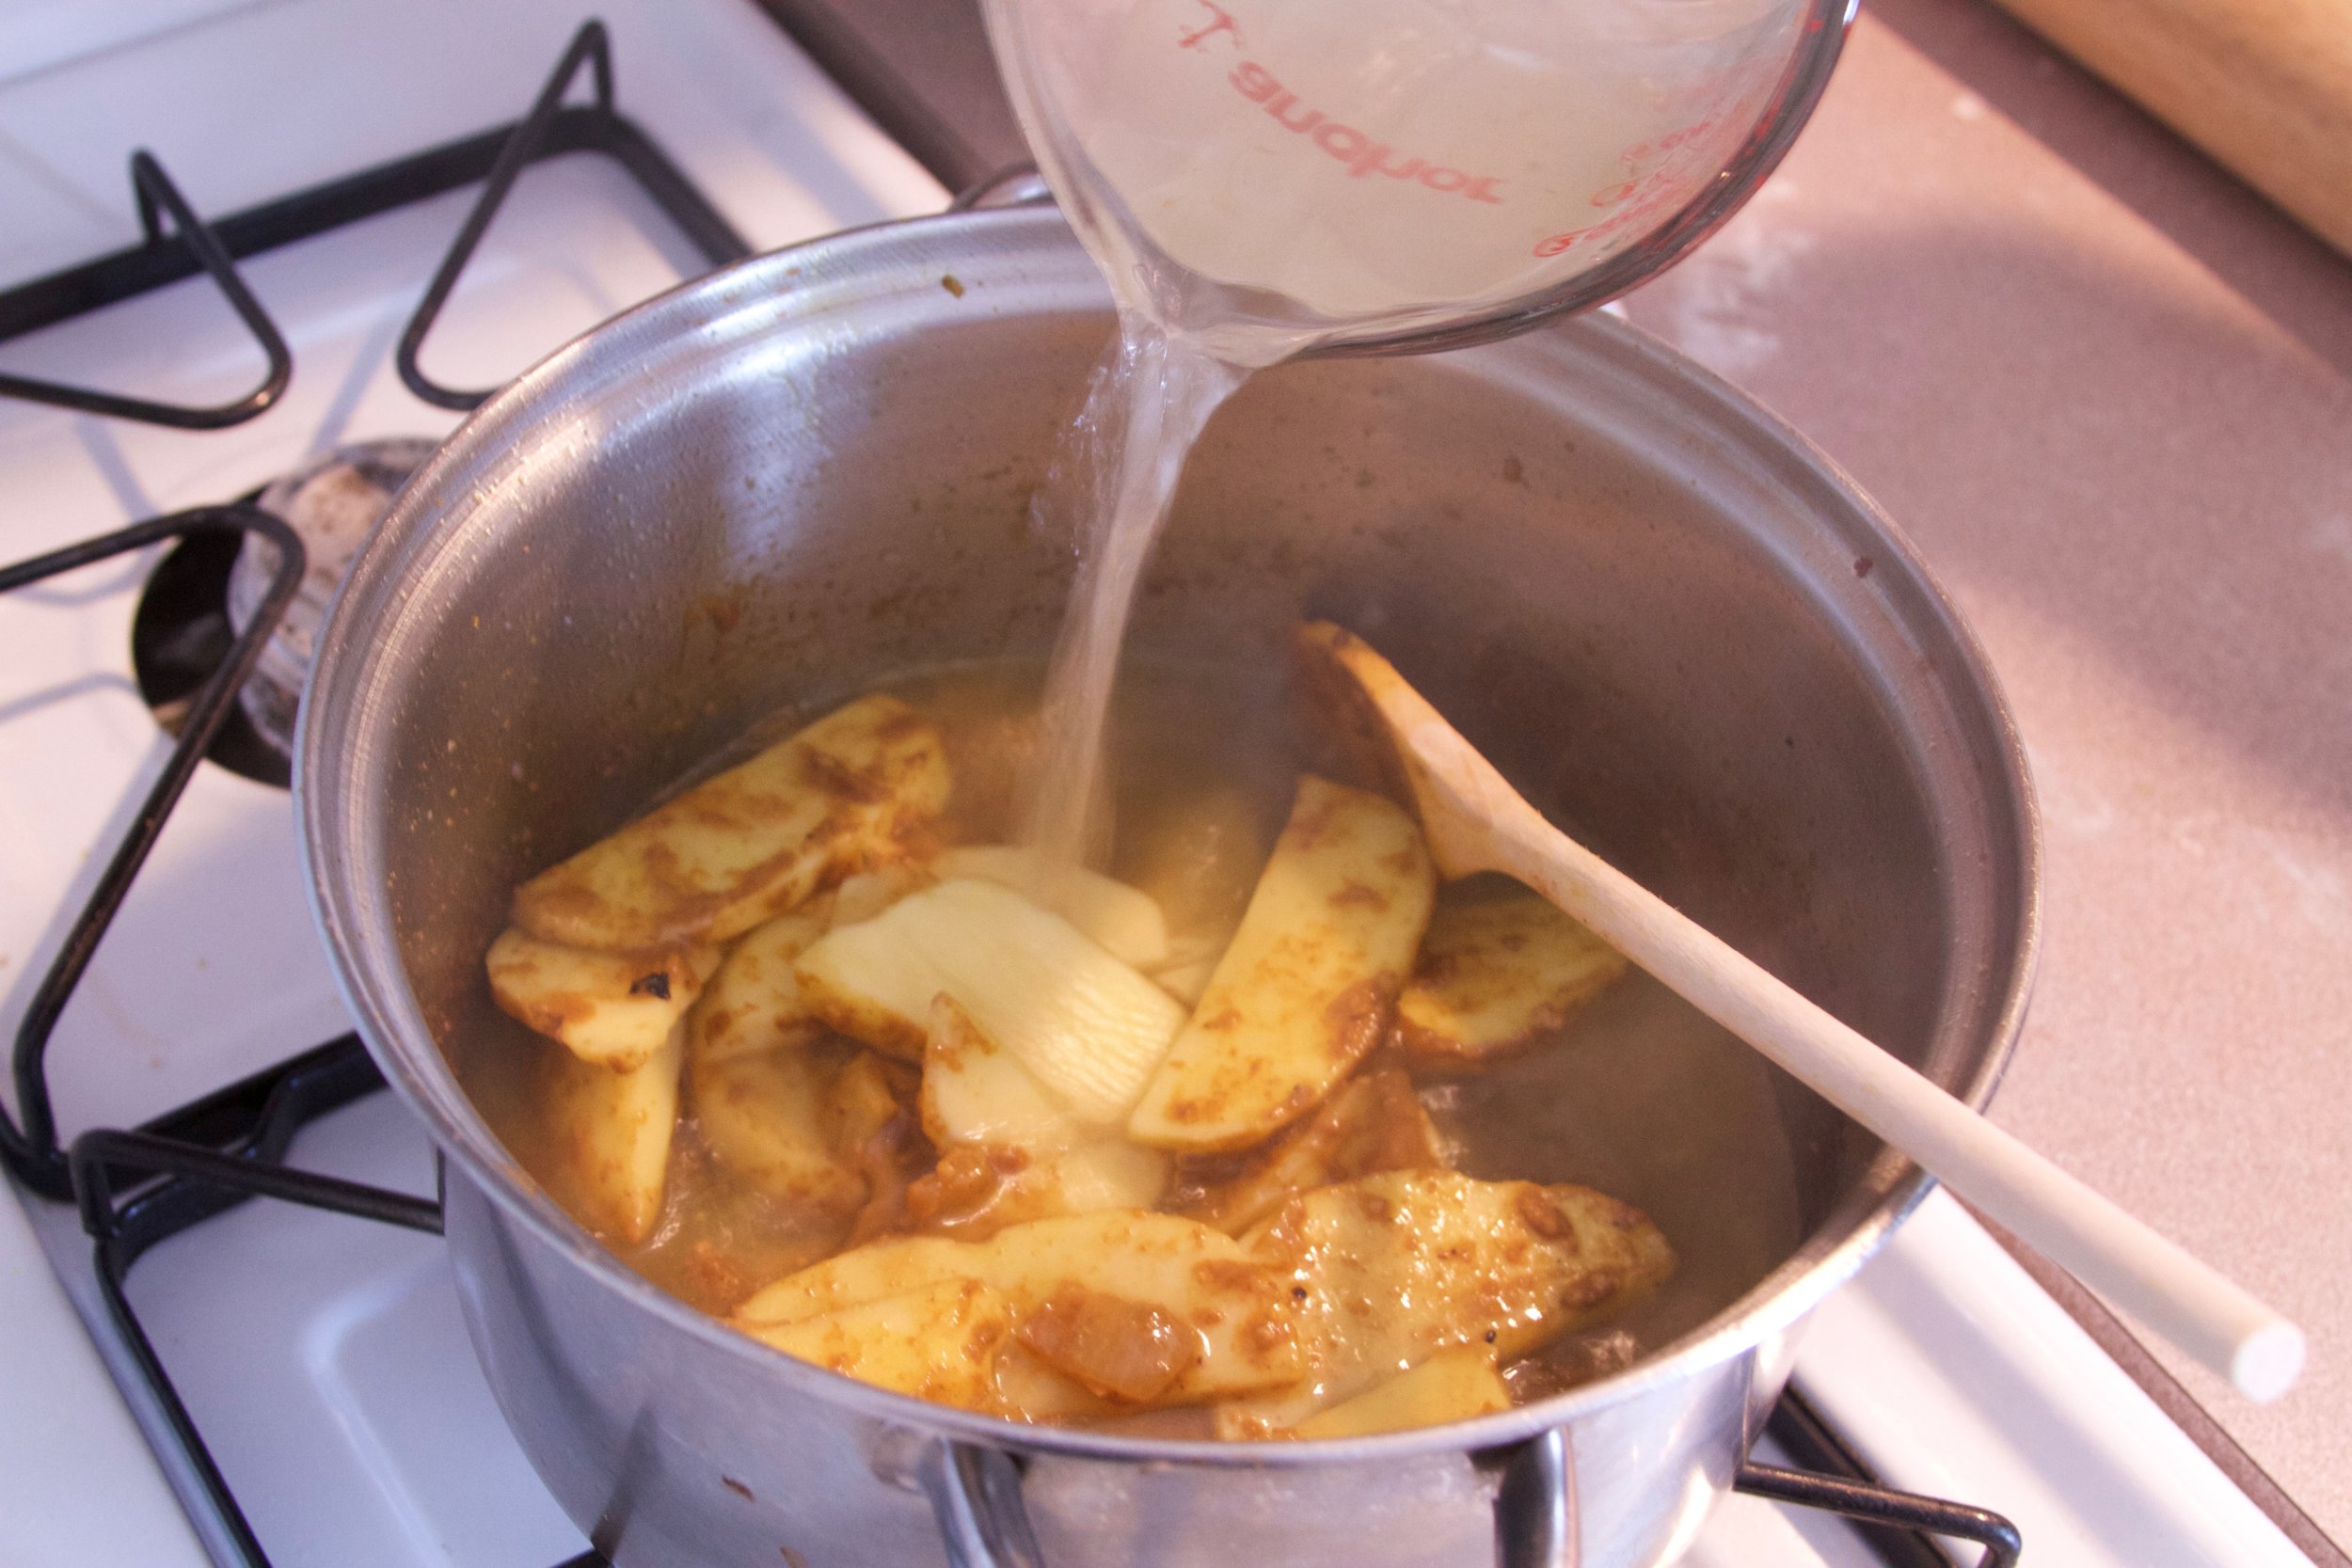
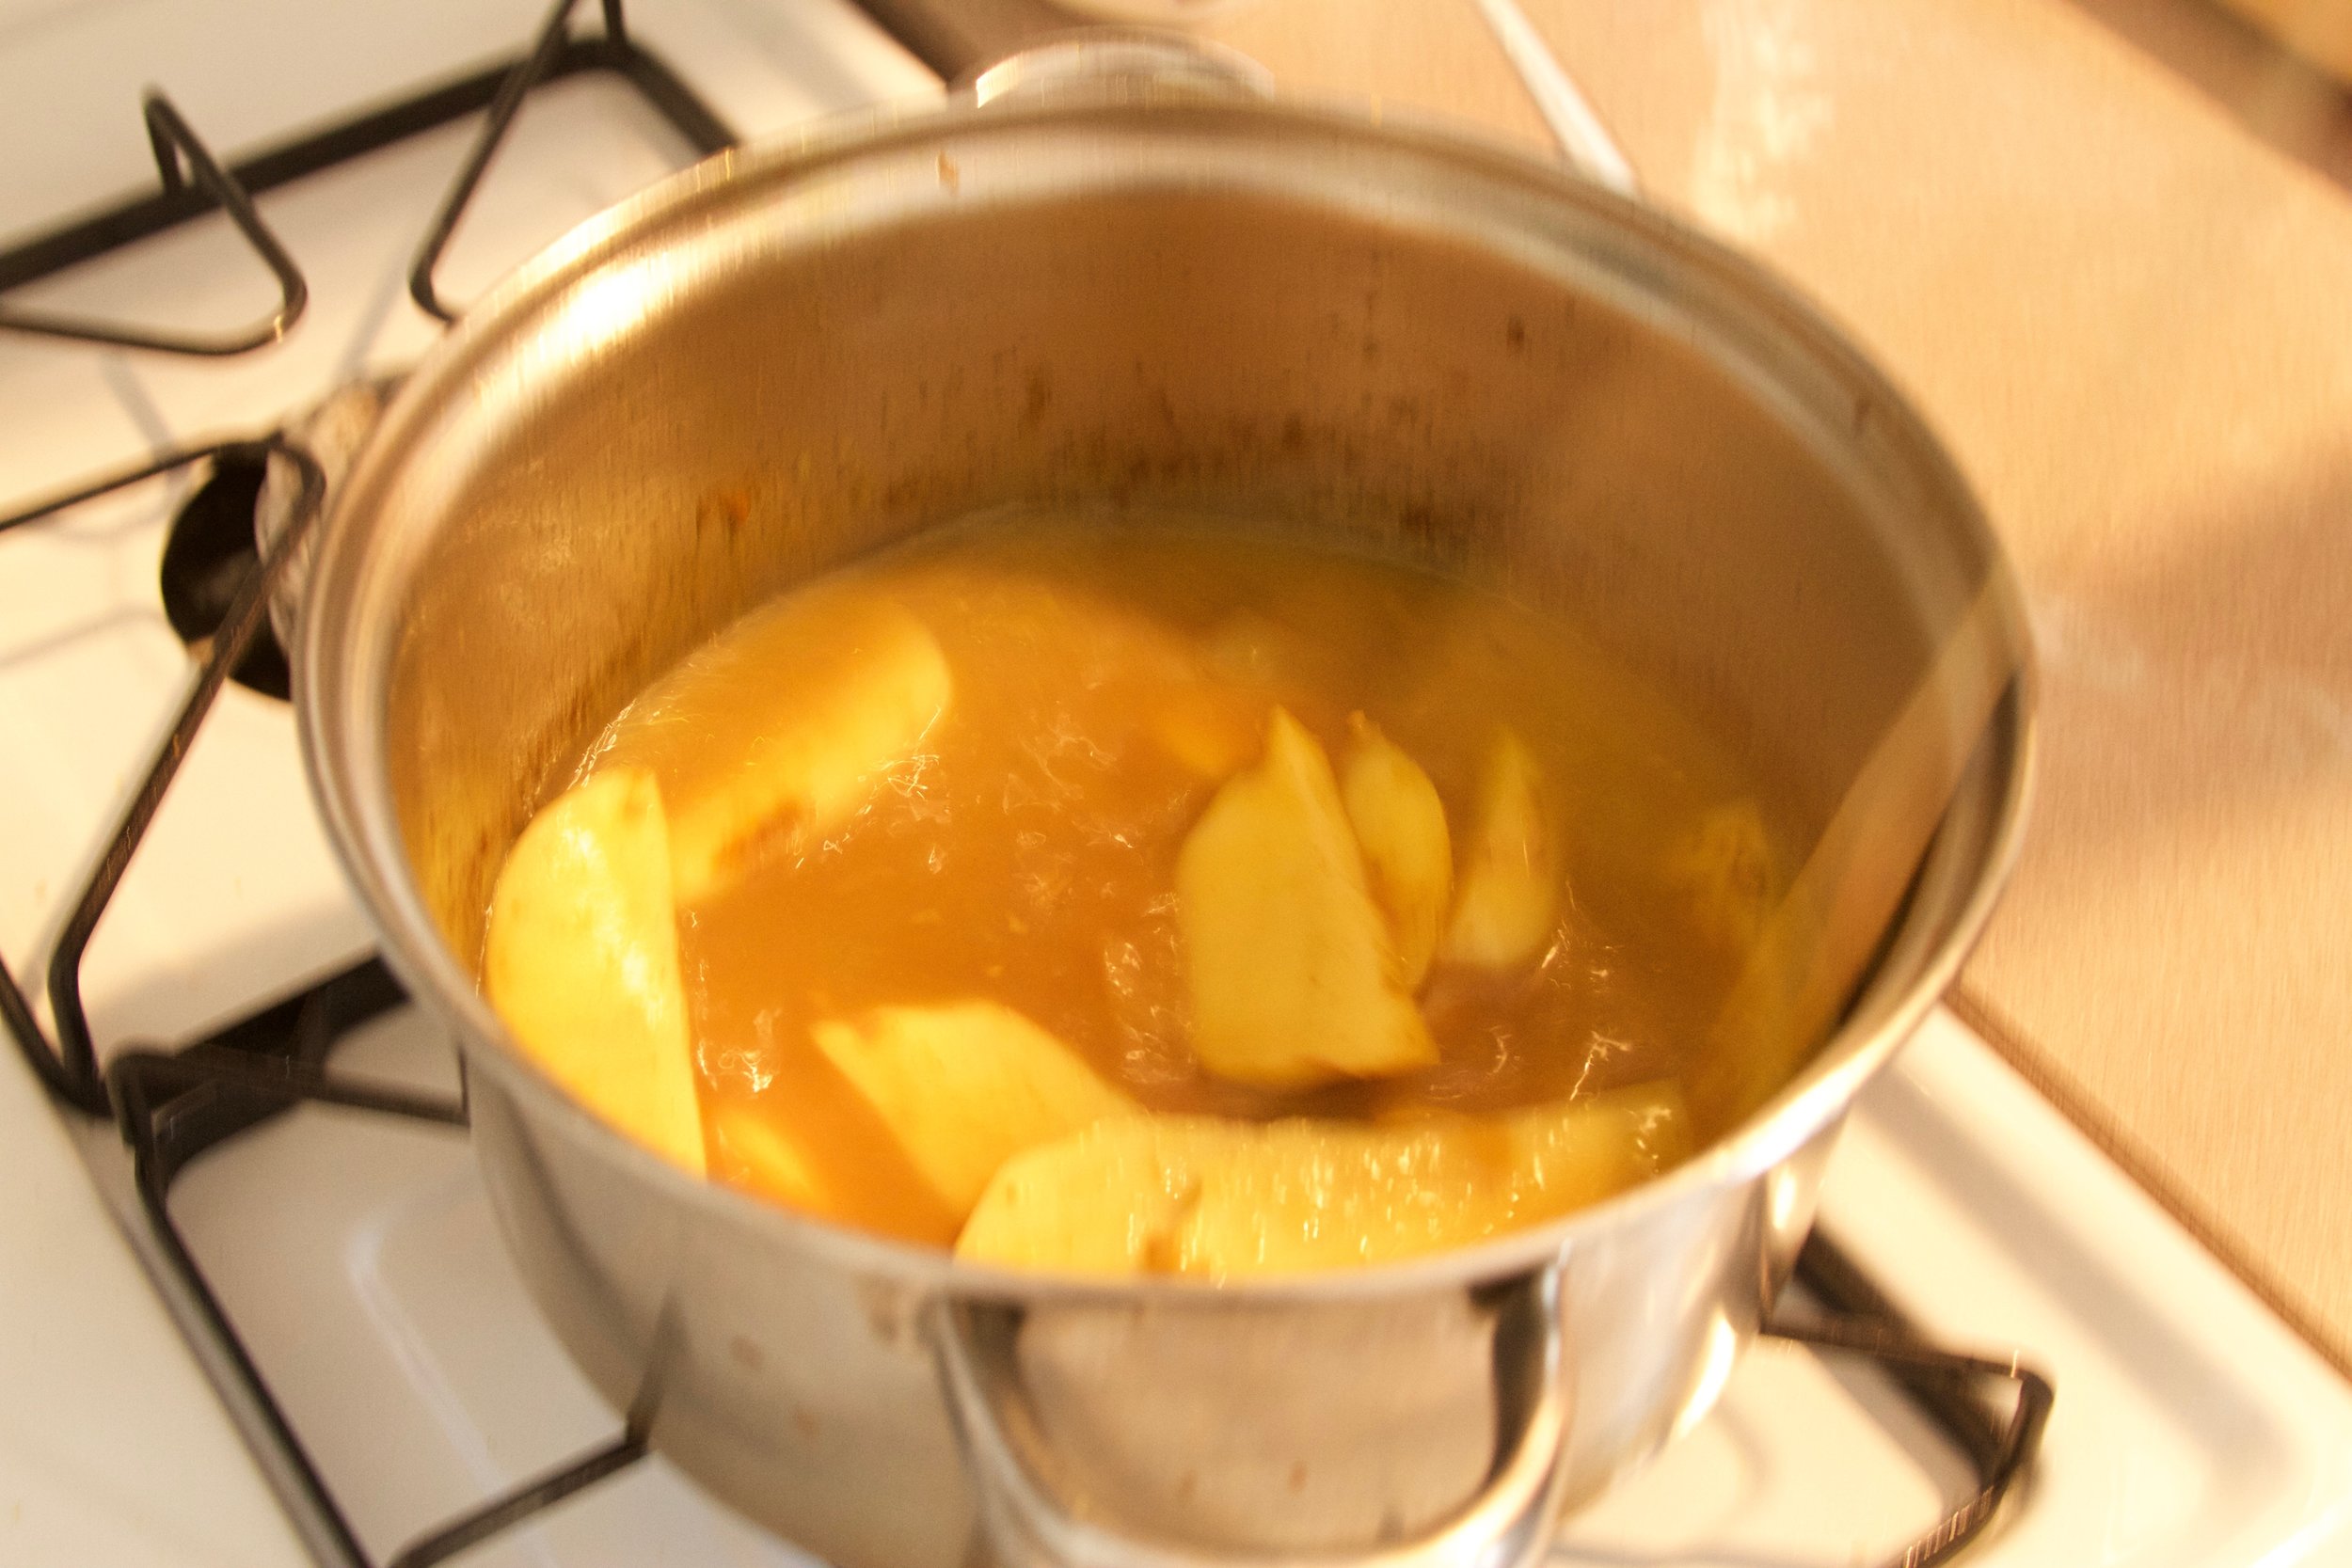
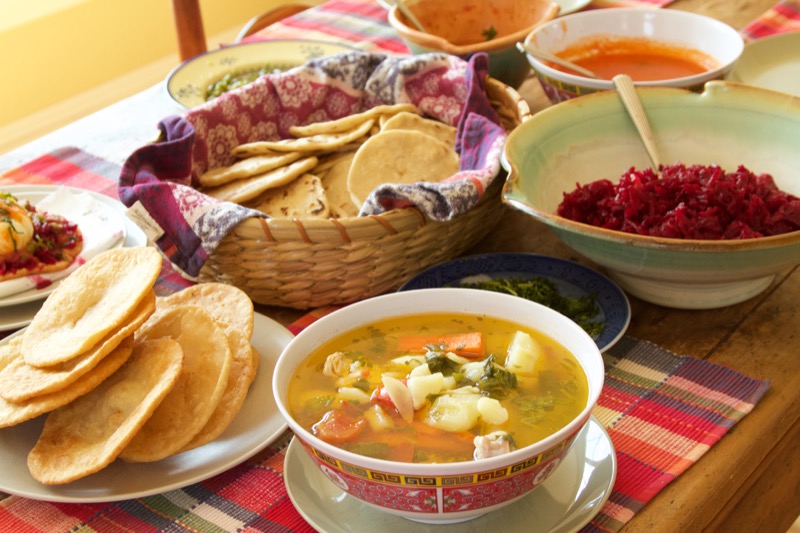
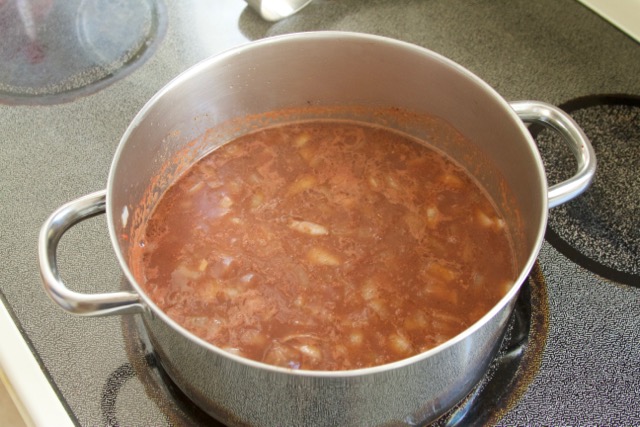
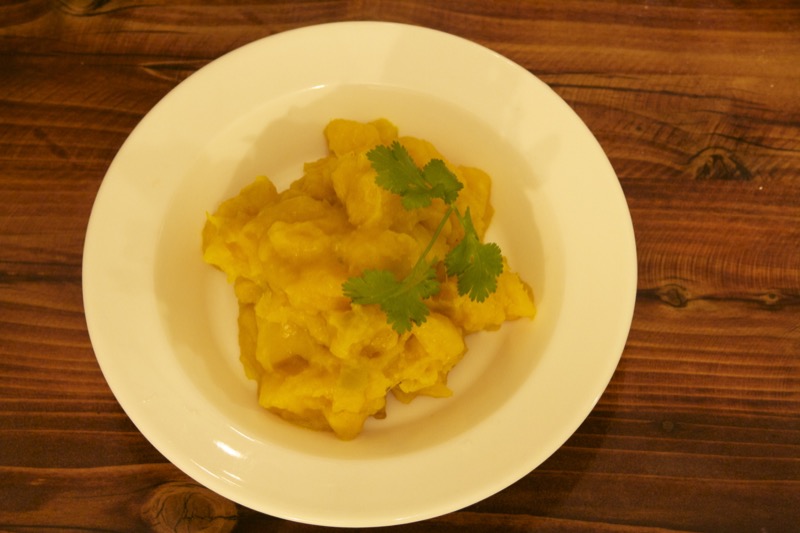
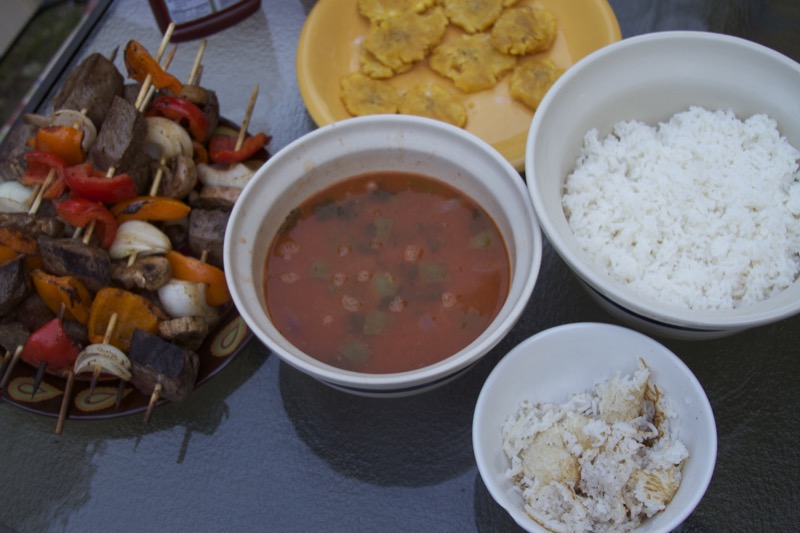
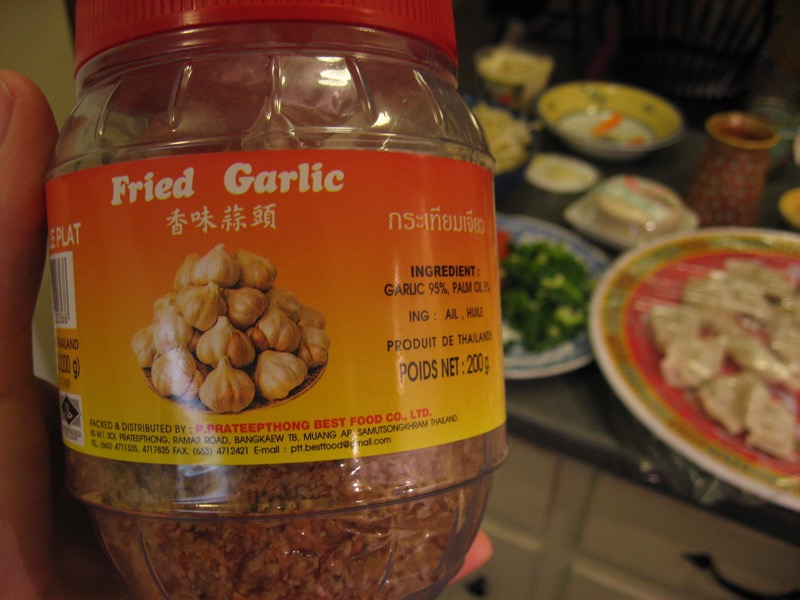
Notes: The name of this dish, buss up shut, is Trinidadian Creole for "busted up shirt," referring to the worn-in, flaky texture of the flatbread. Steve served this flatbread with a quick garbanzo and potato curry. They were delicious together. Here's a youtube video on another Trinidadian's take on how to manage the dough - worth a watch before you dive into doing this for the first time. Some details are different but the feel of the dough and the concepts are the same.
Makes: 4 servings
Cooking Time: 2 hours (50 minutes active)
Ingredients
- 2 cups flour plus extra for your work surface
- 2 tsp baking powder
- 1/2 tsp salt
- about 3/4 cup water
- 5 Tbsp ghee
- 2 Tbsp oil
Equipment
- mixer (optional) with dough hook or mixing bowl
- clean kitchen towel
- rolling pin
- spoon or flexible spatula for spreading ghee
- two flat wooden spoons or flat sticks
- 12-inch-wide sauté pan or flattop griddle
- basket lined with napkin
Instructions
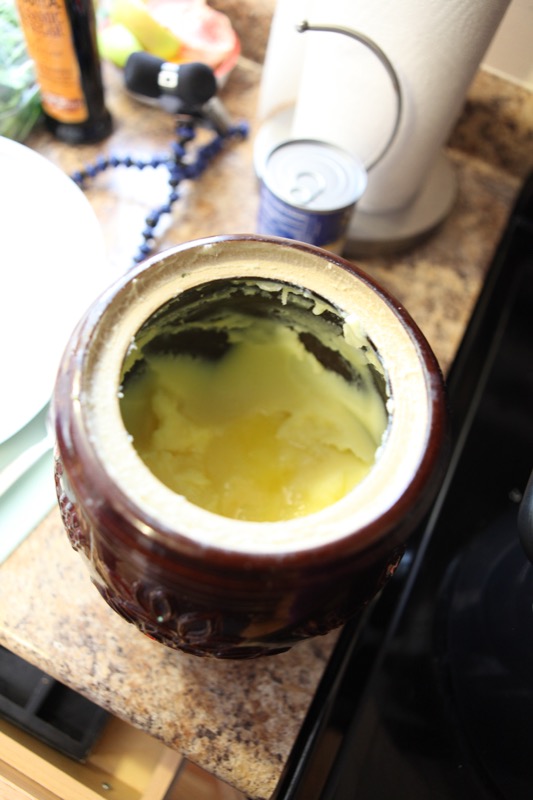
1. Soften ghee by bringing it to room temperature or microwaving it a little bit.
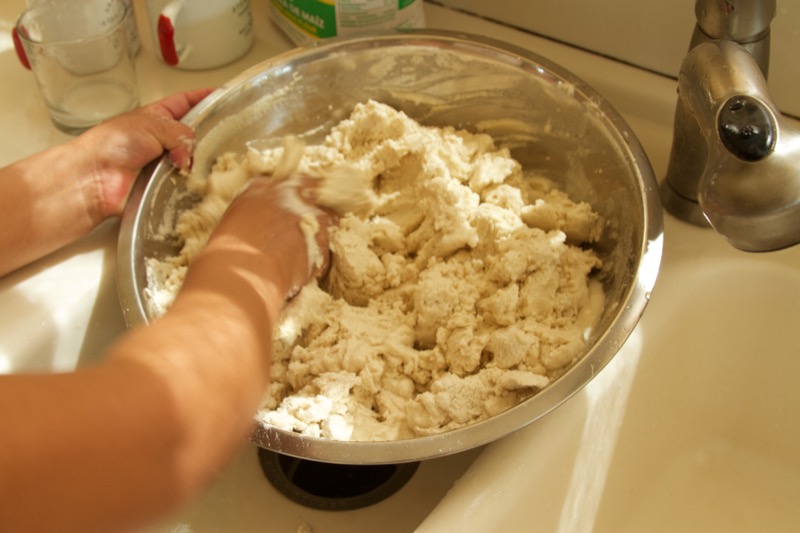
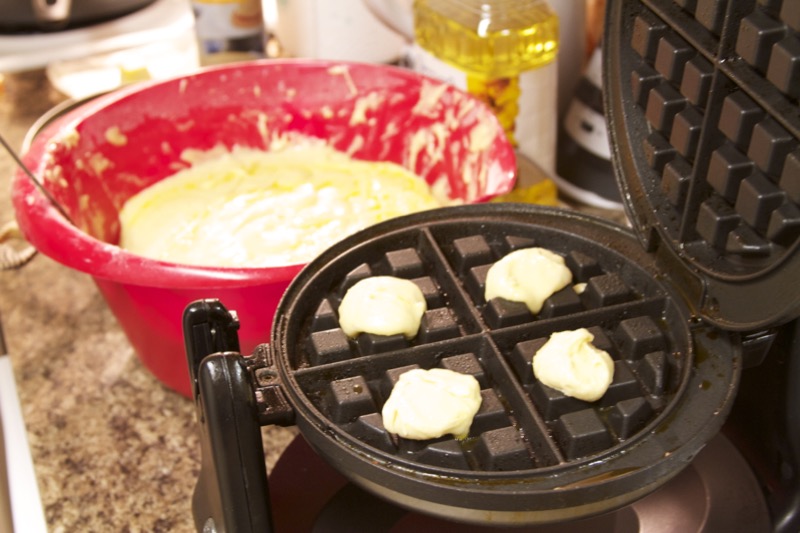
2. Mix flour, baking powder, salt, and water by hand or with a mixer with a dough hook until the dough turns smooth, soft, and stretchy (about 5 minutes w/ mixer or 10 minutes by hand.) If the dough is sticking to the sides you can add a little more flour. If the dough is hard to maneuver, add a little more water so the dough is easy to move around and manipulate but does not stick to your hands. (You can always dust your hands with flour to keep the dough from sticking to them.)
3. Divide the dough into four balls. Cover them with a clean cloth for 20 minutes. (If you're making other dishes, such as curry, now would be a good time to make that.)
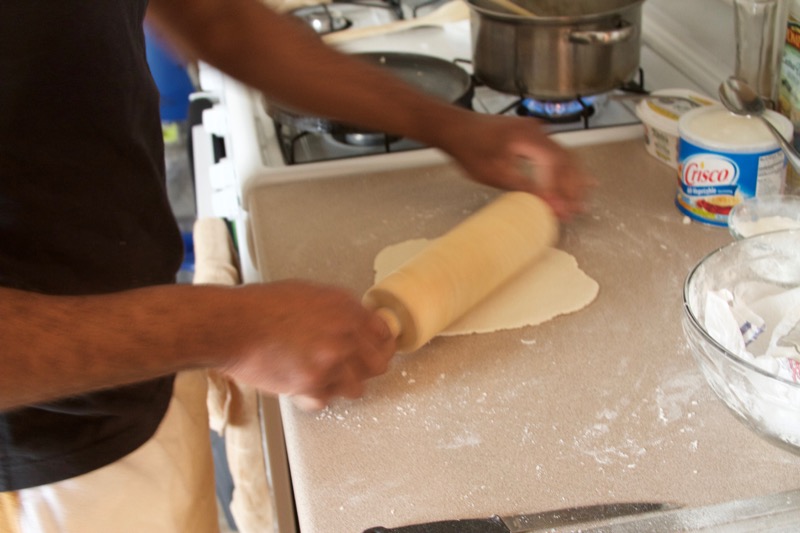
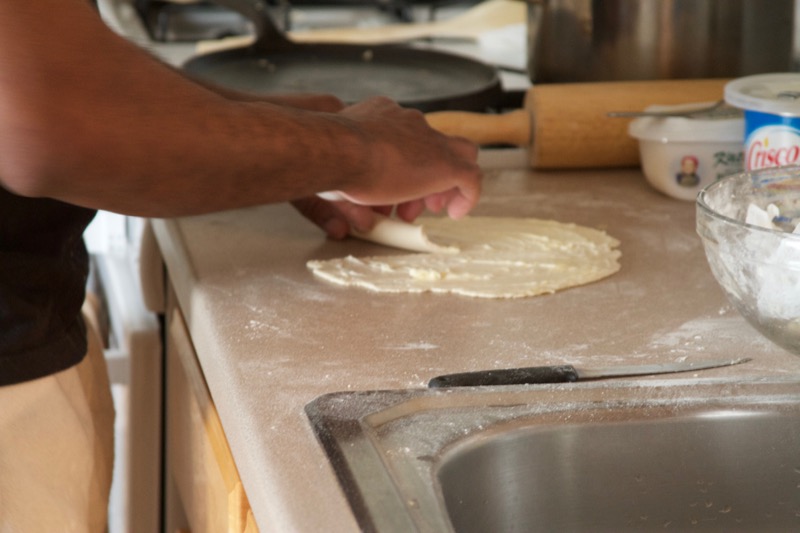
4. Once dough has rested, sprinkle flour on your work surface. Press one of the balls into a disc. Roll the disc out to a thin circle, about 1/8 inch thick. To help it keep a circular shape, turn the disc 45 degrees every couple times you roll it. When the dough starts to stick to the rolling pin, simply sprinkle flour on the dough and the counter, and spread it around with your hand.
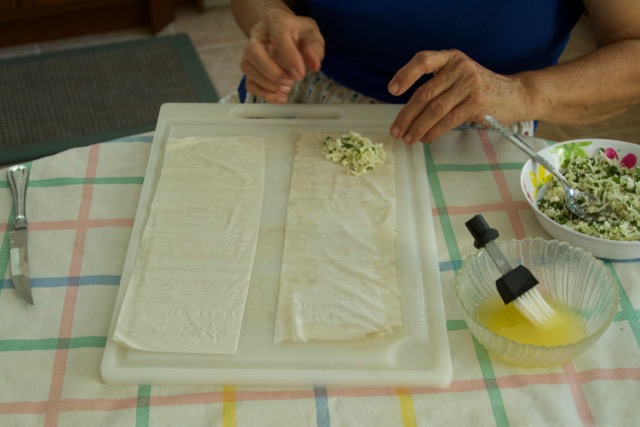
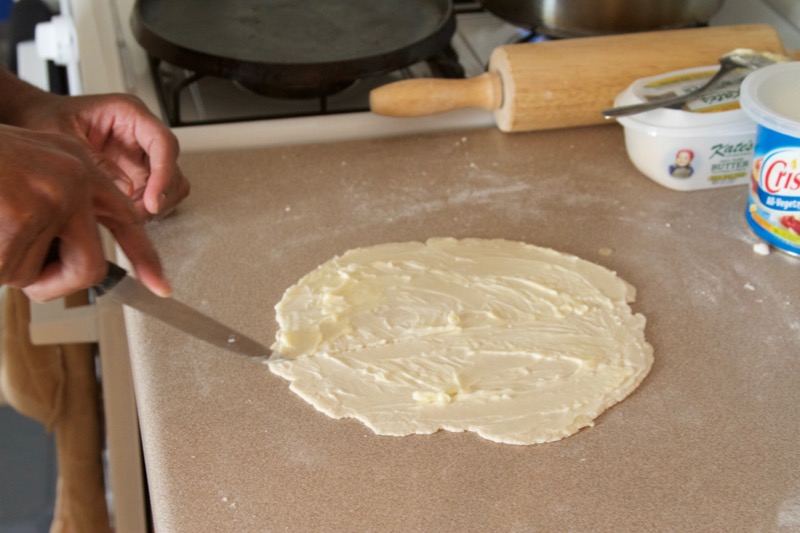
5. Spread about 1 Tbps ghee over the entire surface, and sprinkle with flour.
6. With a paring knife, cut the radius of the circle.
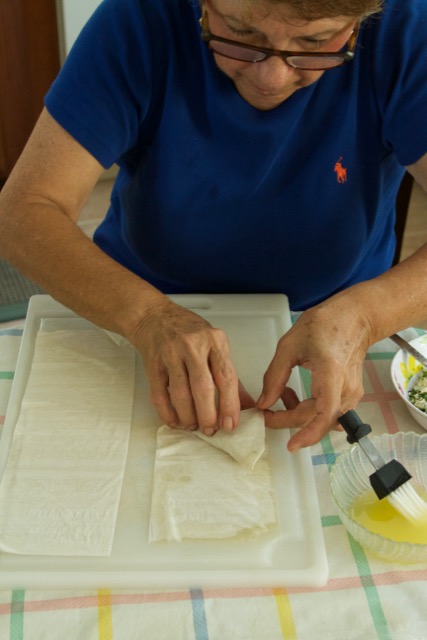
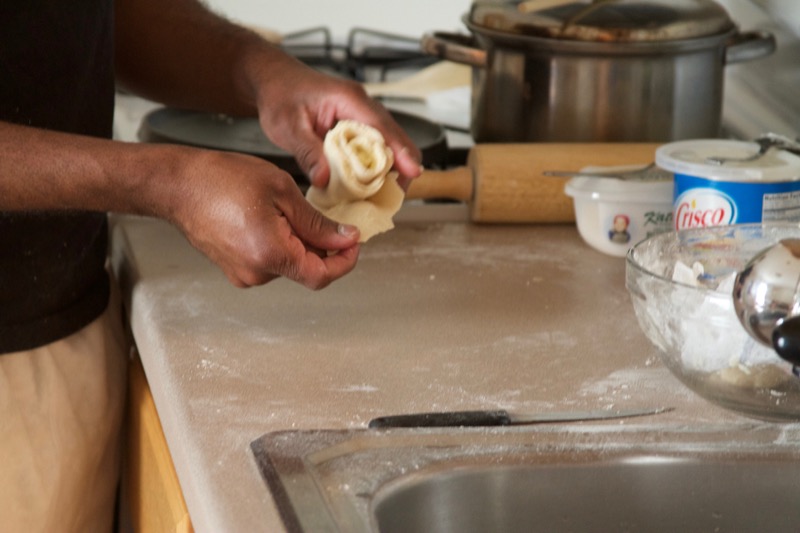
7. Roll the cut edge back on itself and keep rolling so that you roll almost the whole circle into a cone. Pull the last remaining flap over the base of the cone, sealing the edges of the buttery layers inside.
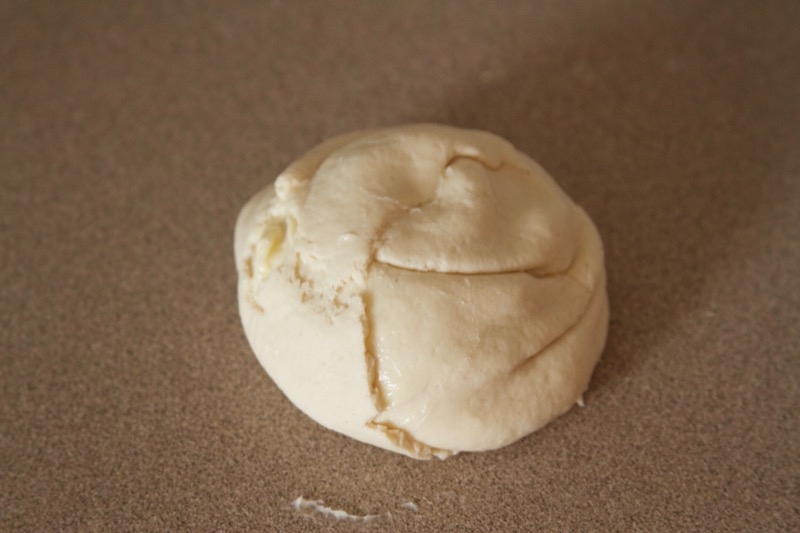
8. Place cone on its base and press the upended tip of the cone down into the base, transforming the cone into a mound. Place the mound on a flour-dusted counter and cover with clean towel.
9. Repeat this process with the remaining three balls of dough. Once finished, cover the mounds with a towel and let rest 30 minutes.
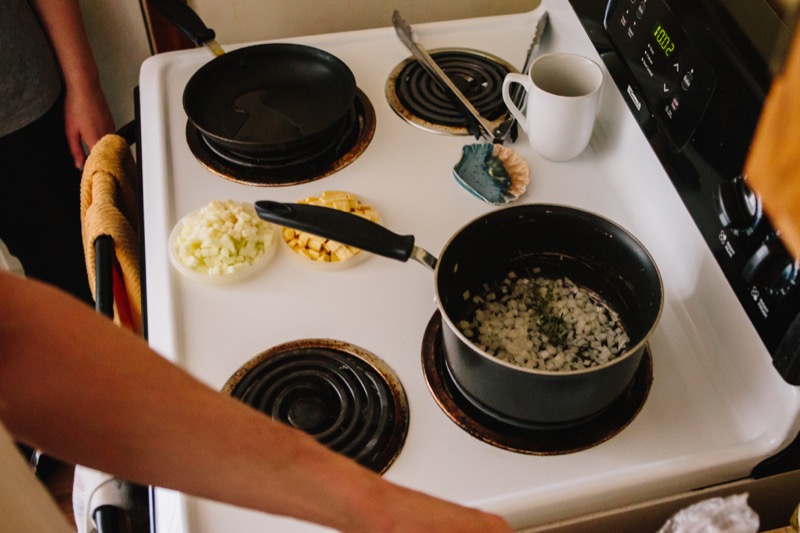
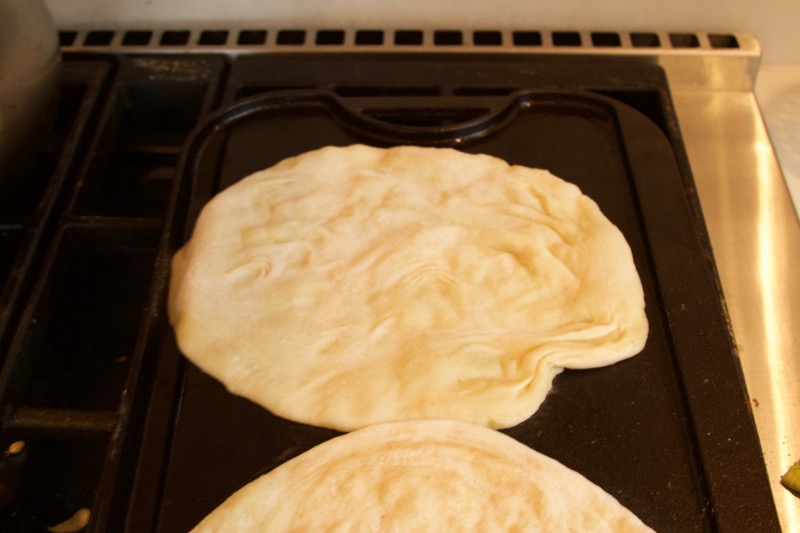
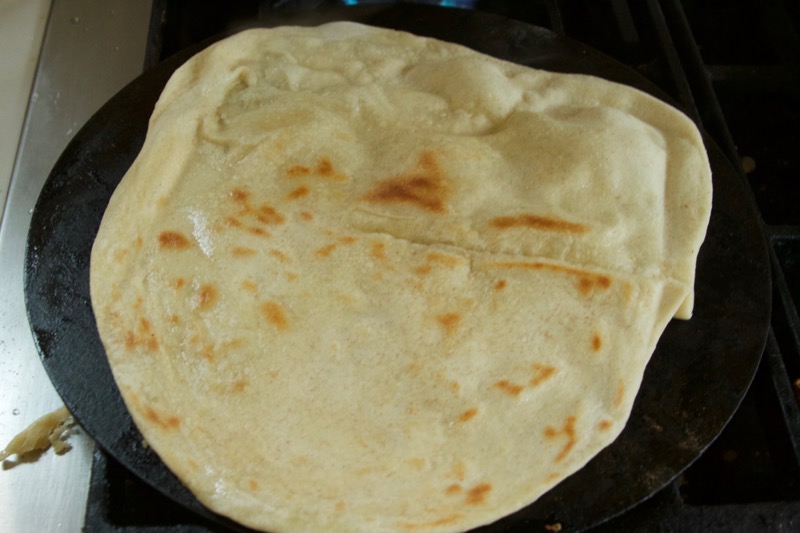
10. Sprinkle counter top generously with flour. Pre-heat oiled flat pan or griddle to medium. Roll one of the mounds out into a circle. Sprinkle and wipe the top of the dough and/or counter with flour to keep the dough from sticking to the counter or the rolling pin. Roll into a thin circle, about 1/8 inch thick.
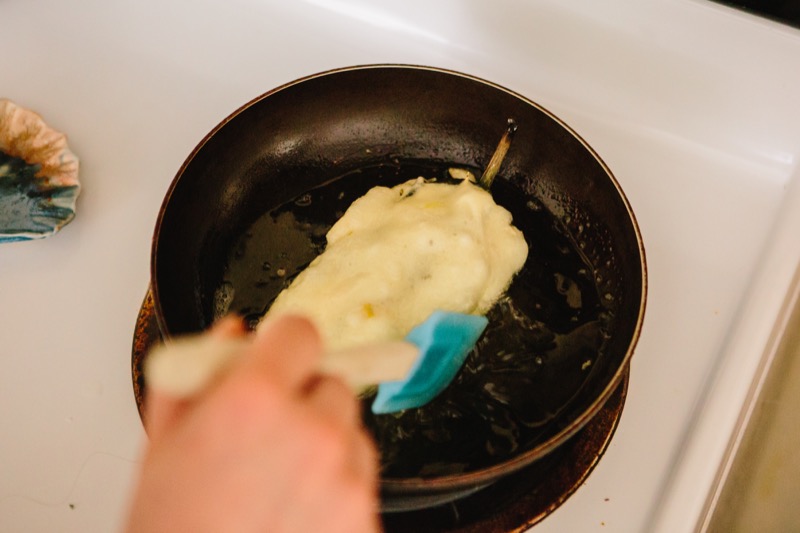
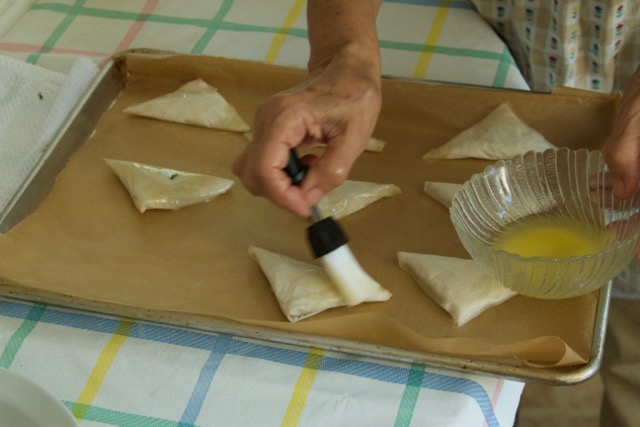
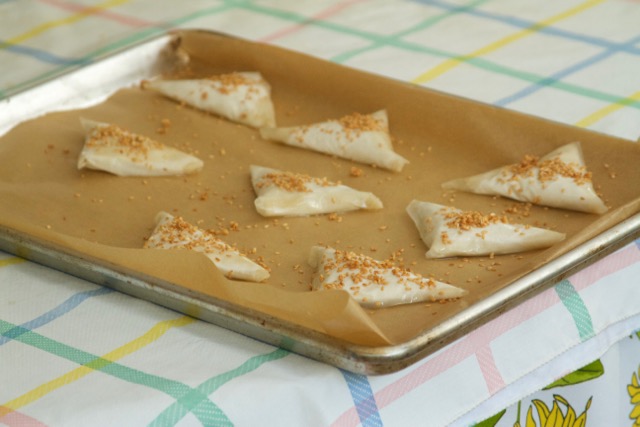
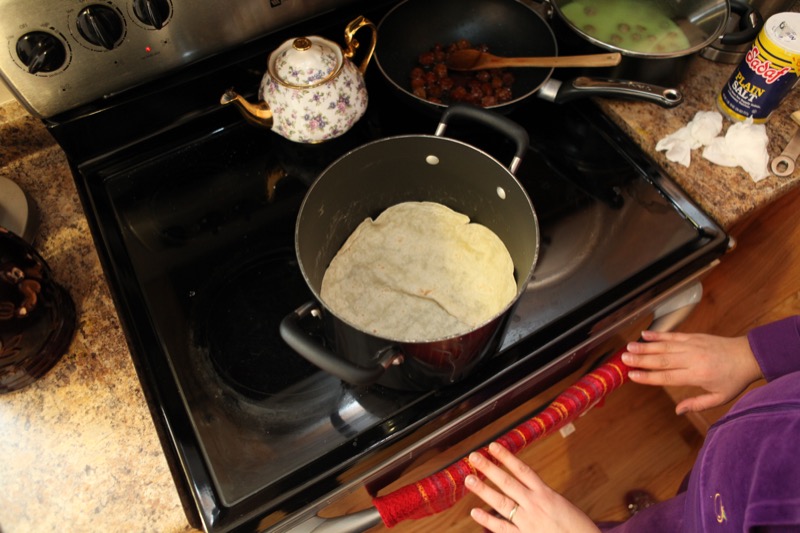
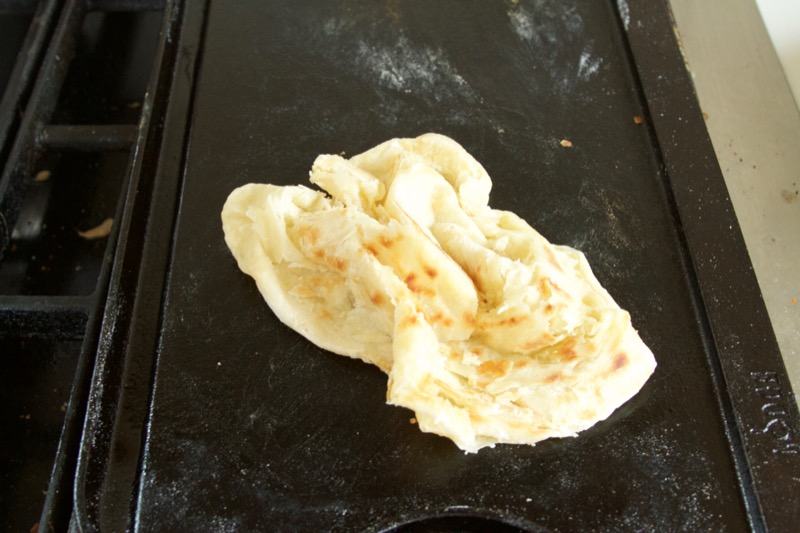
11. Place the circle of dough on the hot pan/griddle for a couple minutes, brushing the top side with vegetable oil. Flip and let the other side cook. With two wooden spoons push the edges of the circle into the middle multiple times, making it wrinkly and worn. Keep the circle scrunched in the center of the pan to make sure the edges have a chance to cook fully. Once the layered dough is cooked throughout, put it crunched up in a towel-lined basket. Repeat with the rest of the dough.
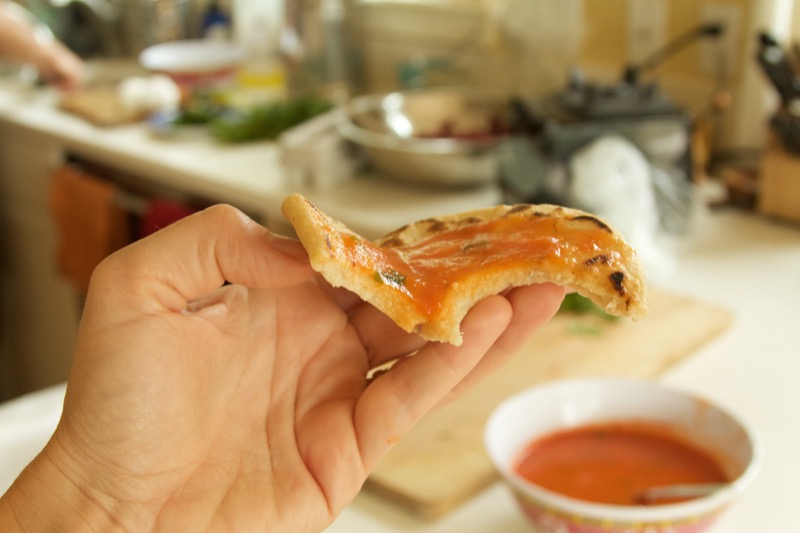
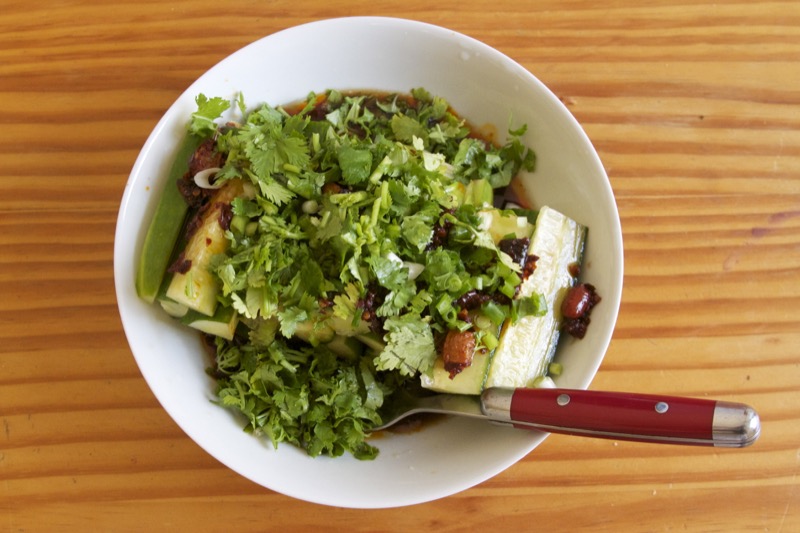
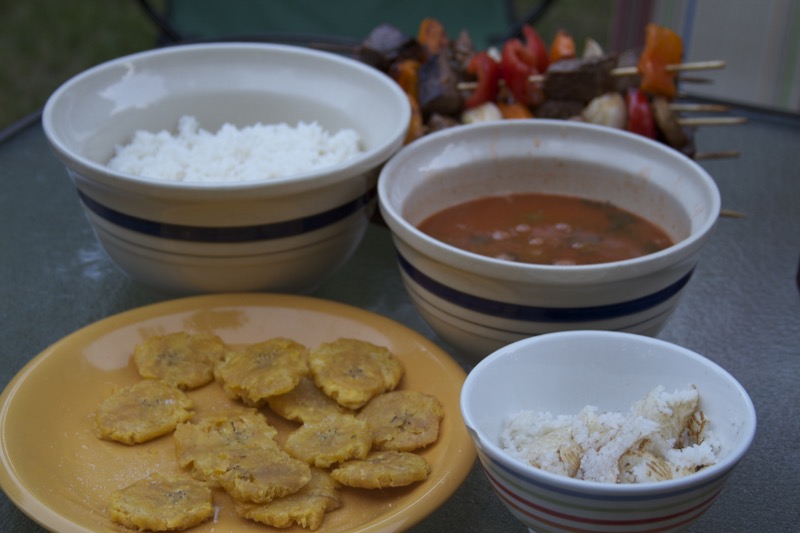
12. Serve busted up flat bread thick vegetable or meat dishes like stewed meats, dals, and curries. The classic Trinidadian combo is buss up shut and garbanzo and potato curry. Buss up shut is to be eaten with your hands - use ripped pieces of the bread to scoop up bites of other foods.