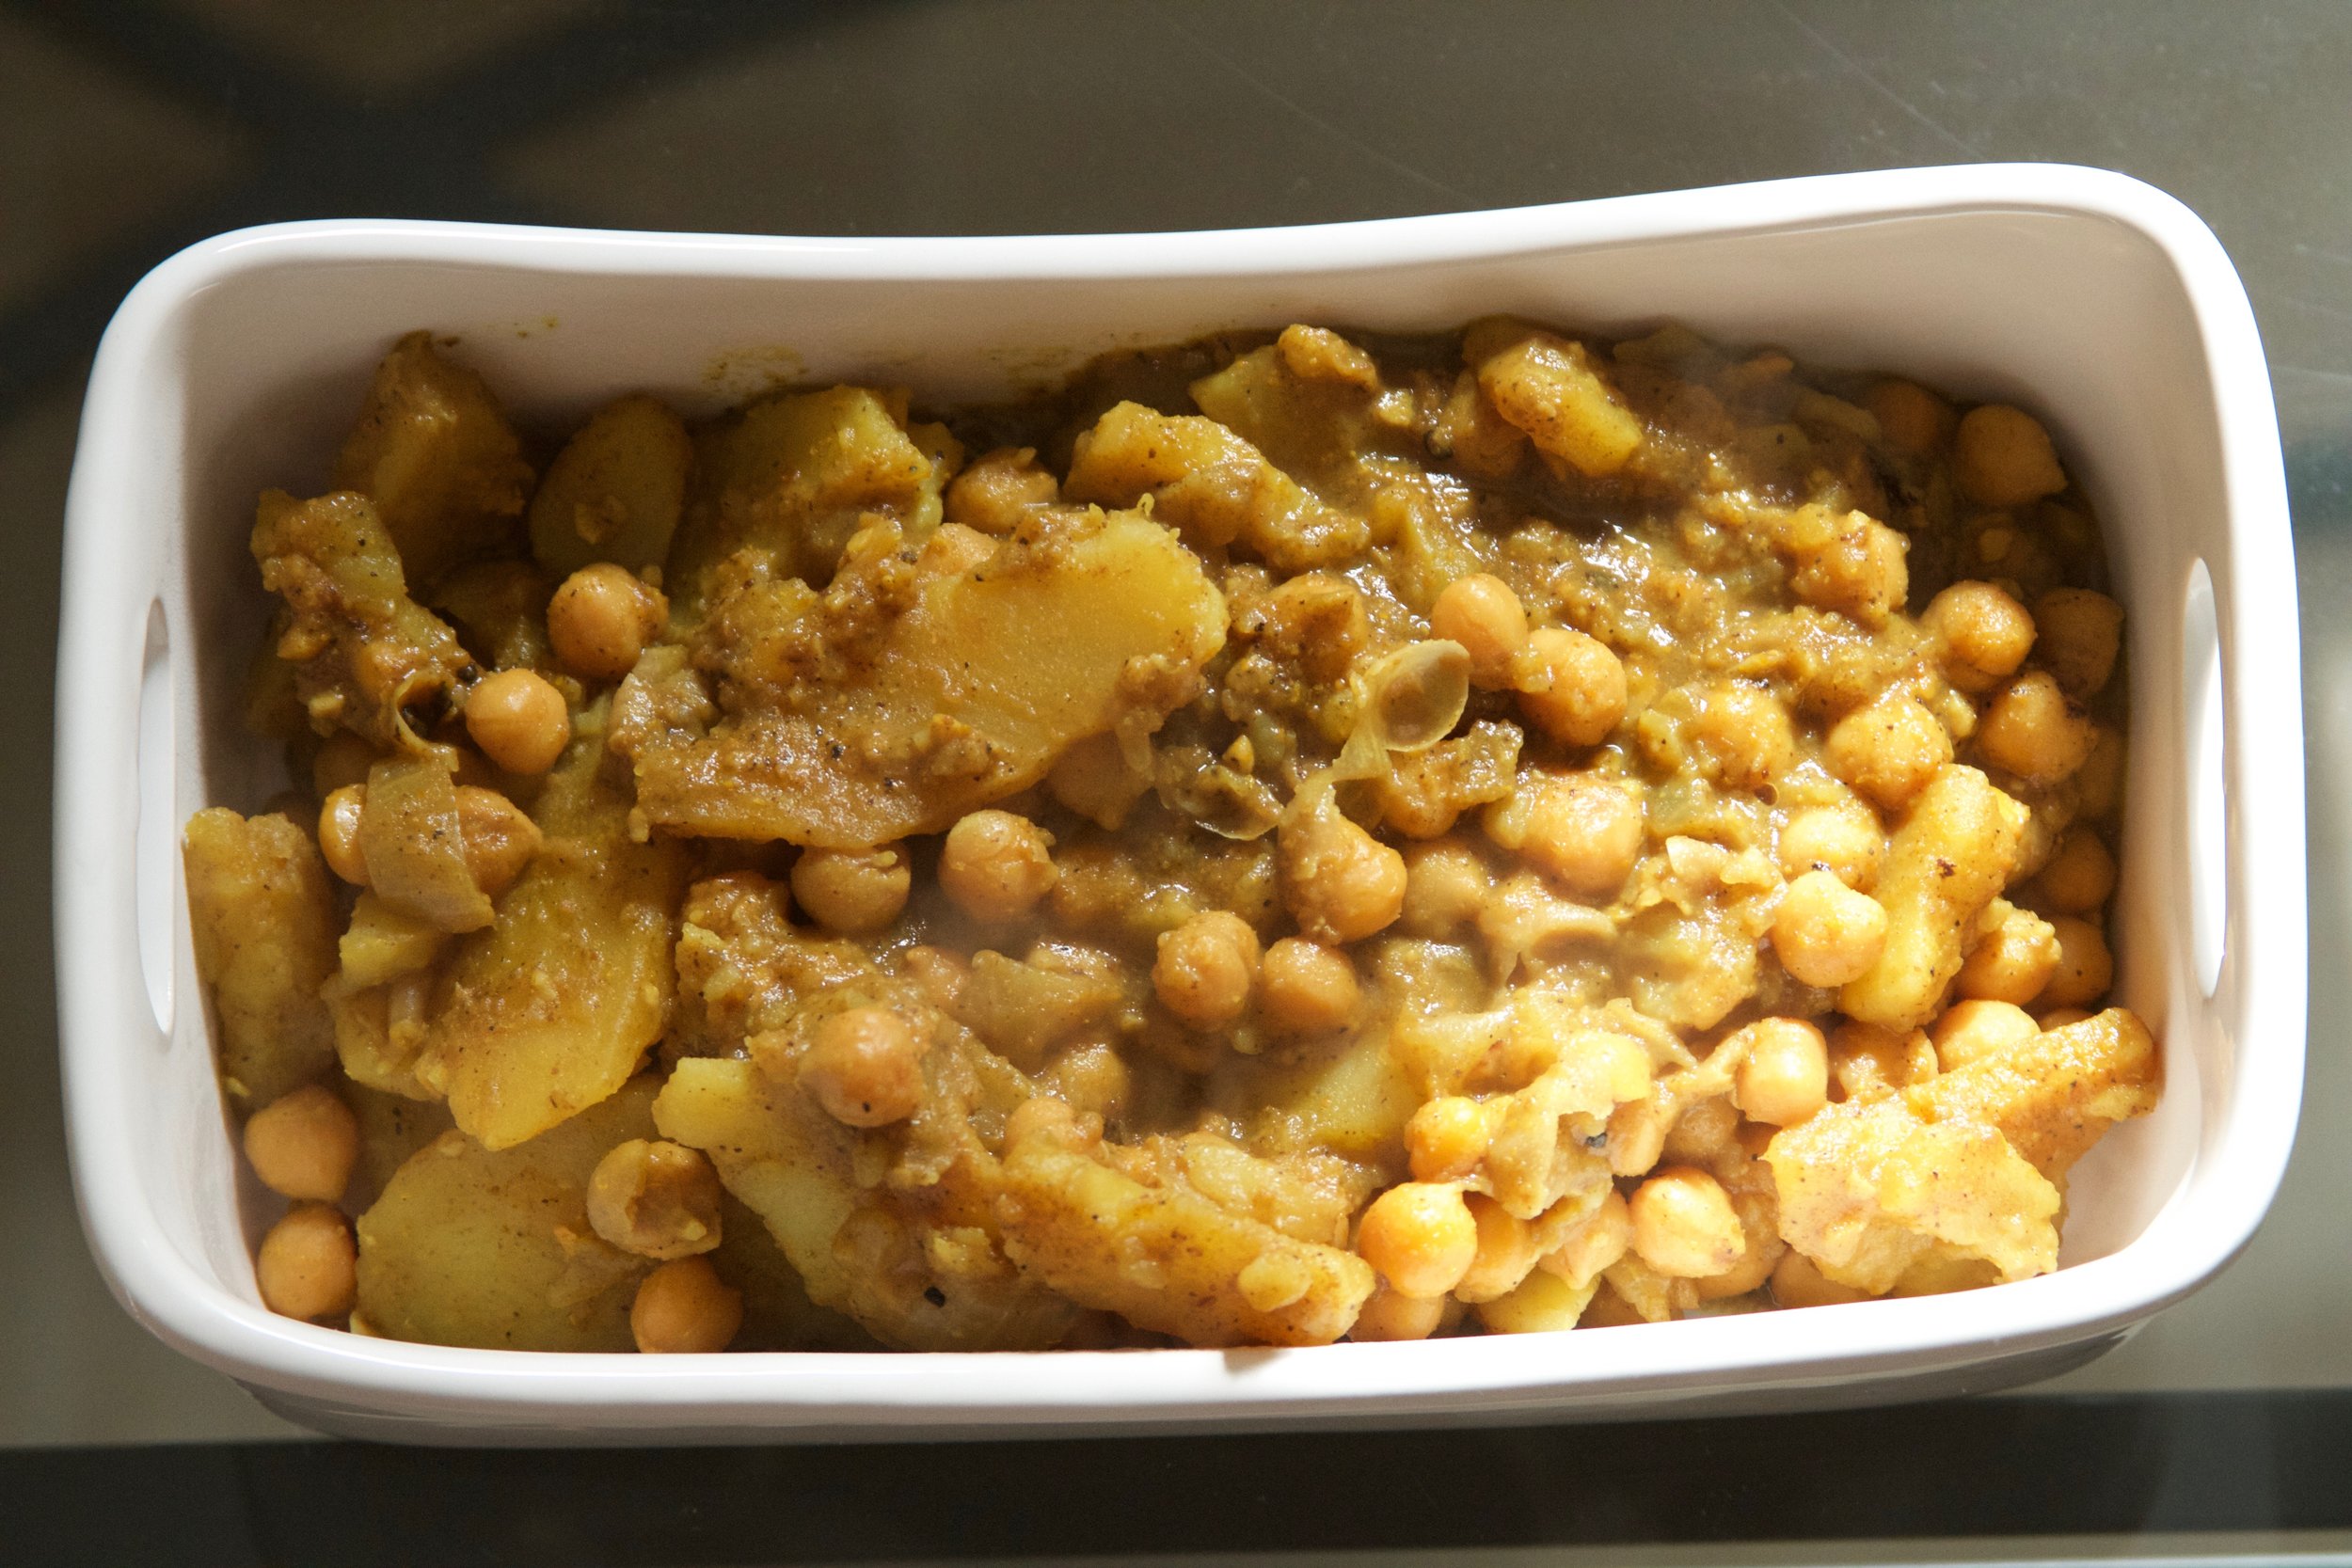
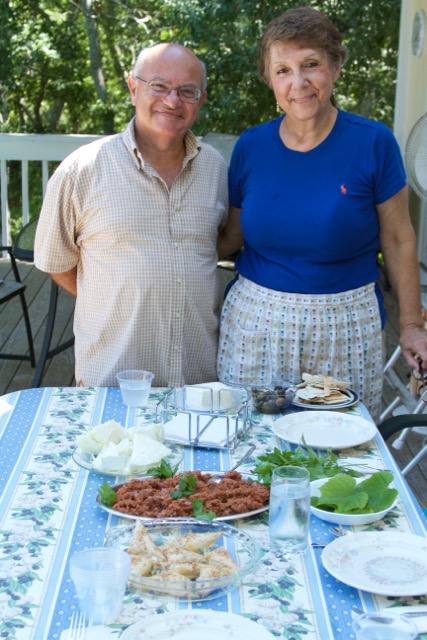
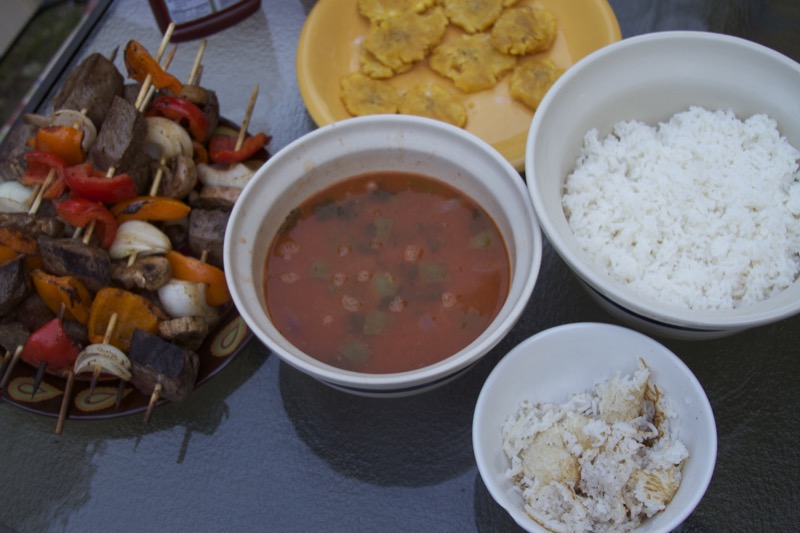
Silsi (Spiced Tomato), Ades (Lentil), and Shiro (Smooth Chickpea)
As a gentleman from Eritrea taught Lindsay Sterling in Portland, Maine.
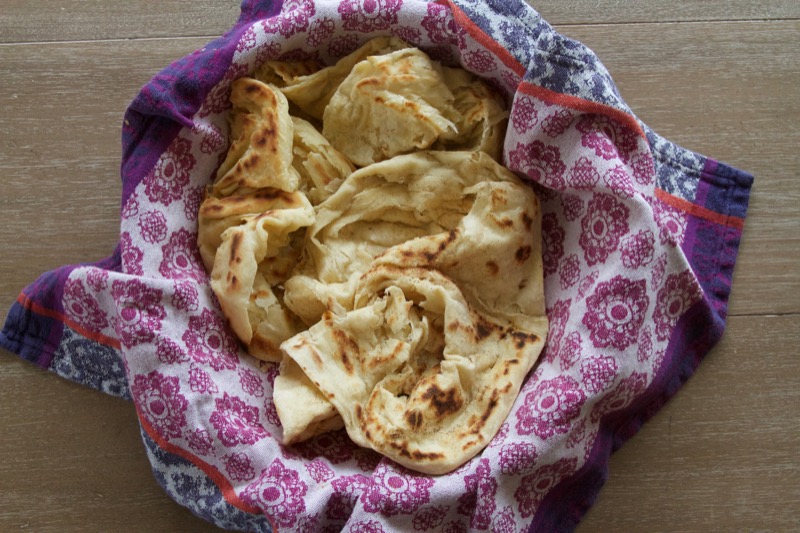
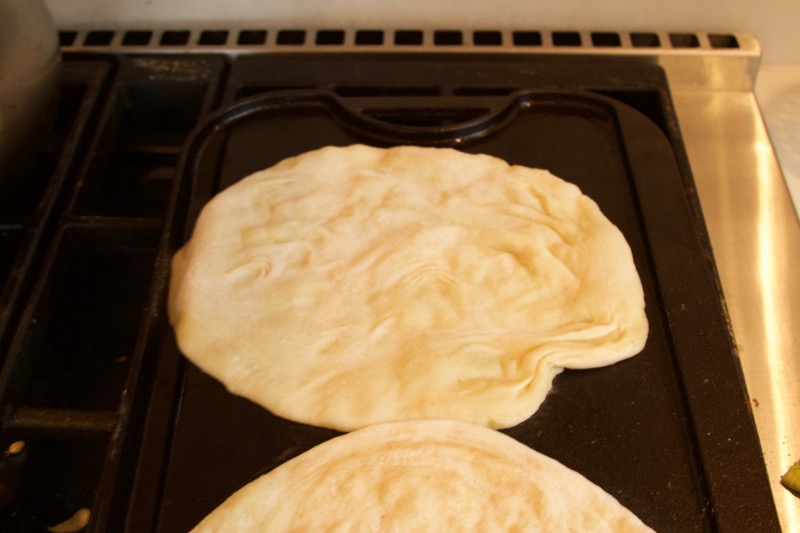
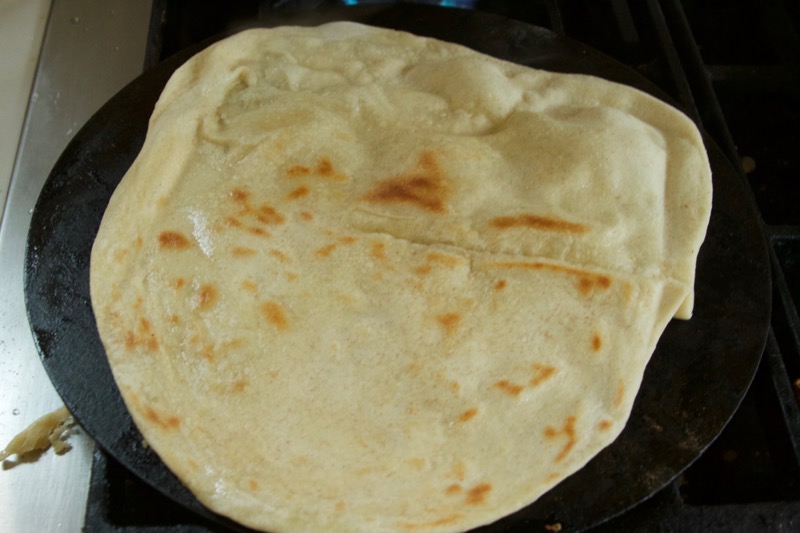
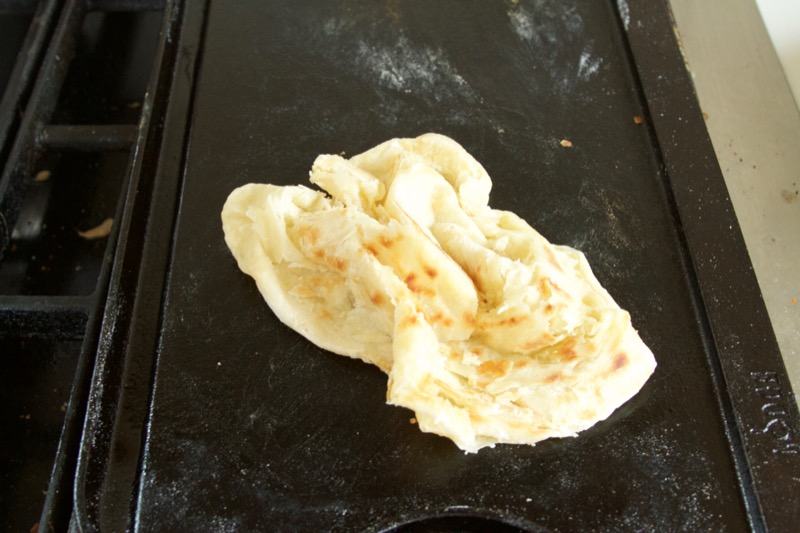
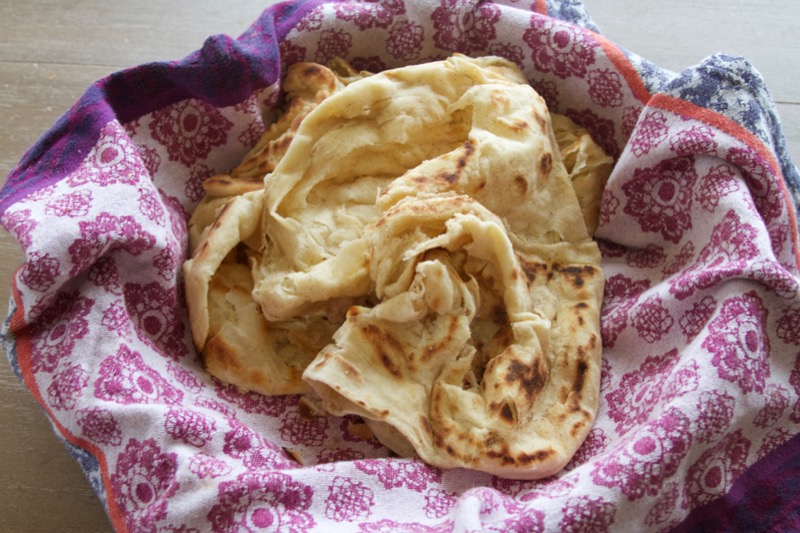
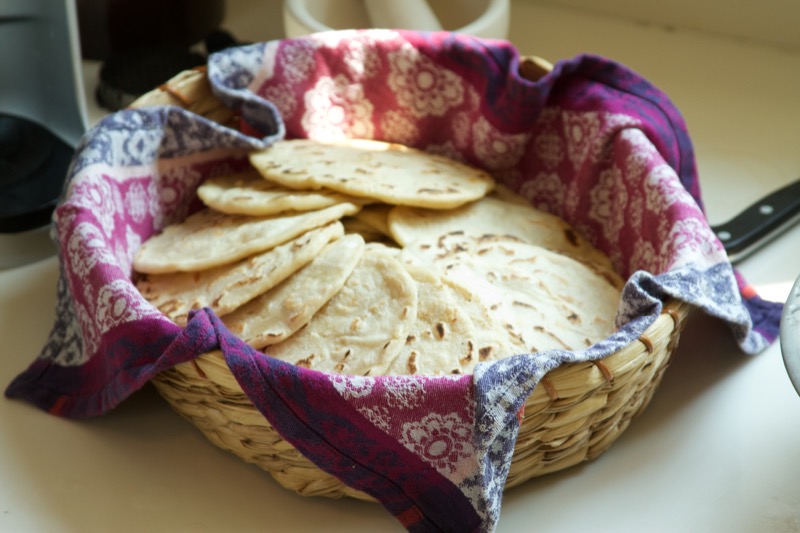
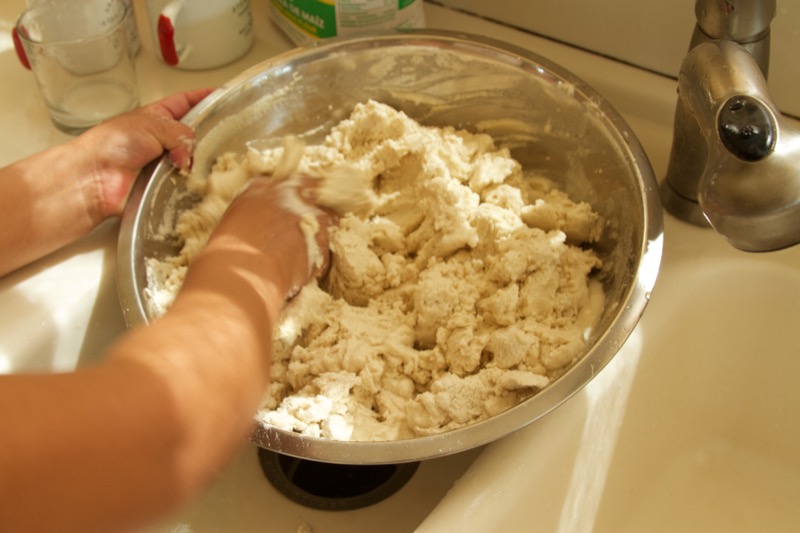
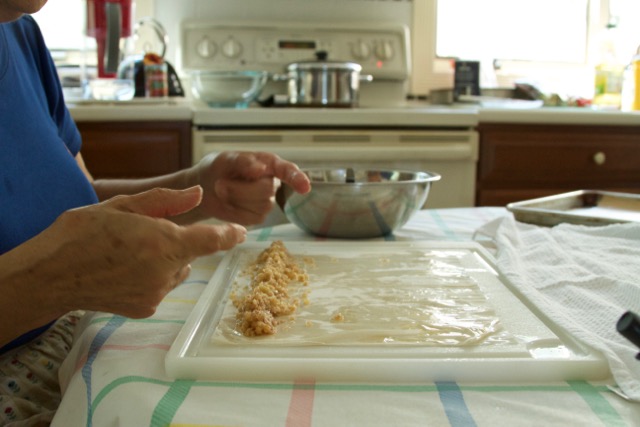
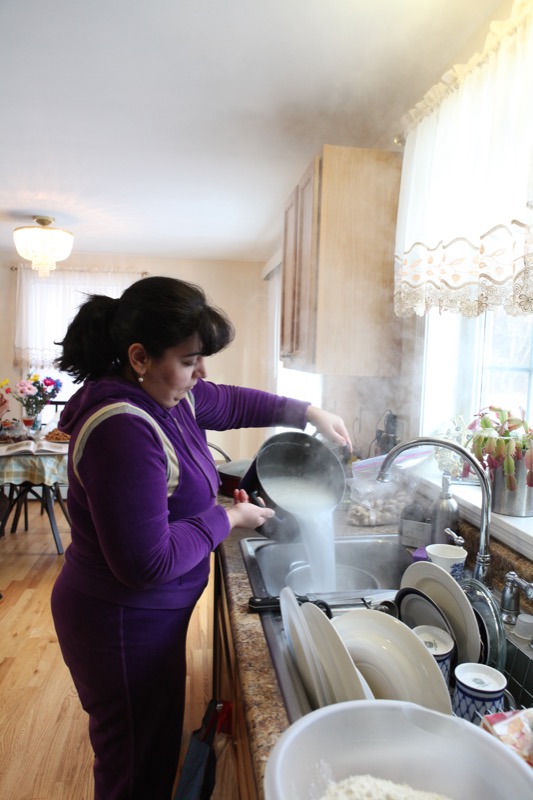
Notes: He served these three vegetarian sauces on sourdough flatbread called injera. He shared this platter with friends who all ate from it with their hands, using ripped pieces of the flatbread to scoop up sauces into delicious bites. If you can't find injera at an Eritrean/Ethiopian market or store near you or don't want to make your own (it takes 3 days to ferment and is quite tricky), serve these sauces as dips or spreads with sourdough toast.
Before you start this recipe you'll want to make the Eritrean spiced butter, and order berbere spice and shiro powder online. Once you have those and the rest of the ingredients, making these sauces is easy.
Cooking time: 45 min
Makes: 6 servings as a light meal
Ingredients
- 2 Tbsp Eritrean spiced butter (omit this for a vegan or lactose-free version)
- 1 red onion, finely diced
- 1/2 cup corn or canola oil
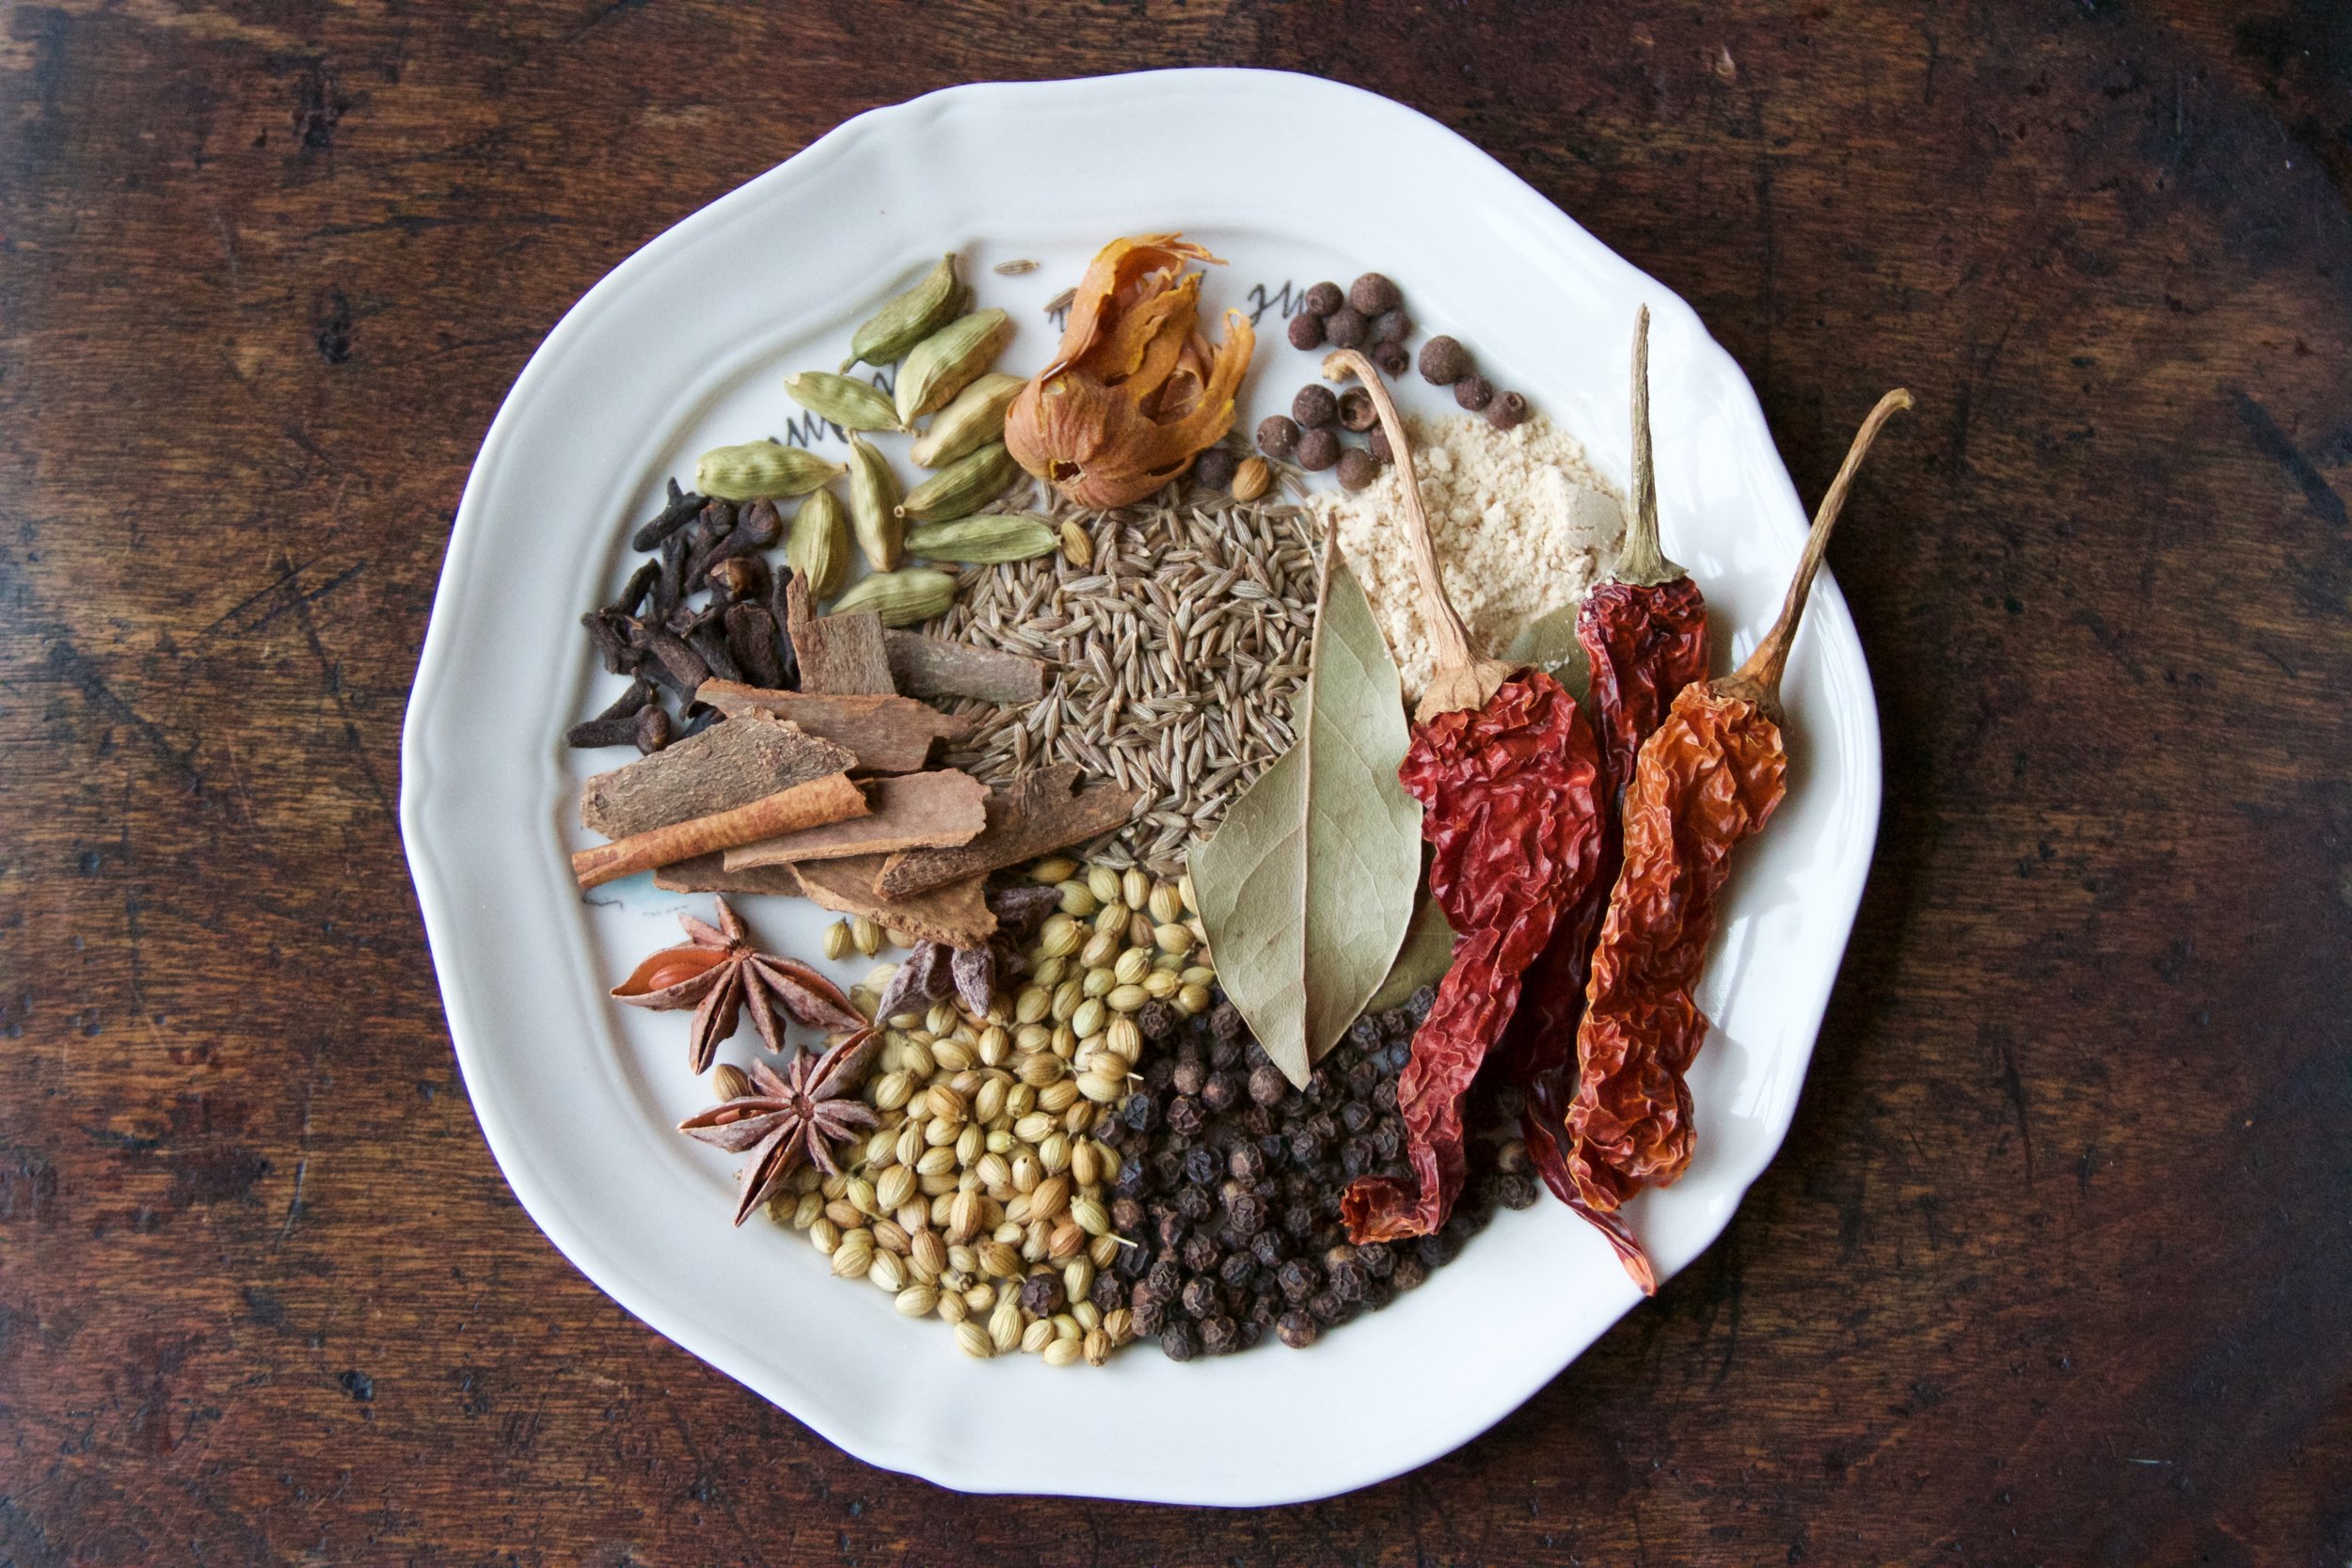
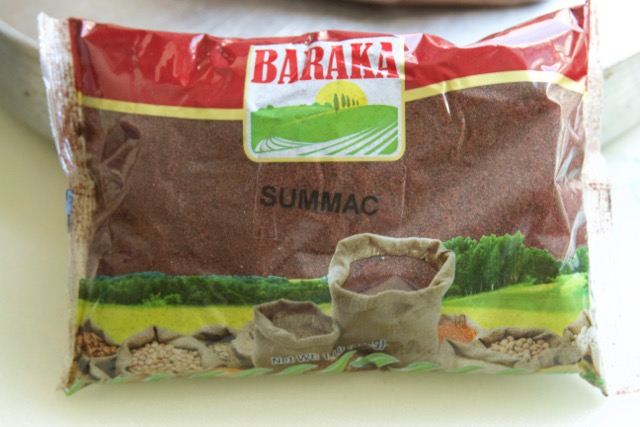
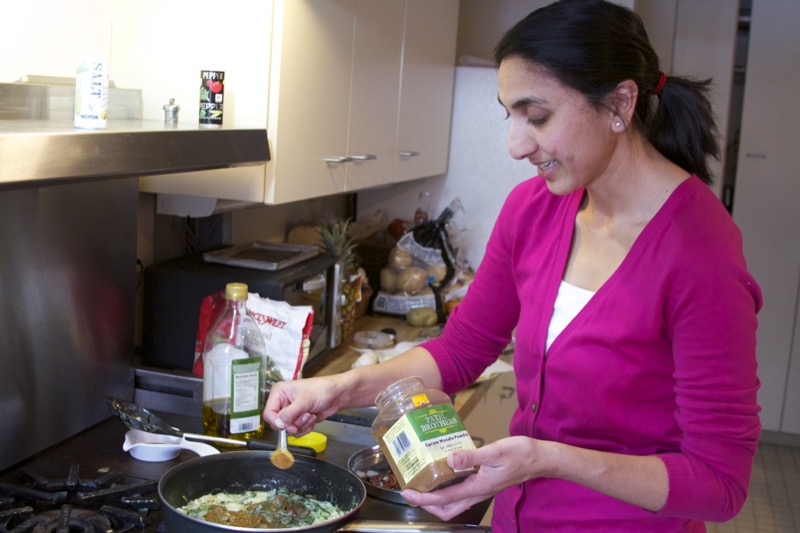
- 3 Tbsp berbere spice
- 5 large red tomatoes
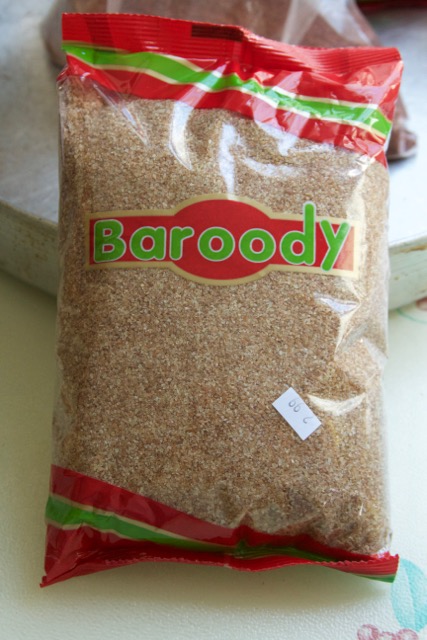
- 1/2 cup shiro powder
- 1 cup pink lentils
- 4 pieces injera or a loaf of whole wheat sourdough (or gluten free bread as desired)
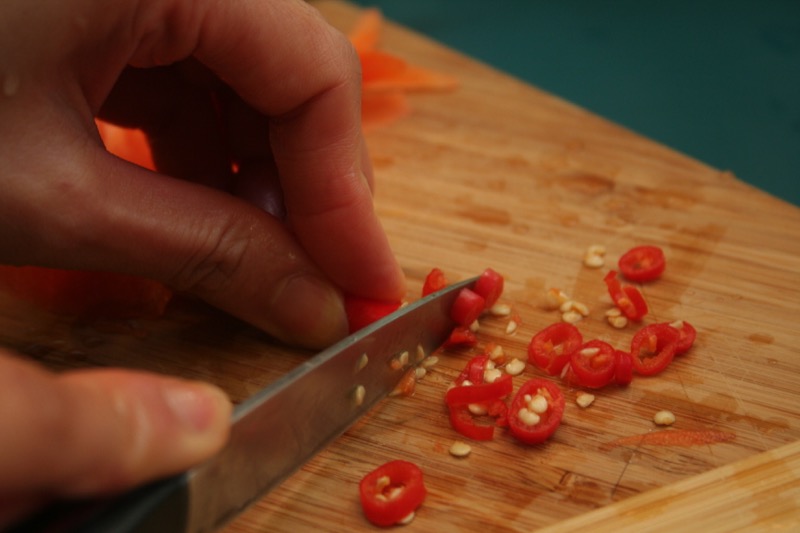
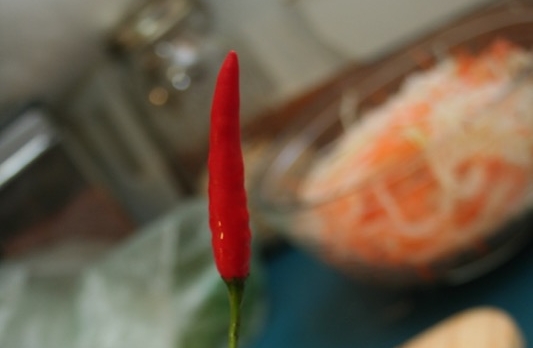
- small fresh green chilis for garnish (optional)
Equipment
- sheet pan/cookie sheet
- cutting board
- knife
- three medium sauce pots
- blender or food processor
- spatula
- wooden spoon
Instructions
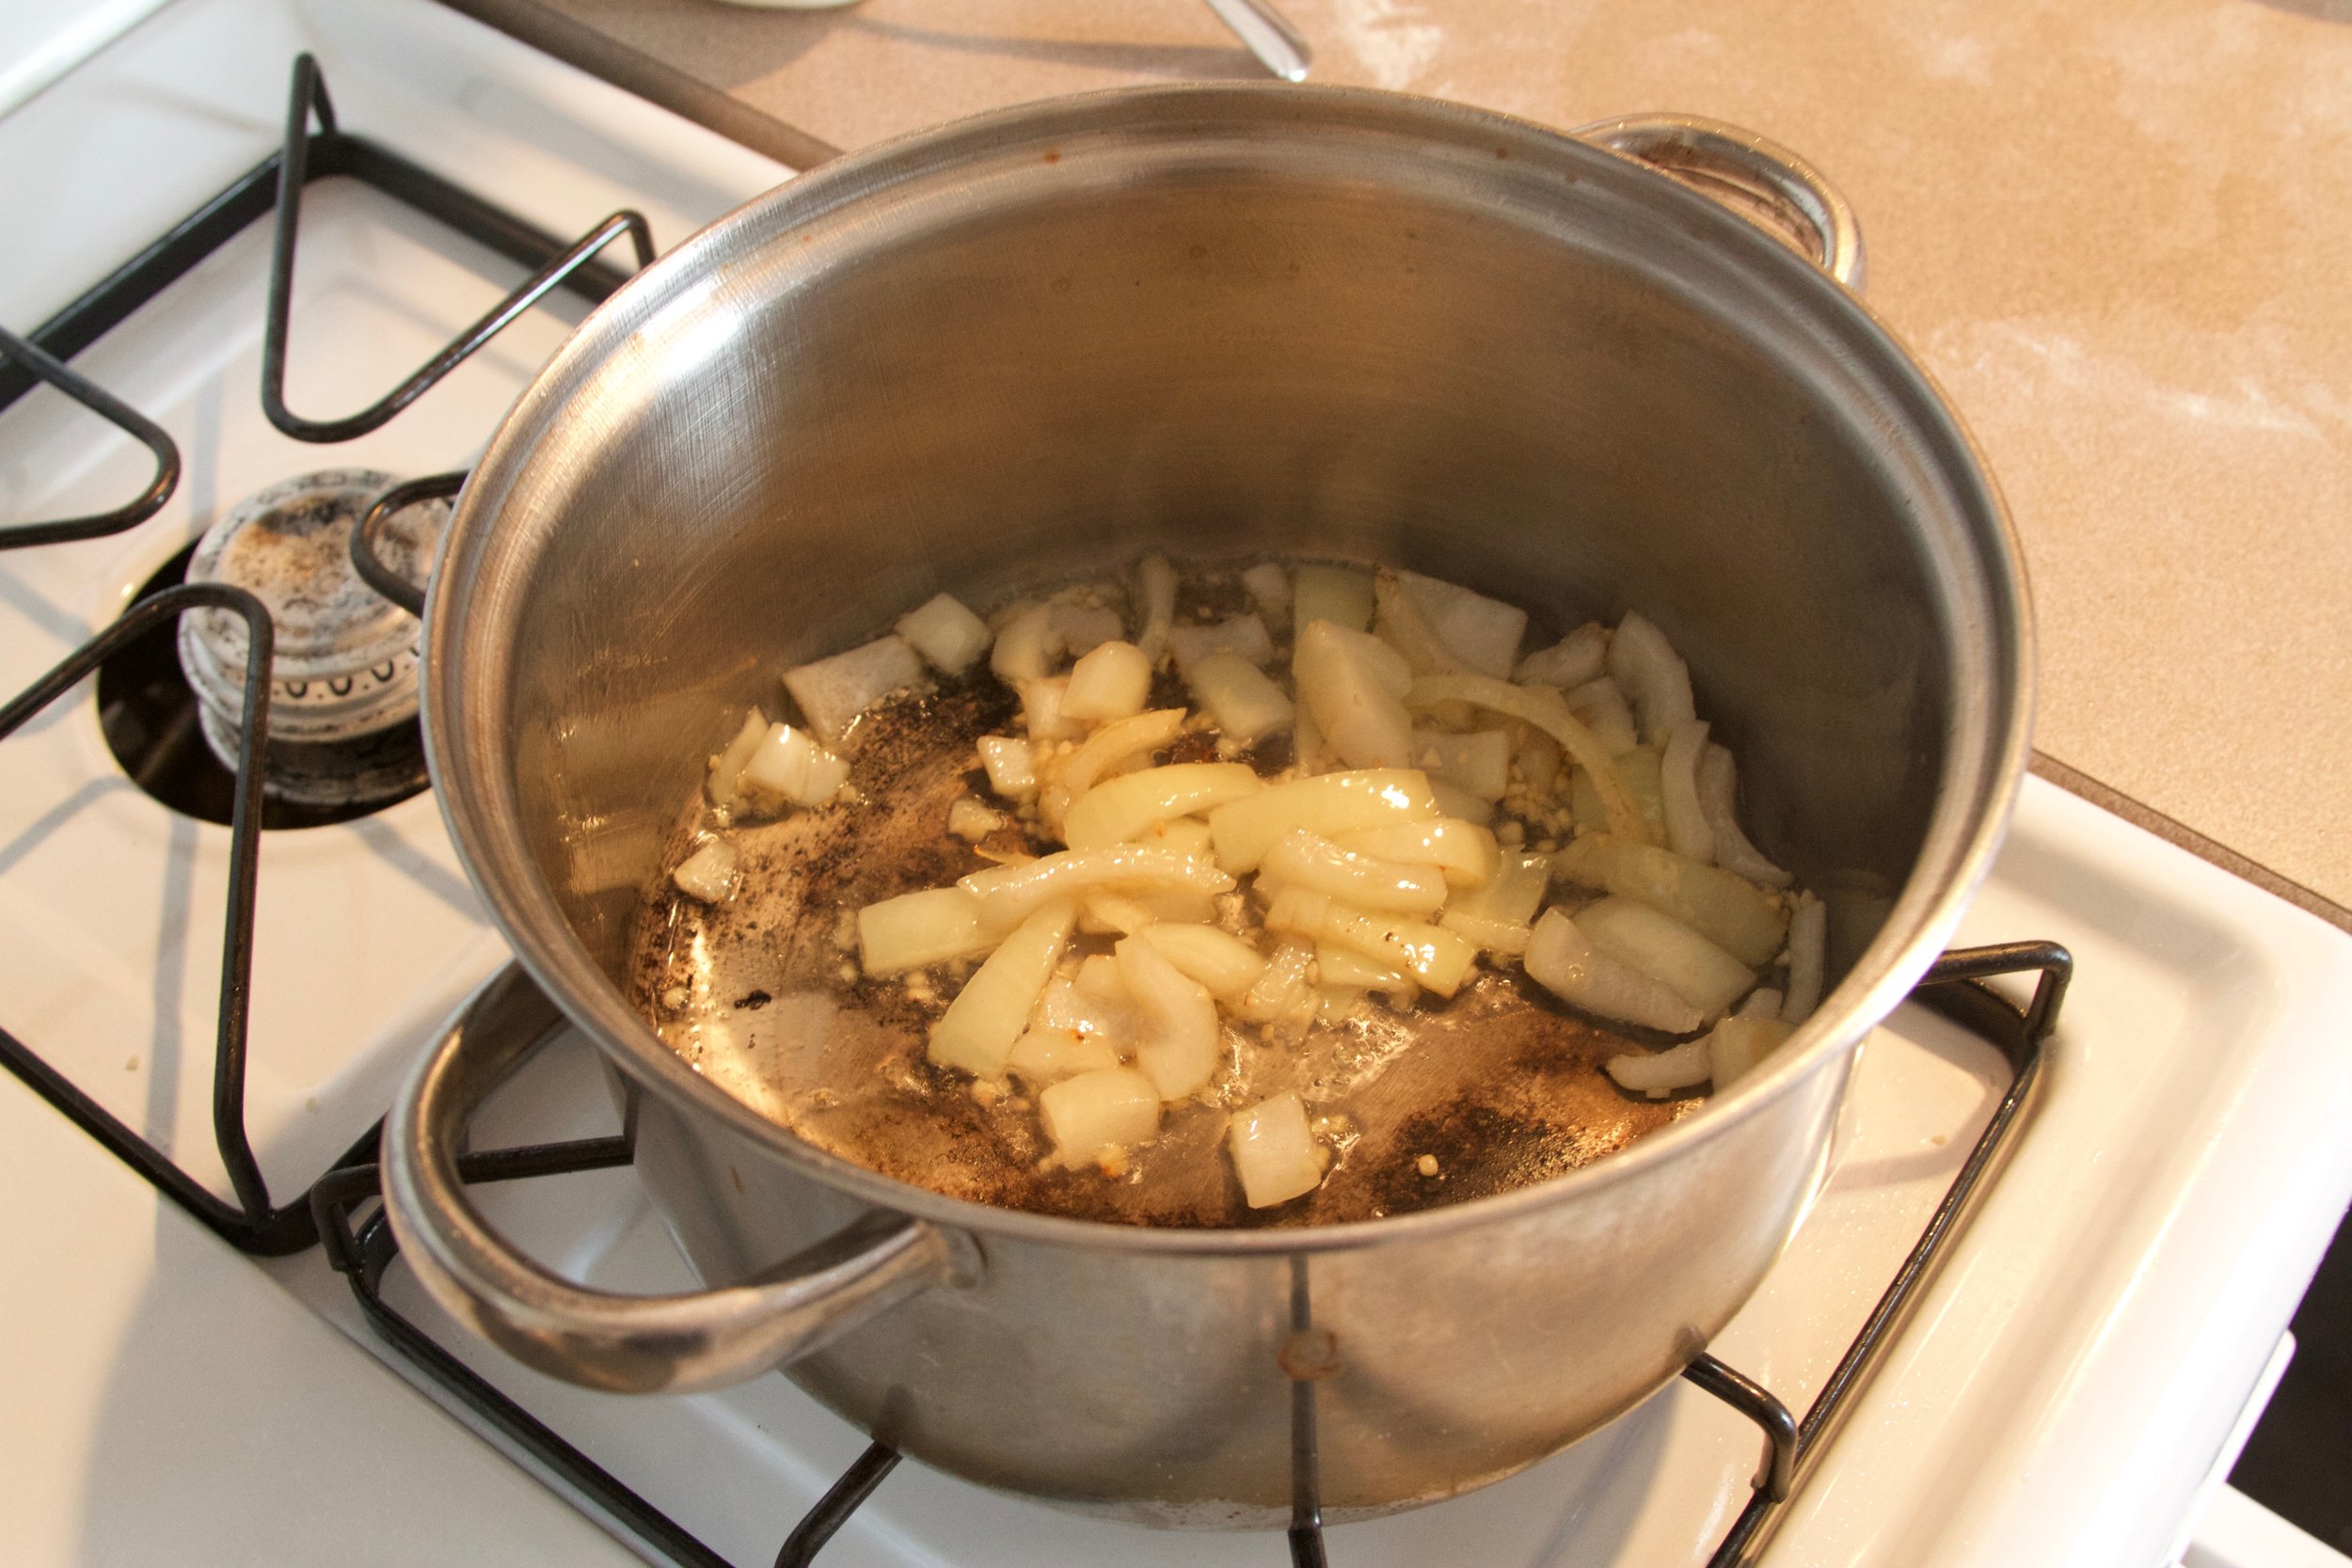
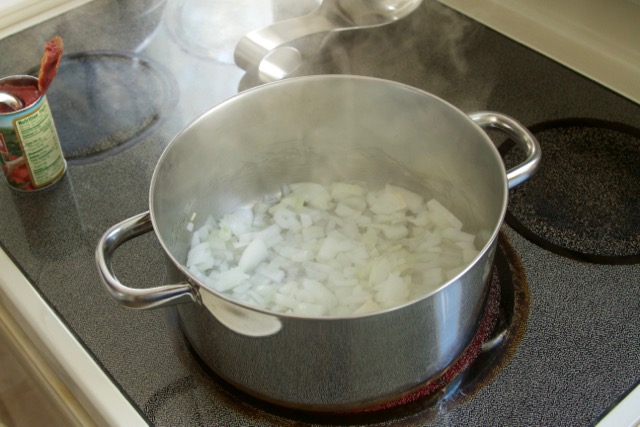
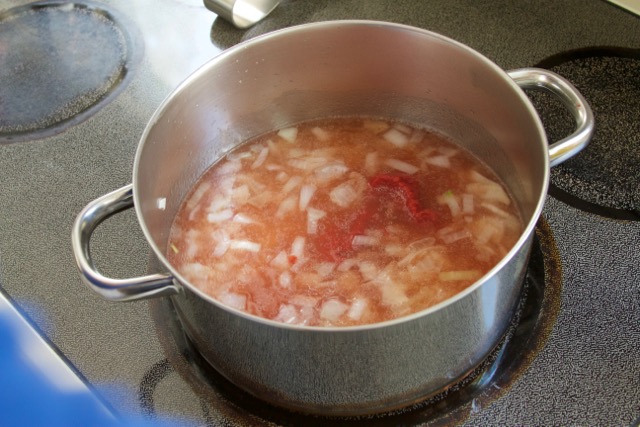
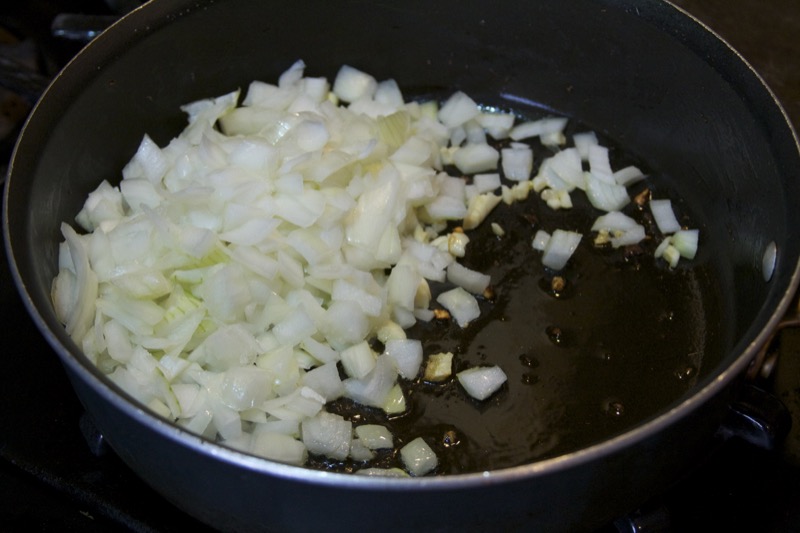
1. In a medium sauce pan on medium heat, saute a finely diced onion in 1/2 cup corn or canola oil for about ten minutes, stirring often, until onion is soft. Put the lid on between stirring.
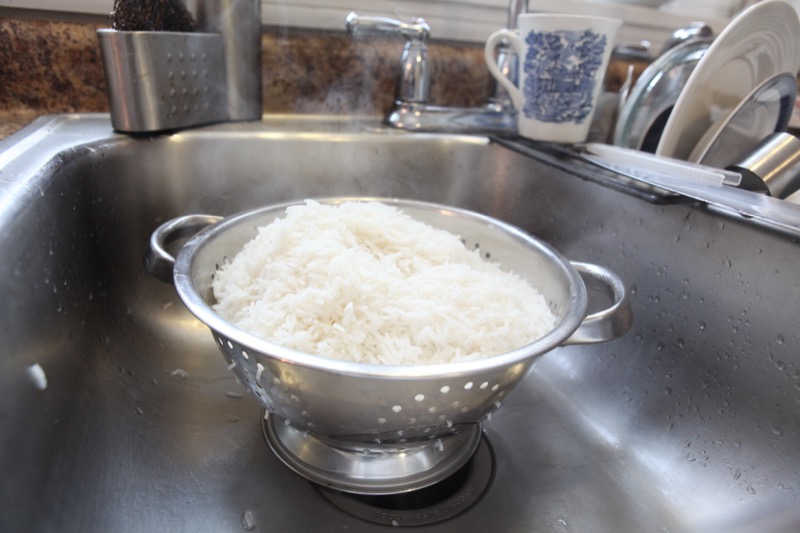
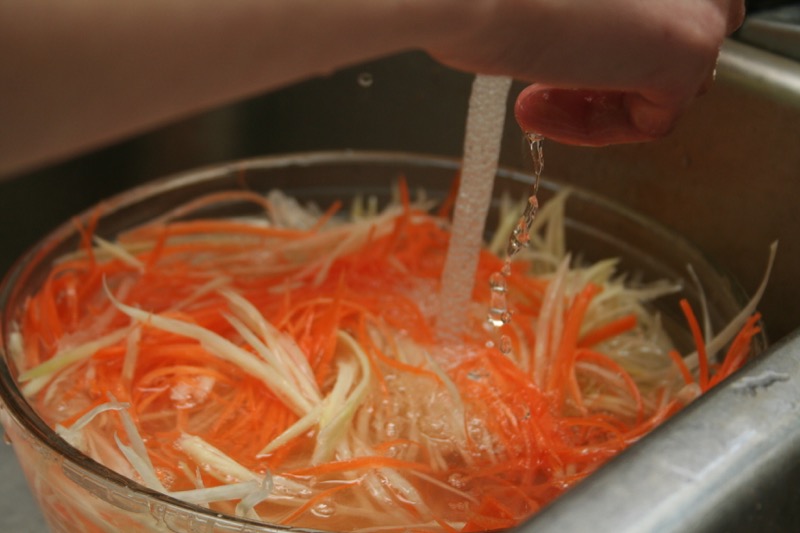
2. In another medium sauce pot, bring 4 cups water to a boil. Spread lentils on a sheet pan or tray and sort through them with your fingers, removing any non-lentil debris.
3. Rinse lentils, and add them to the heating water. Bring them to a boil, turn heat to medium-low and and continue to simmer until the lentils have softened somewhat but still have a little firmness to them and hold their shape.
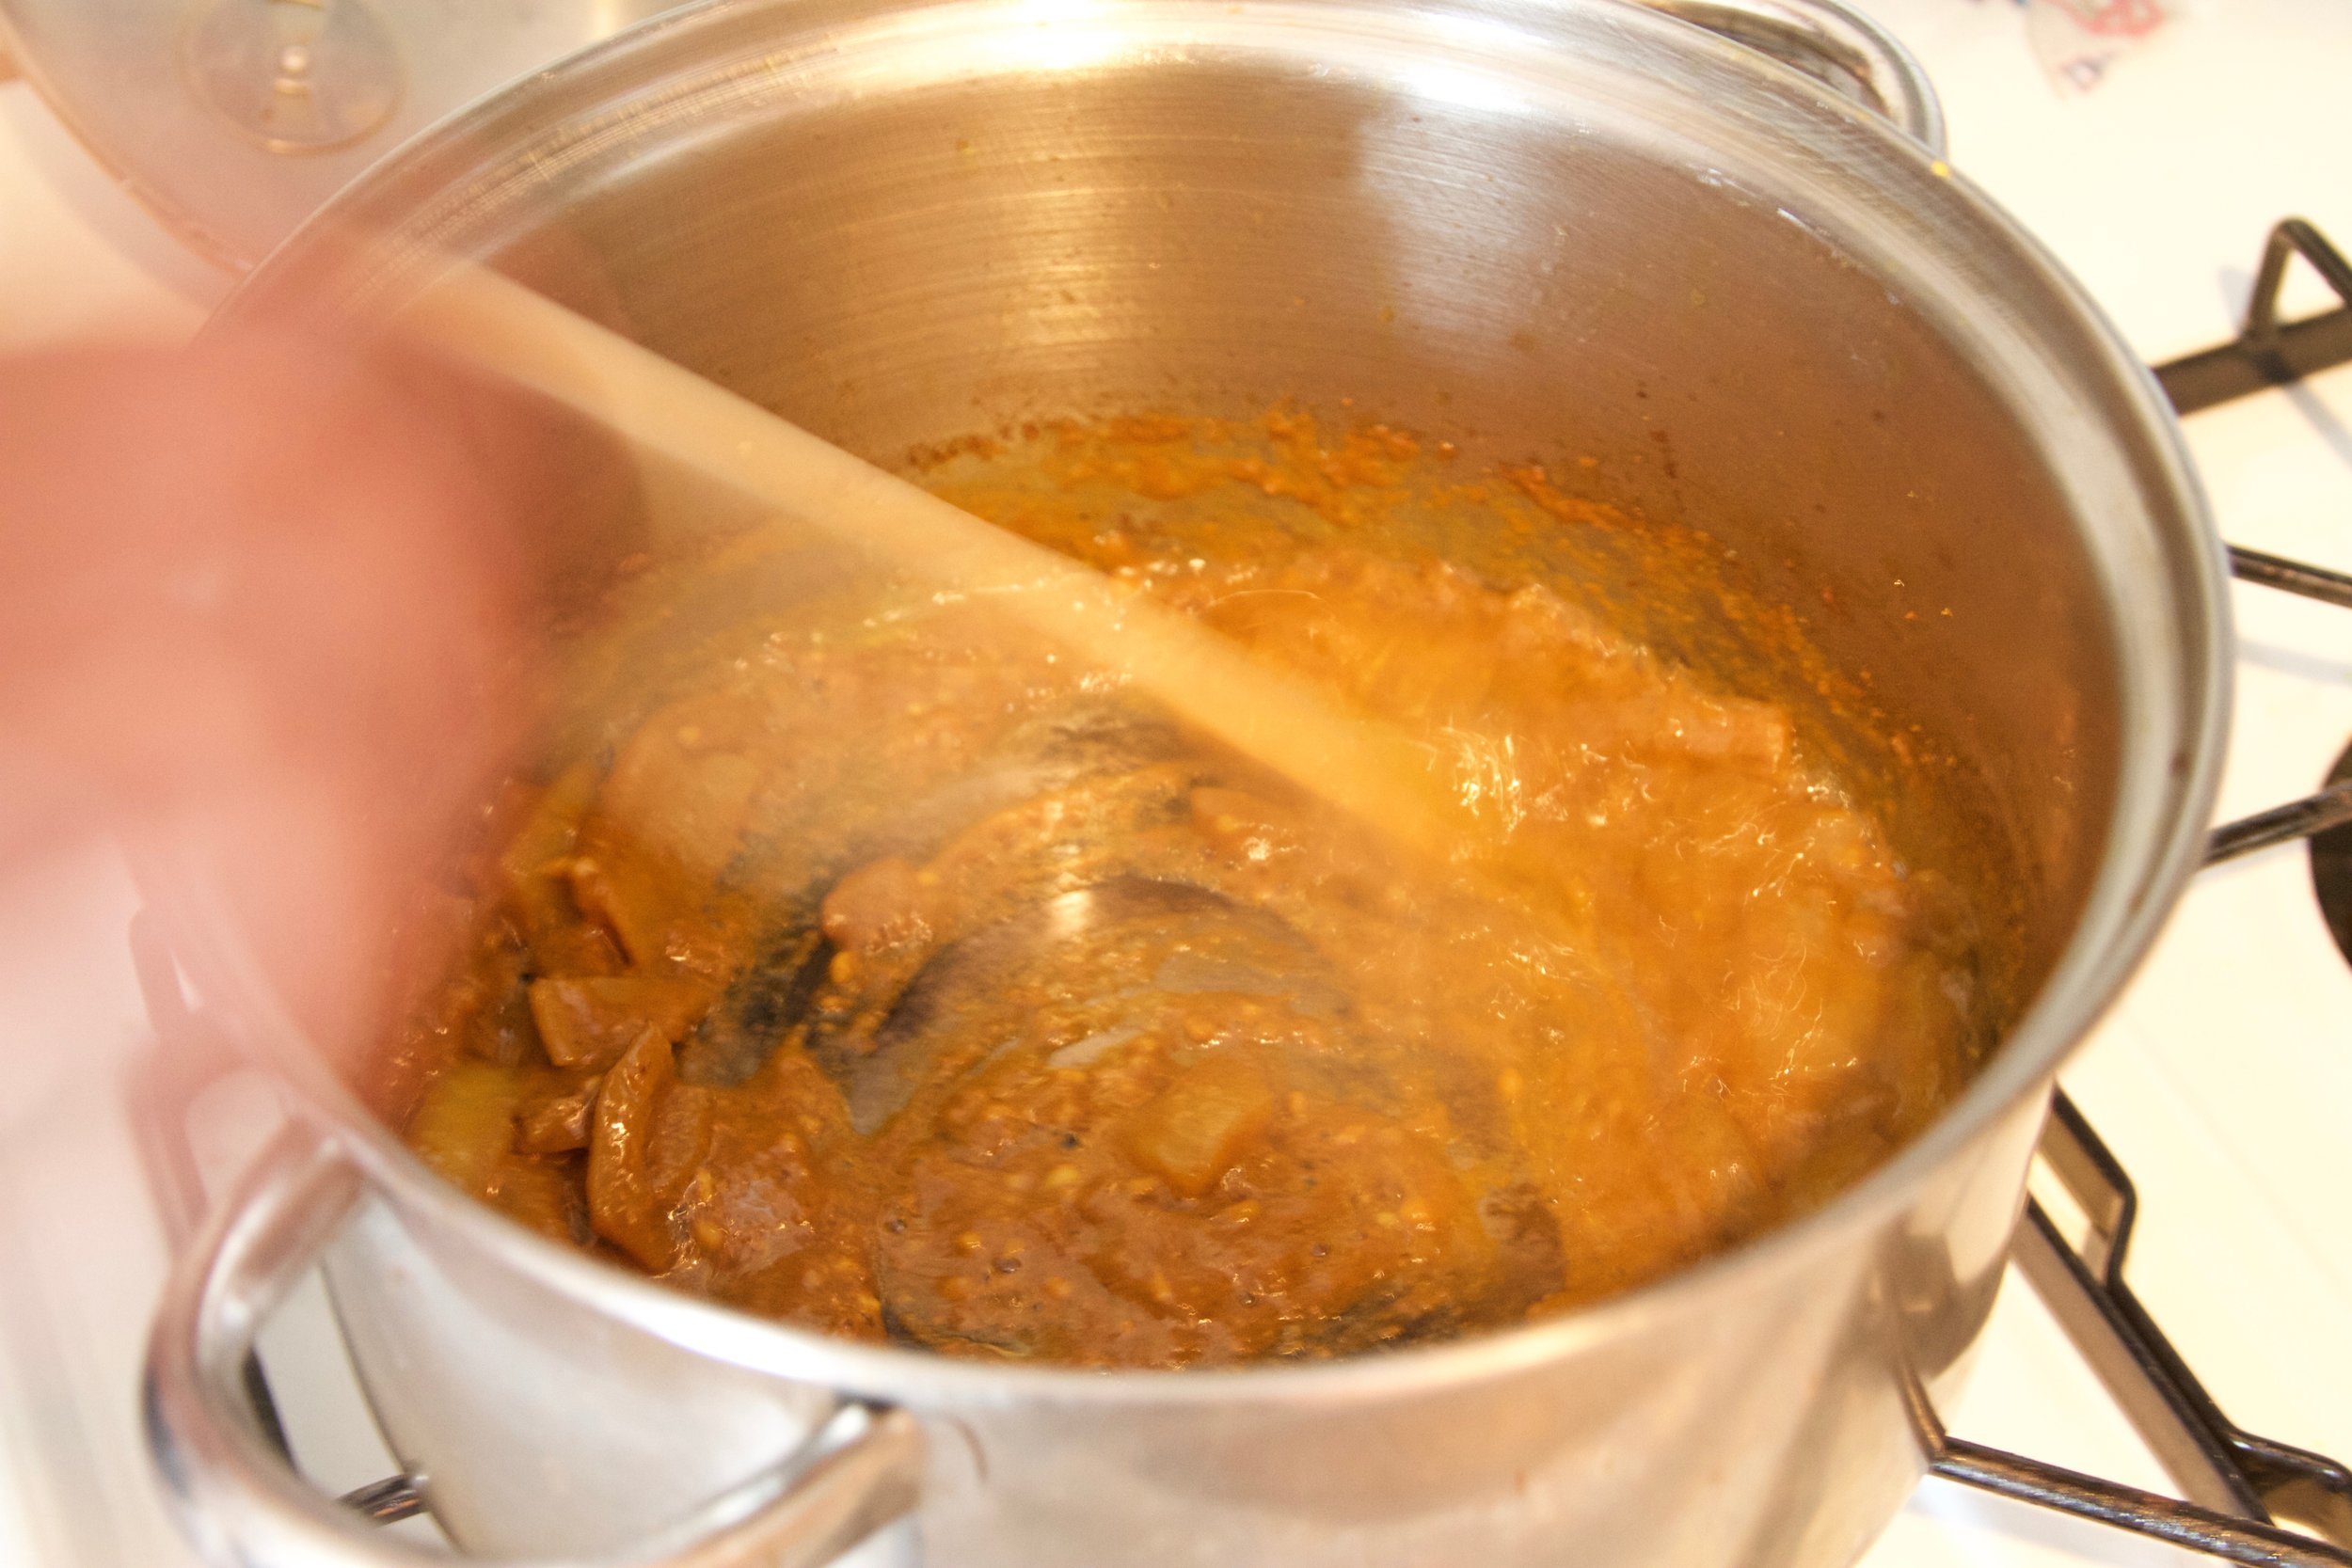
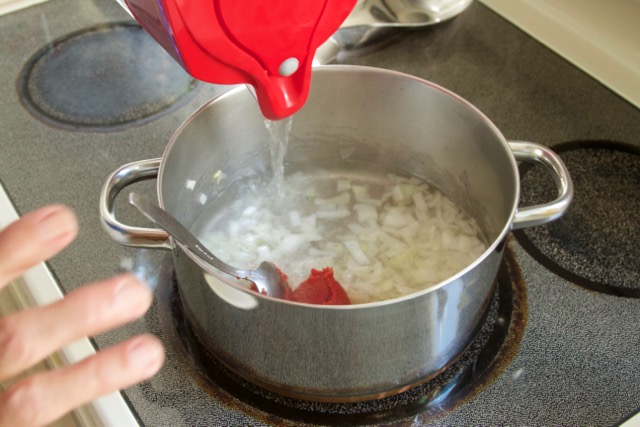
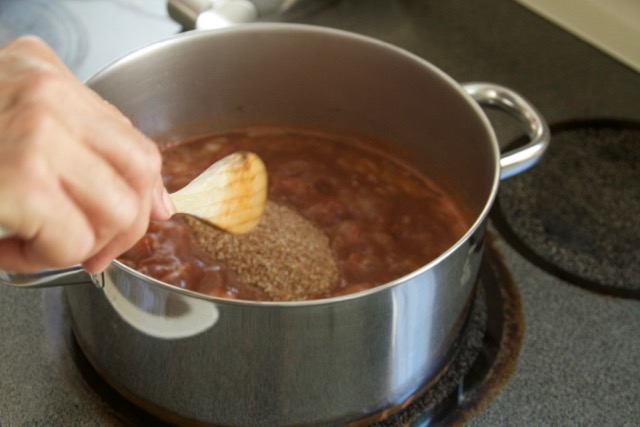
4. To the pot of frying onions, add 3 Tbsp berbere spice and cook another ten minutes, stirring frequently.
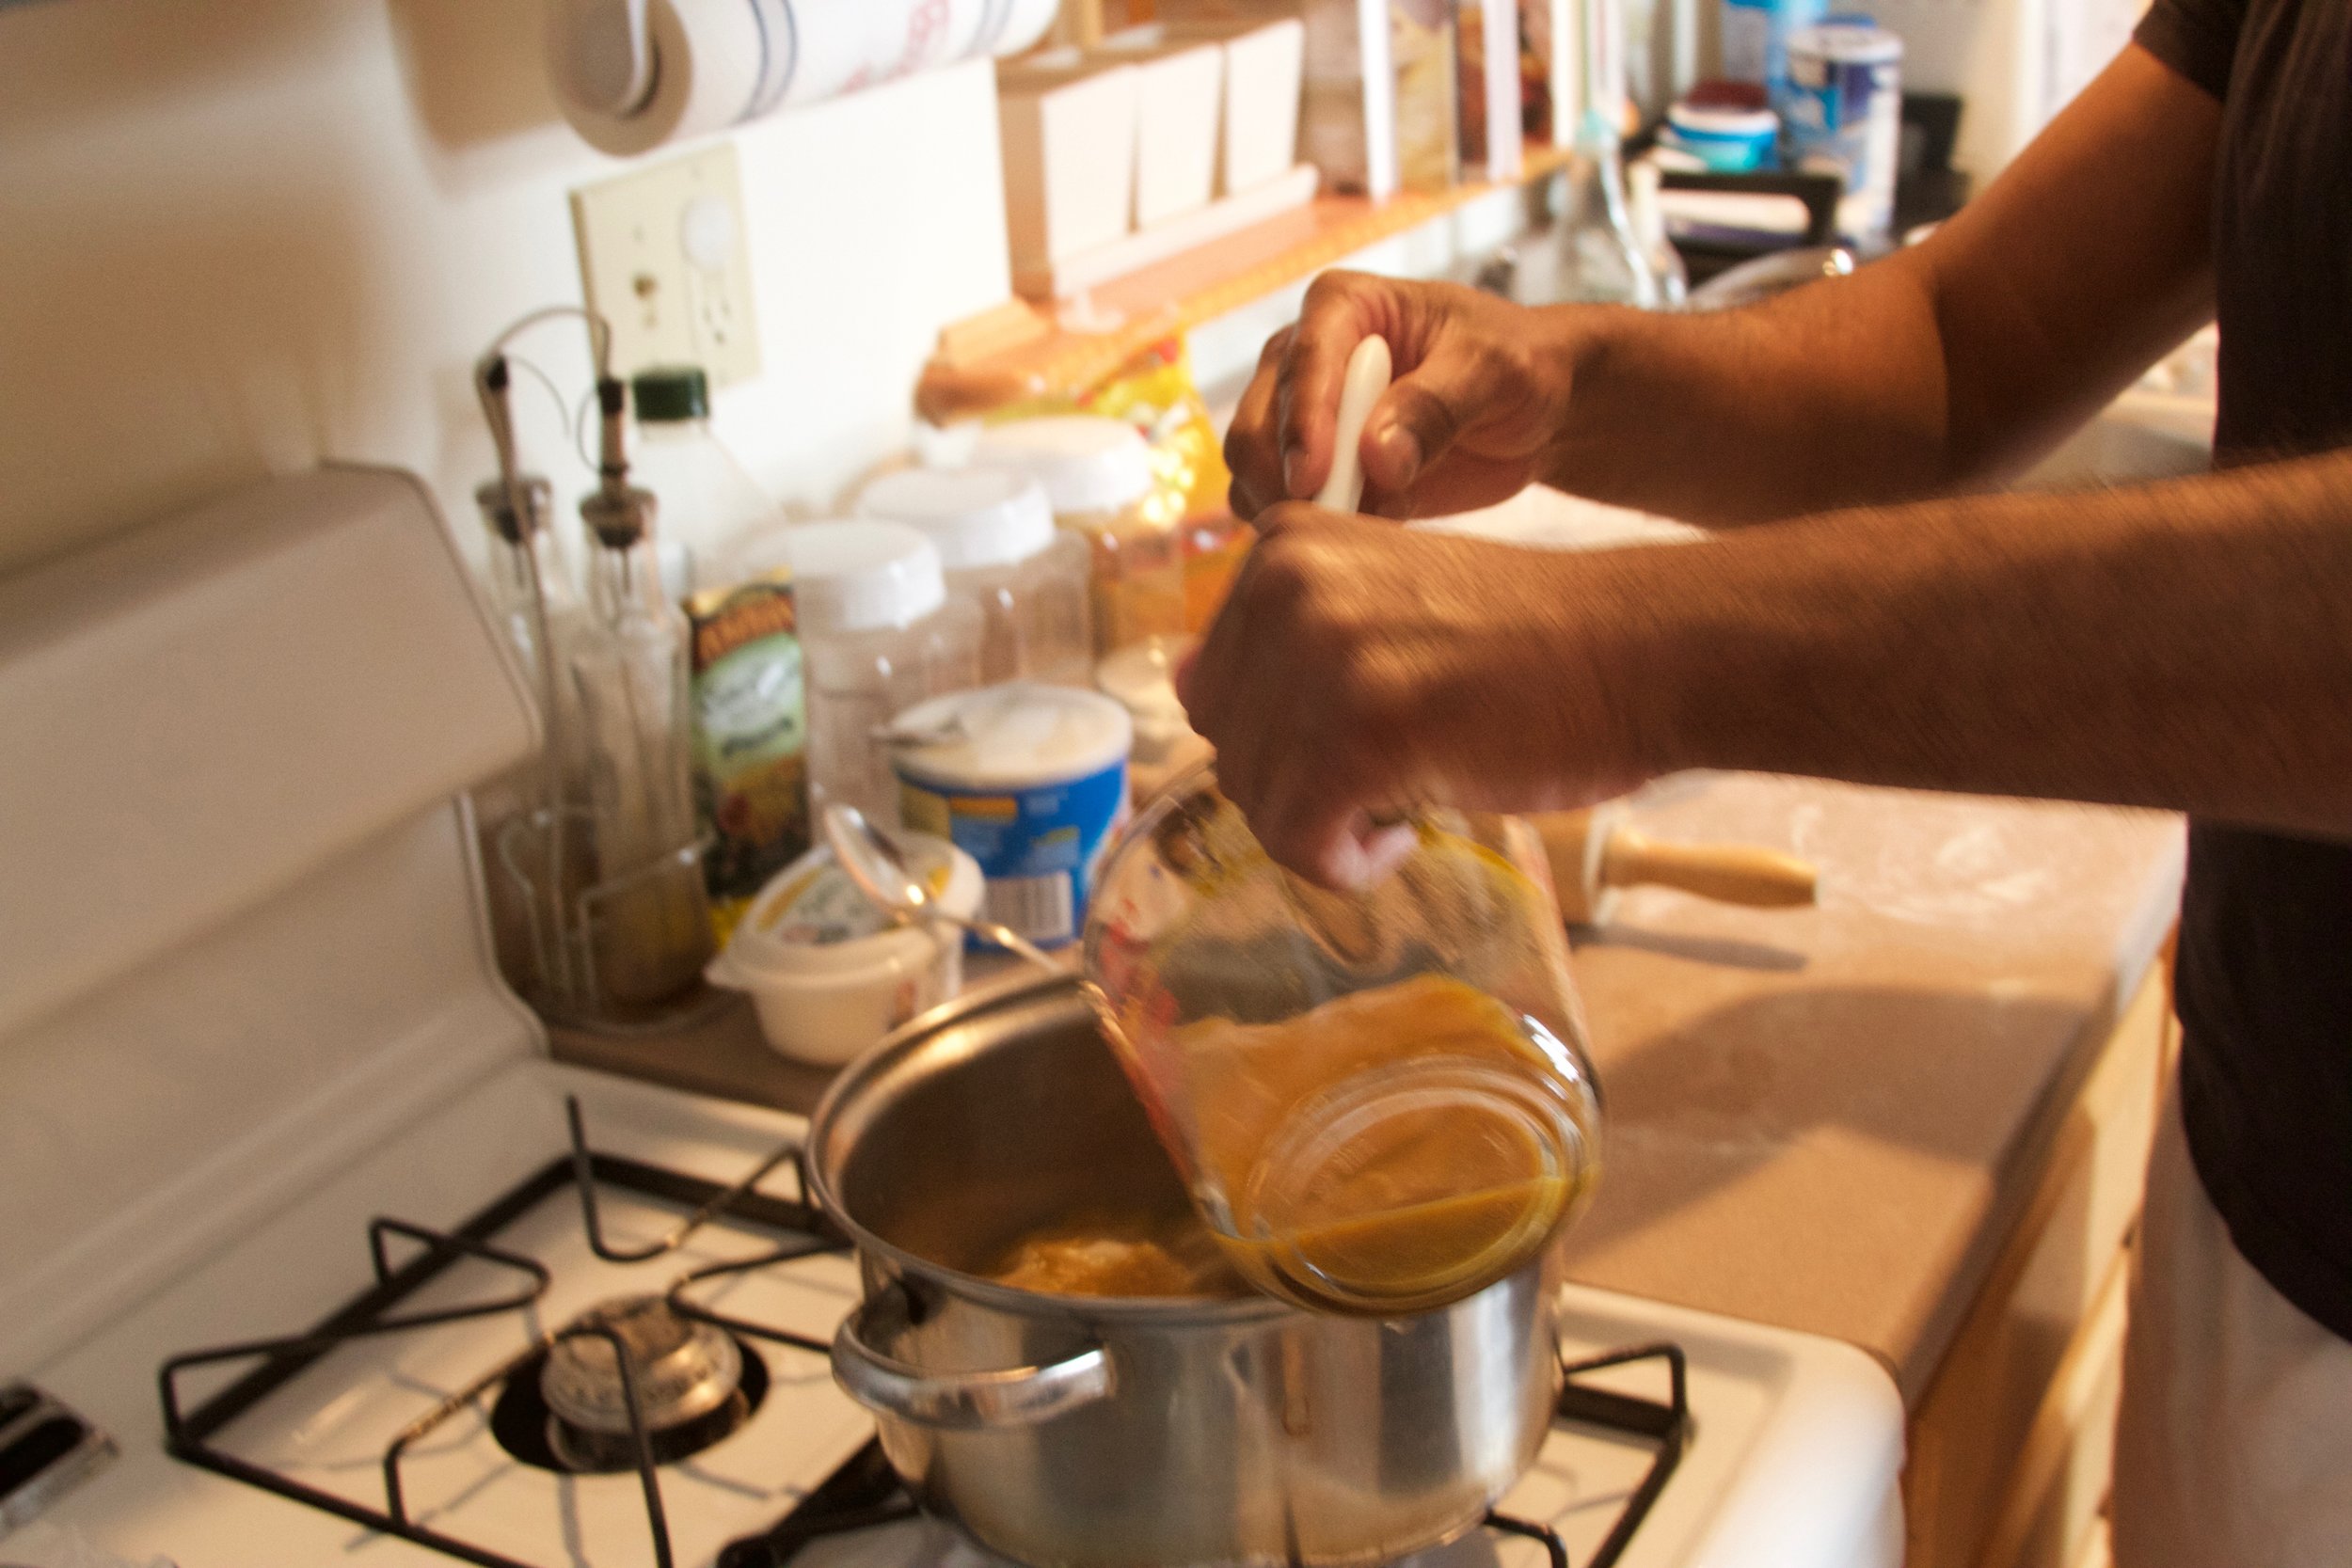
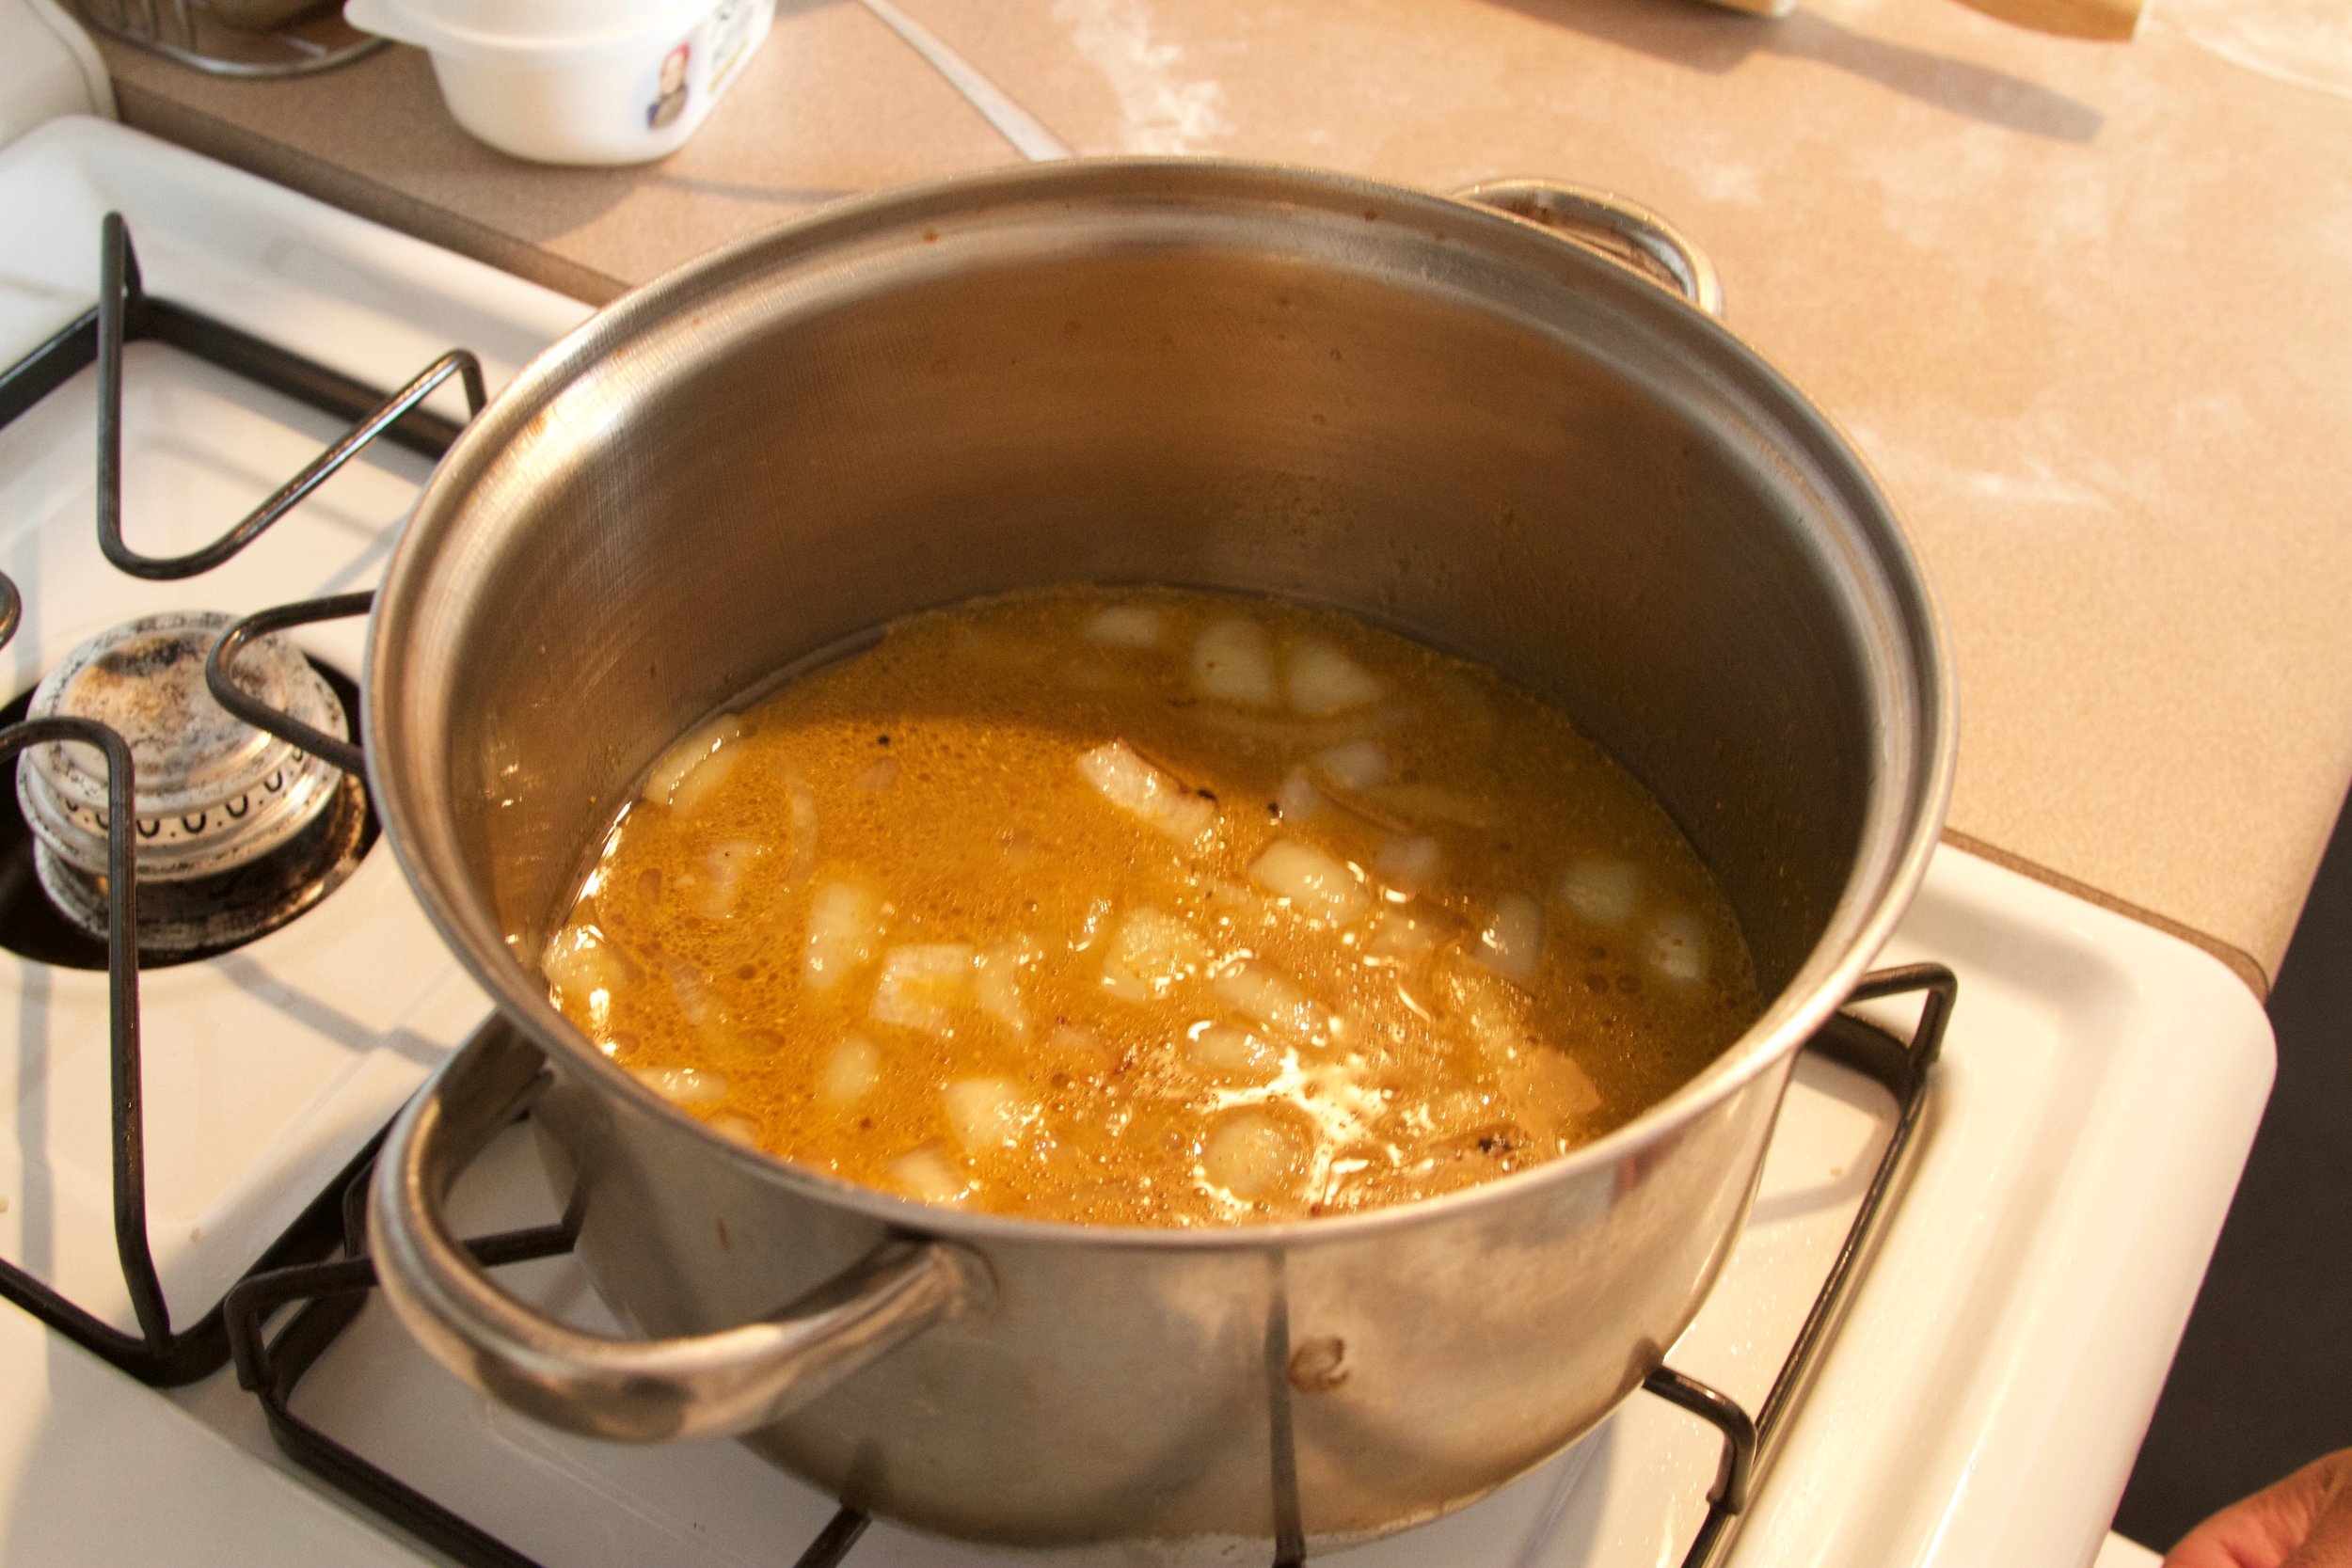
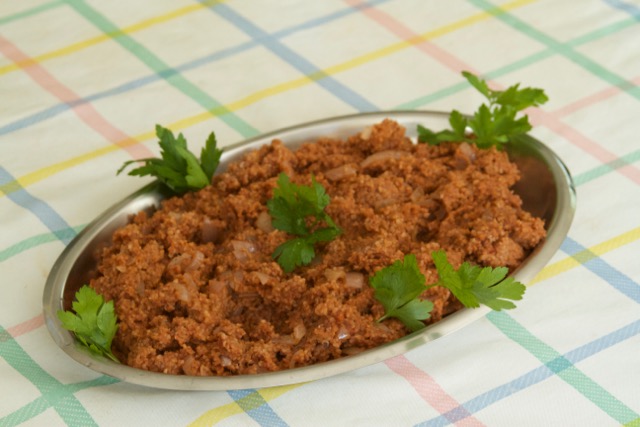
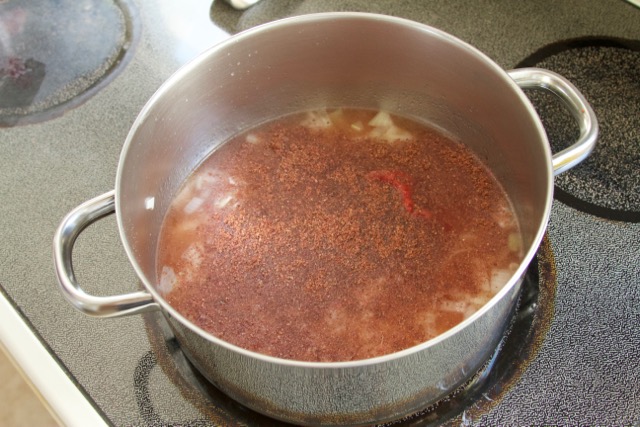
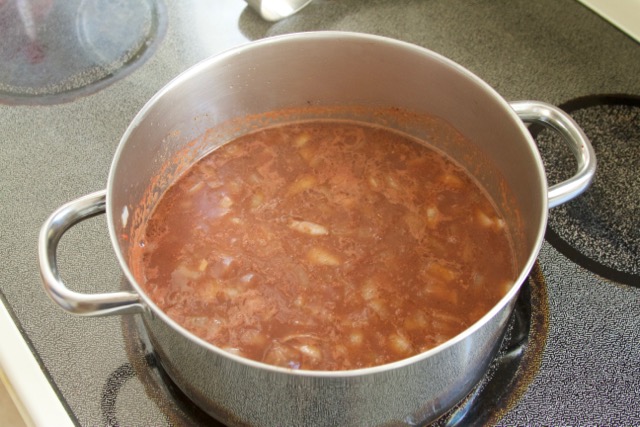
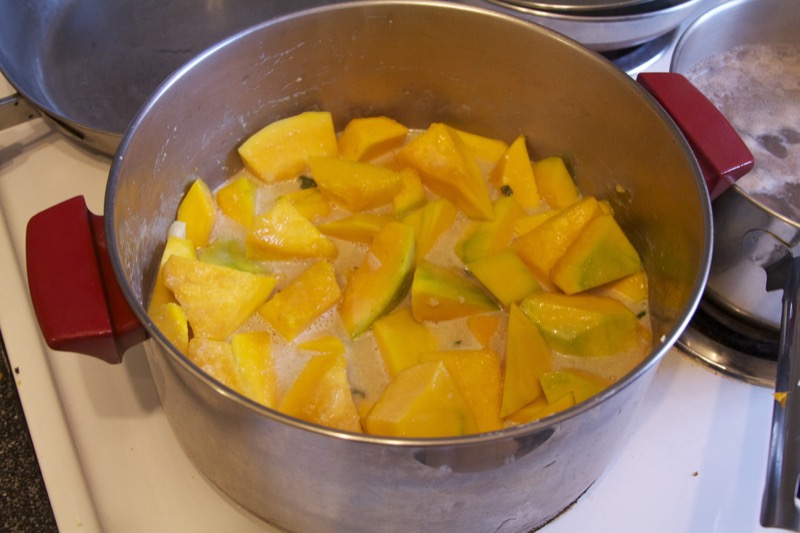
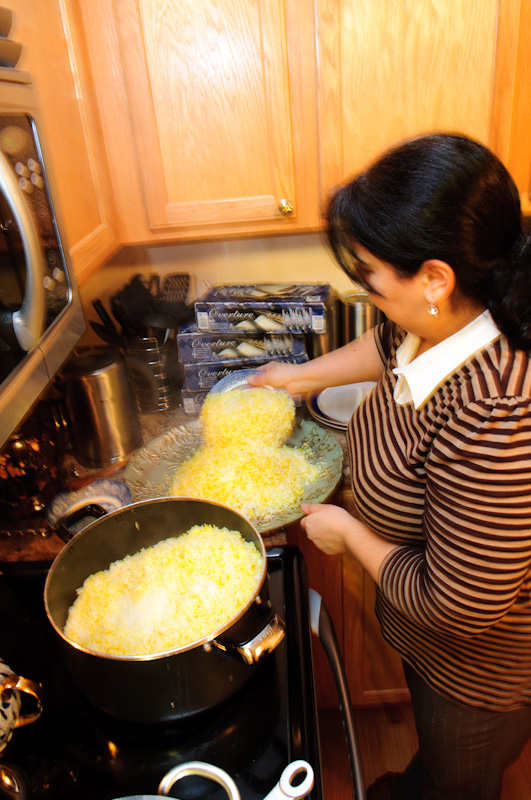
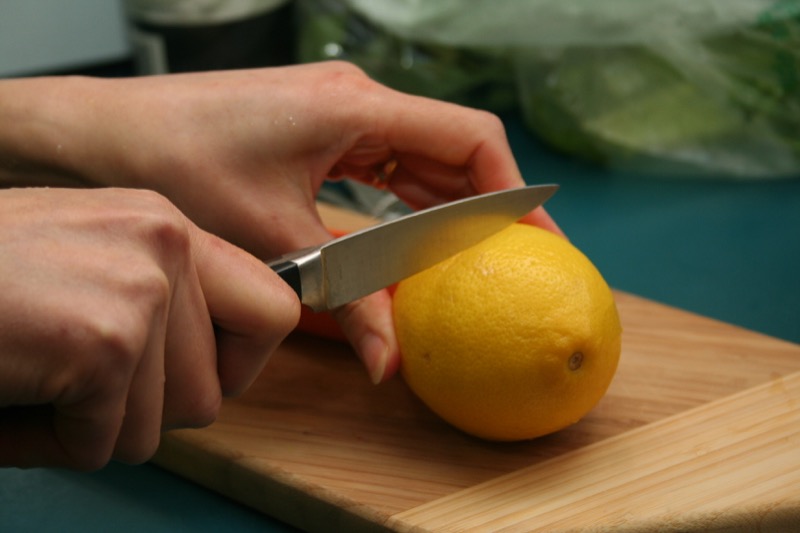
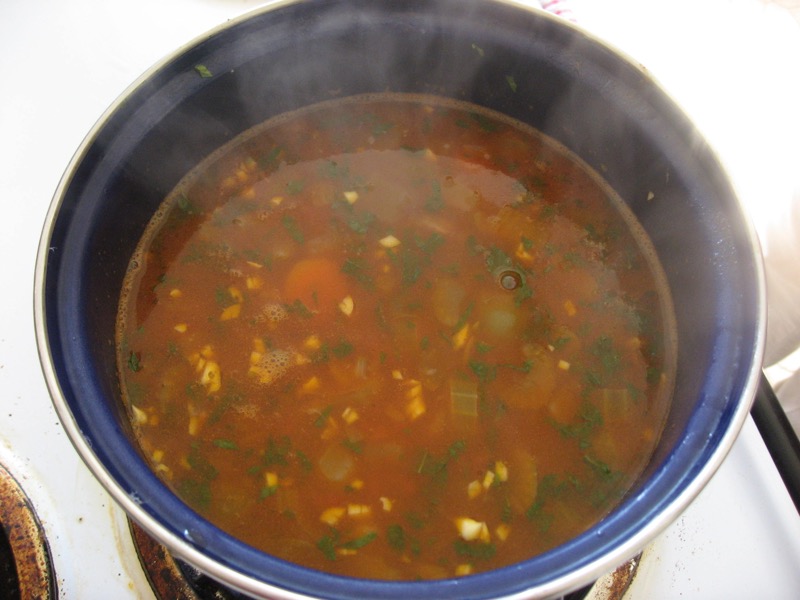
5. Blend tomatoes in blender or food processor until smooth. Add the blended tomatoes to the frying onions along with 2 Tbsp spiced butter. Simmer for five more minutes, stirring frequently, and adding salt to taste. This is the first sauce, spiced tomato, or silsi.
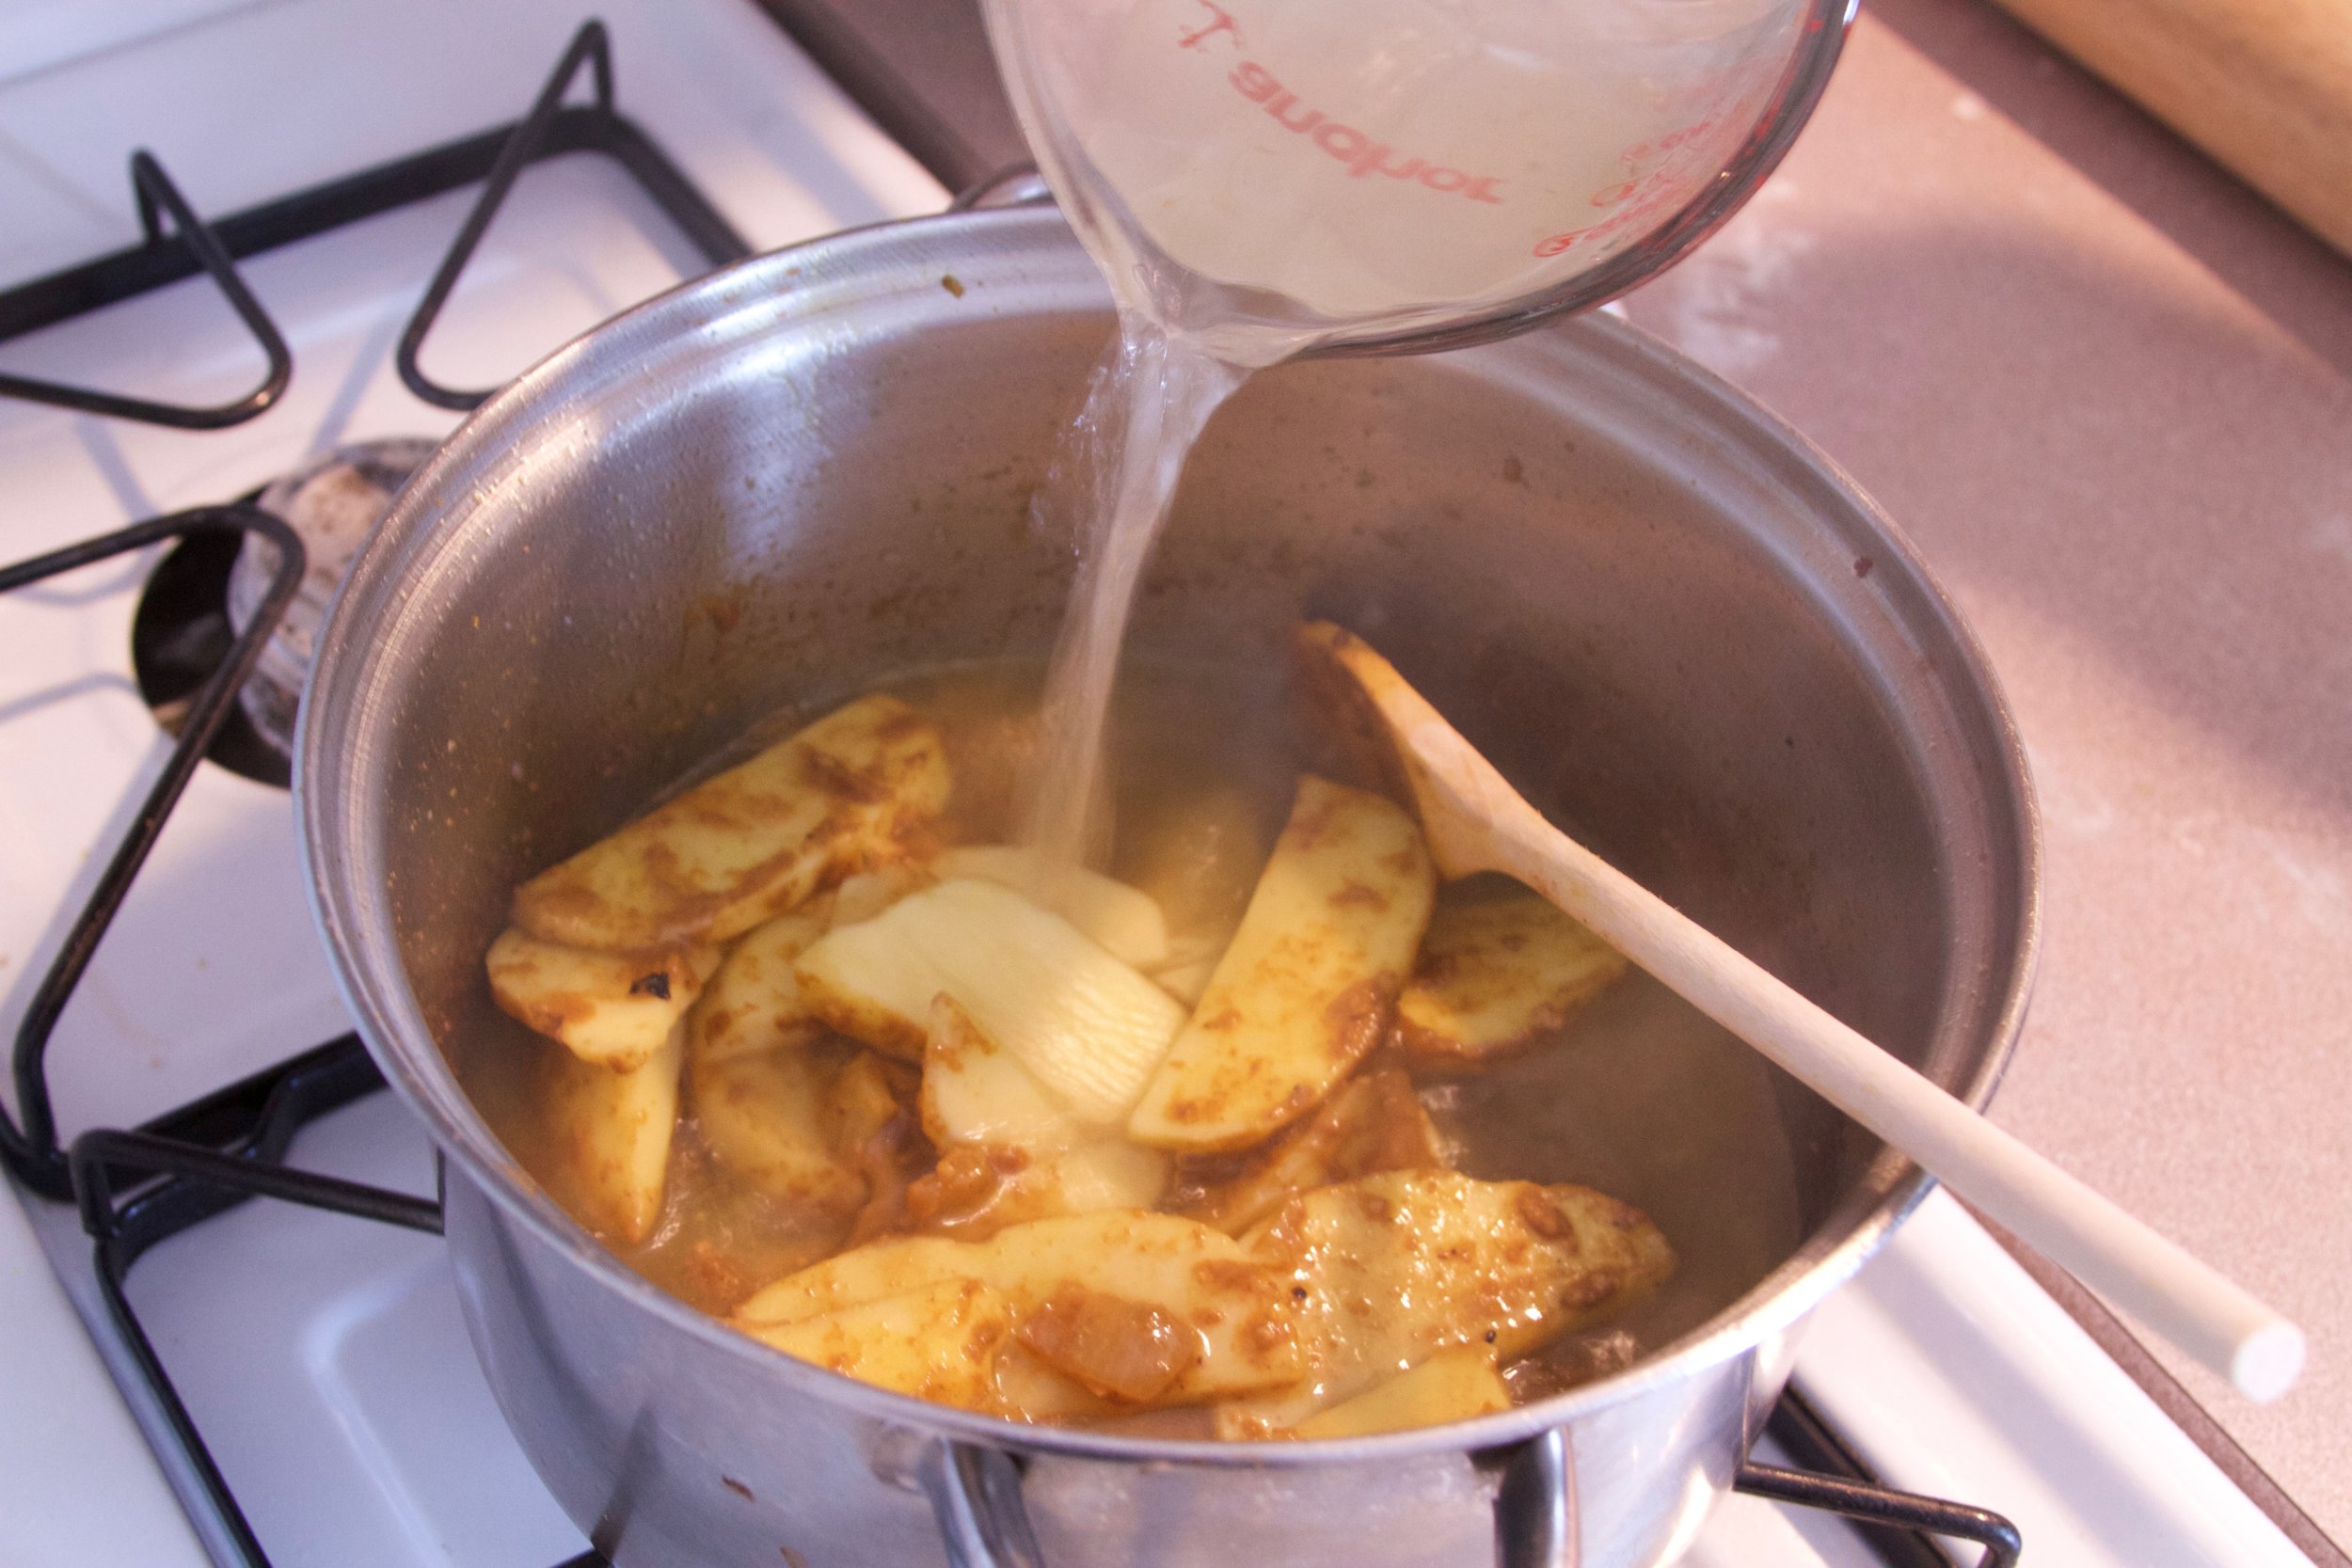
6. In a third pot (small or medium size), bring 2 cups of water to boil.
7. Once the lentils are half-way cooked, mix in 1 cup of the spiced tomato sauce and continue cooking on medium low until lentils are soft. Taste for seasoning and add salt as desired to finish. This is the lentil sauced called ades.
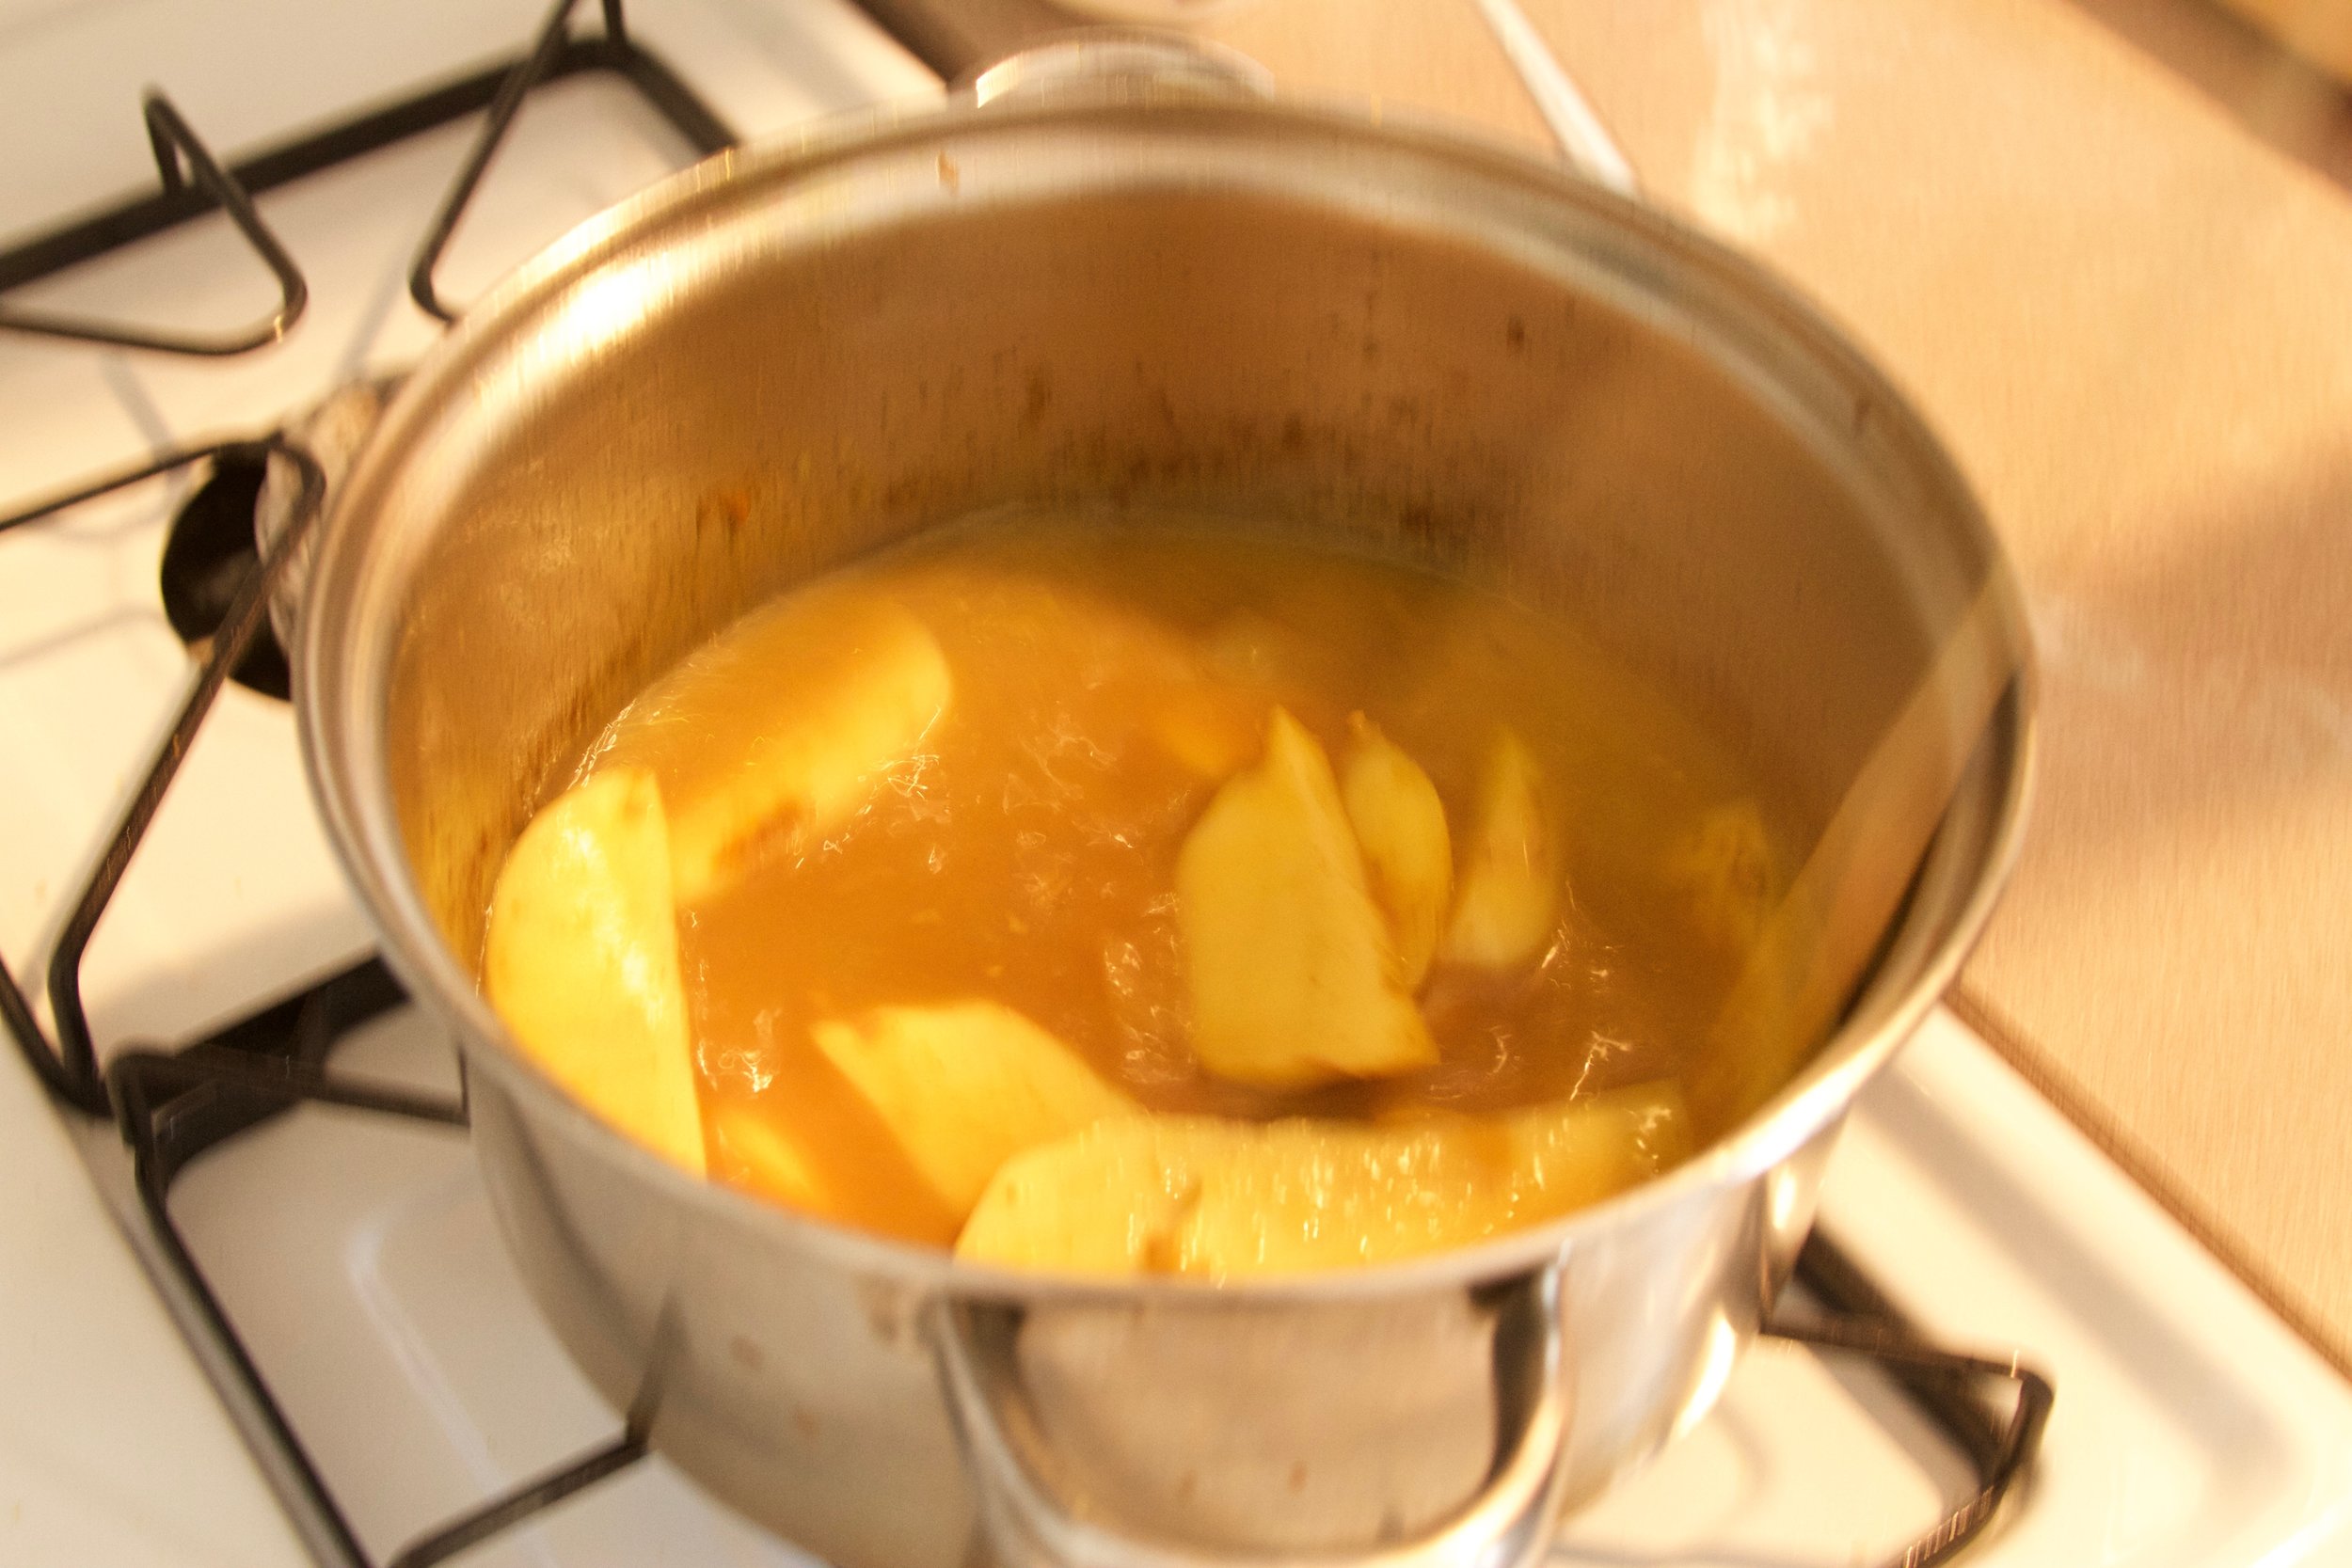
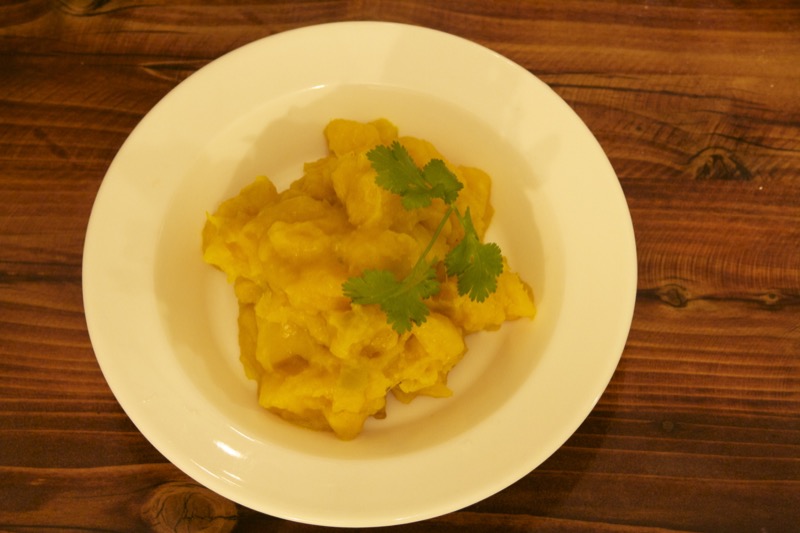
8. Once the water in the third pot is hot, stir in 3/4 cup spicy red sauce and continue to heat. Once it comes to a boil, turn it to simmer and whisk in 1/2 cup shiro powder. Heat on medium, stirring intermittently until the sauce becomes thickened, and slightly looser than pudding. Turn off heat.
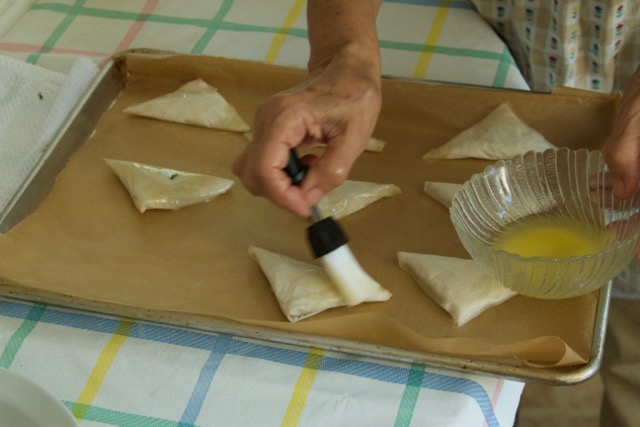
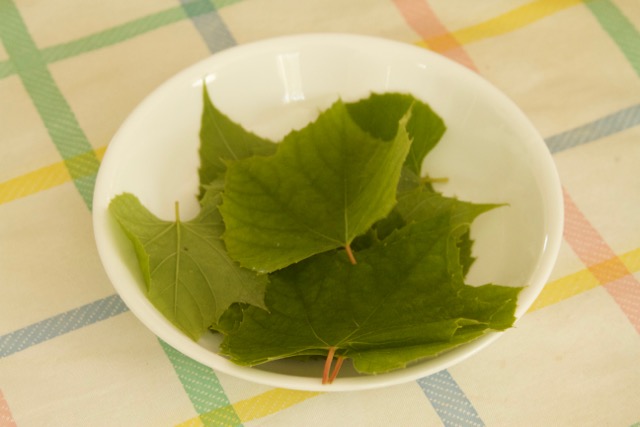
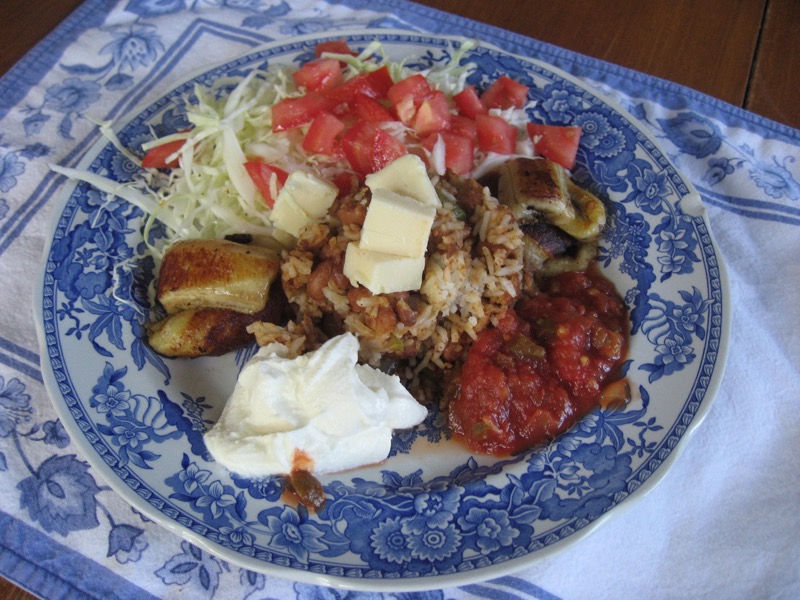
9. Serve Eritrean sauces (spiced tomato, chickpea, and lentil) on injera or with slices of sourdough. Decorate the edges of the injera with small, fresh green chilis. Have extra injera or bread at the table.