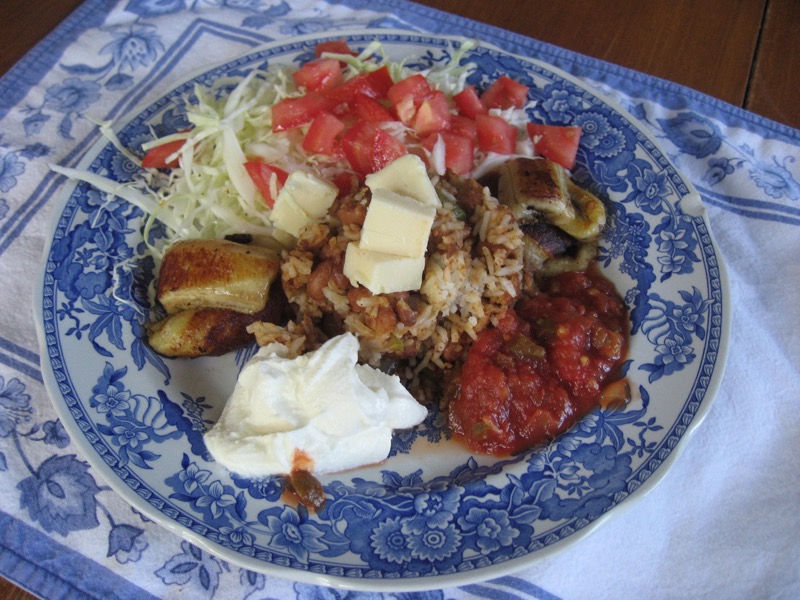
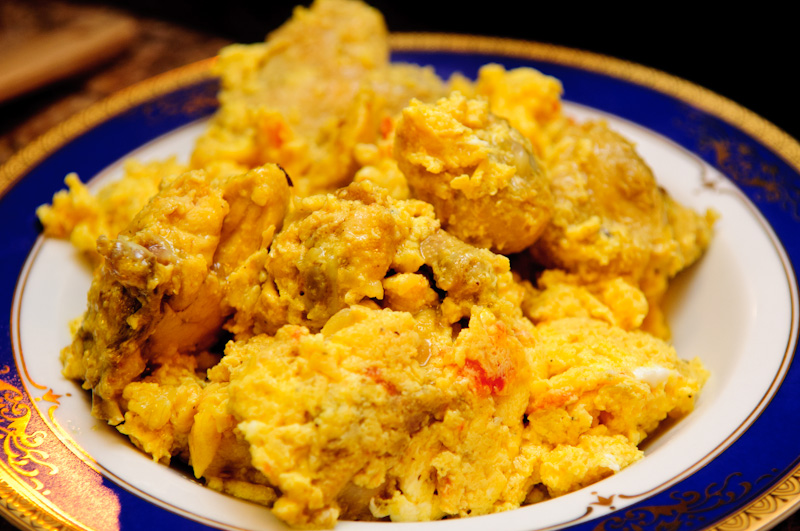
Note: In the Dominican Republic, a lunch plate of meat, rice and beans, and fried green plantains, is a classic called La bandera. In Spanish, "la bandera" means "the flag," which is to say that the dish is as Dominican as the flag itself. The kind of meat served varies. This is one of my favorites.
Makes: 10 servings
Cooking time: 30 min in pressure cooker; 80 minutes in regular pot + 1-12 hours marinating
Ingredients
For the marinade (called sazon or sofrito):
- 1/2 head garlic
- 1 onions
- 1 bell pepper
- 1/4 cup rough chopped cilantro
- 1/2 chicken bouillon cub
- 1 Tbsp oregano
- 1/8 tsp allspice
- 1/2 Tbsp achiote powder
- 1/2 Tbsp green olives
- 1/2 Tbsp capers
- 1/4 tsp salt
- 1 Tbsp vinegar
- 1/4 cup water only if needed
For the beef:
- 2 1/2 pounds stew beef
- 2 Tbsp soy sauce (if you're gluten-free, please be sure to use gluten-free soy sauce)
- 2 Tbsp sazon or sofrito marinade
- 1 tsp pepper
- 4 cloves garlic, mashed into a paste
- pinch cinnamon
- ¼ cup olive oil
- 3-4 cups hot water
- ¼ cup chopped cilantro
- 2 Tbsp tomato paste
- salt to taste
Instructions
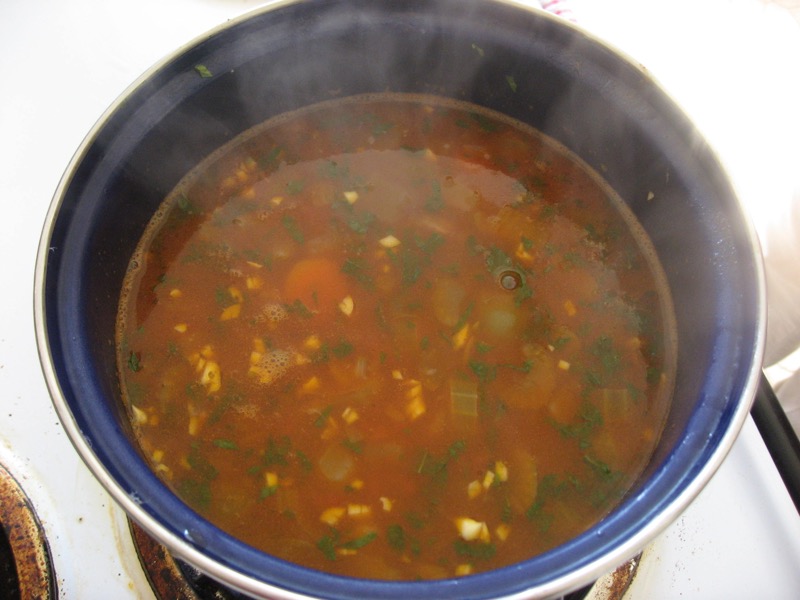
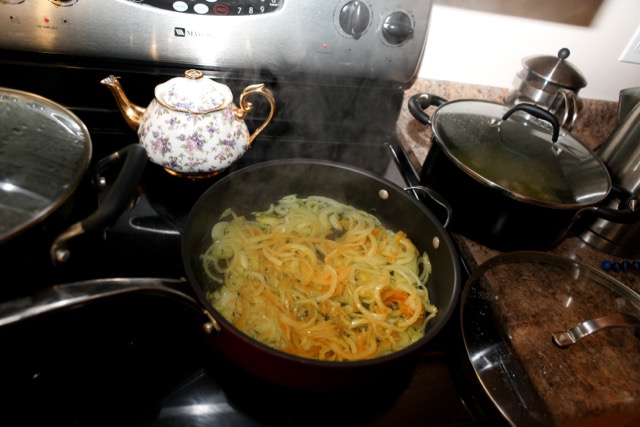
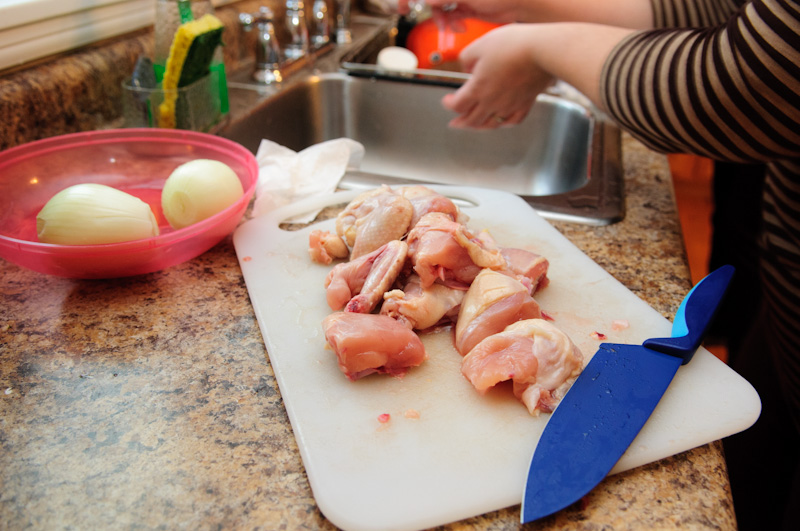
1. Make the marinade. Peel the garlic cloves, peel the onion, and cut the onion and green pepper into quarters. Place all of the marinade ingredients in the blender with just enough water to get the blender going. Blend until smooth.
2. Reserve 2 Tbsp of the marinade for making the beef, and freeze the rest in 2-Tbsp portions in an ice tray or in piles on a sheet pan/cookie sheet lined with parchment paper. Once frozen, transfer the marinade nuggets into a sealed Ziplock. Use these later when making this beef dish again, rice, or soups.
3. In a large bowl mix soy sauce, 2 Tbsp of the marinade, pepper, garlic, and cinnamon. Coat meat evenly with this mixture by massaging with hands. Cover and let marinate in fridge for 1-12 hours.
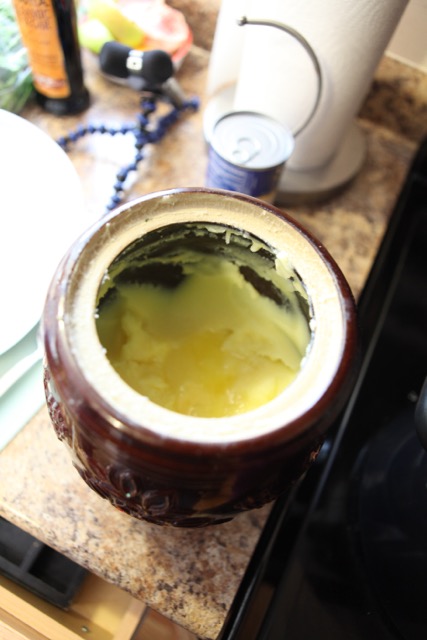
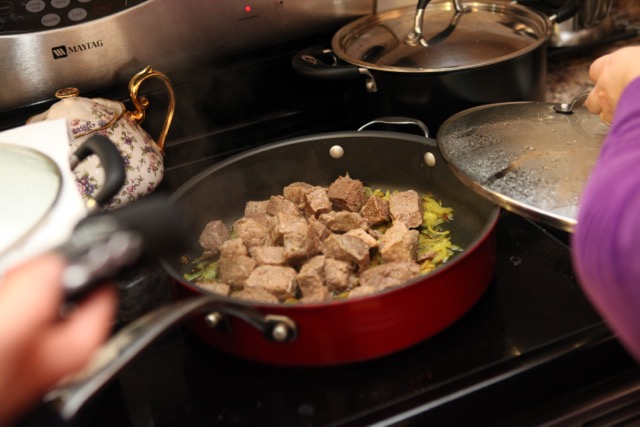
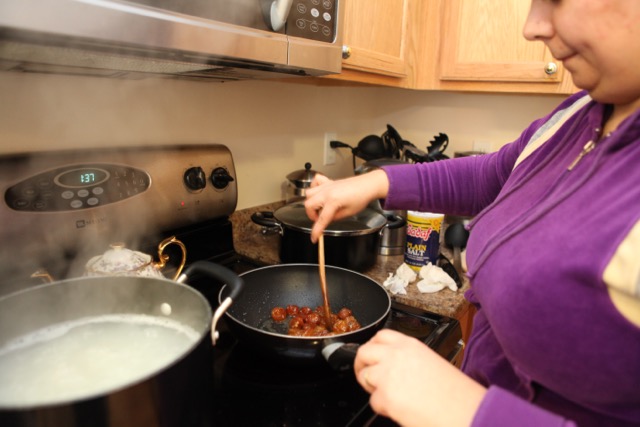
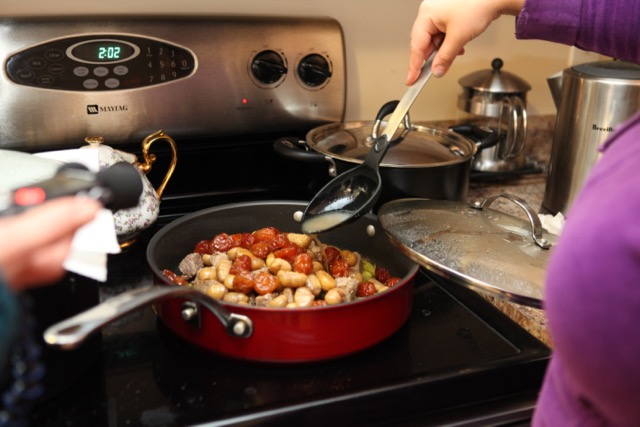
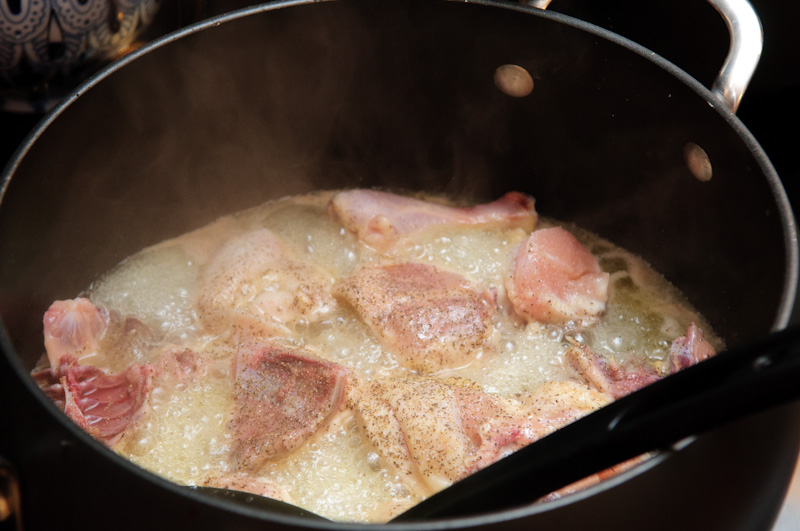
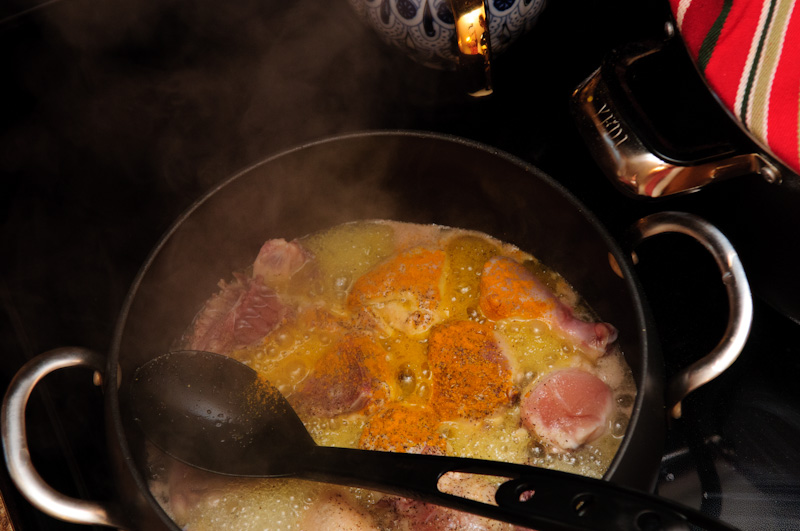
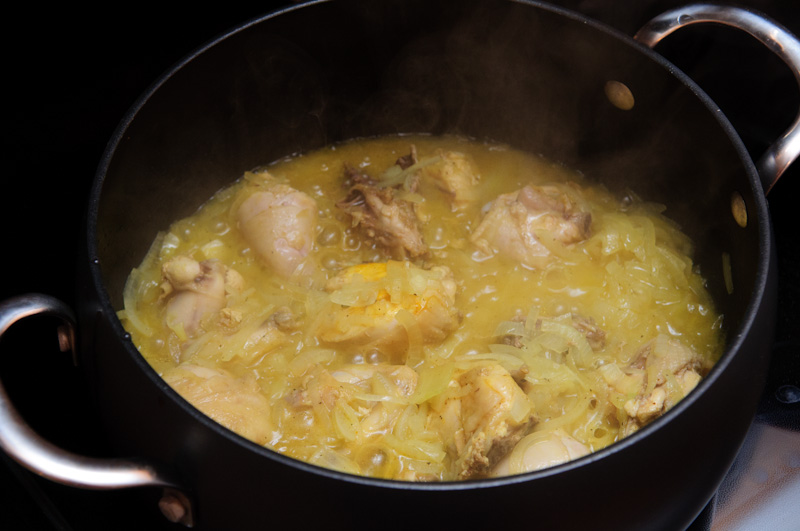
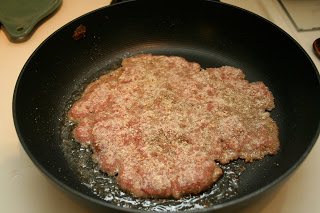
4. Heat oil in a heavy-bottomed large pot (with lid) or pressure cooker pot. Once oil is hot, add meat. Once the meat is brown on the surface, add cilantro and enough water to come up "shoulder high" on the meat. Cook the meat until tender. If you're using a pressure cooker, this will be about 15 minutes. If you're using a regular pot, this could be more like an hour - you'll need to add more water to keep it saucy. When the meat is tender, add tomato paste, and cook for five minutes more. Taste and add salt if necessary.


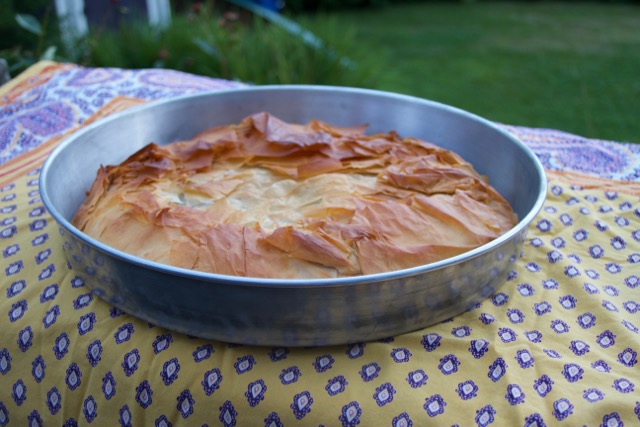
![This is Bill's special pan for making a giant kotopita pie. You can buy one in the Immigrant Kitchens store [link to product page], or simply make more than one pie in smaller baking dishes that you already have. Use butter or olive oil to butter t](https://images.squarespace-cdn.com/content/v1/56ddca5159827e507d71c8f3/1458584285339-N4O4PM0SKVNUMAXASF6O/IMG_4227.JPG)


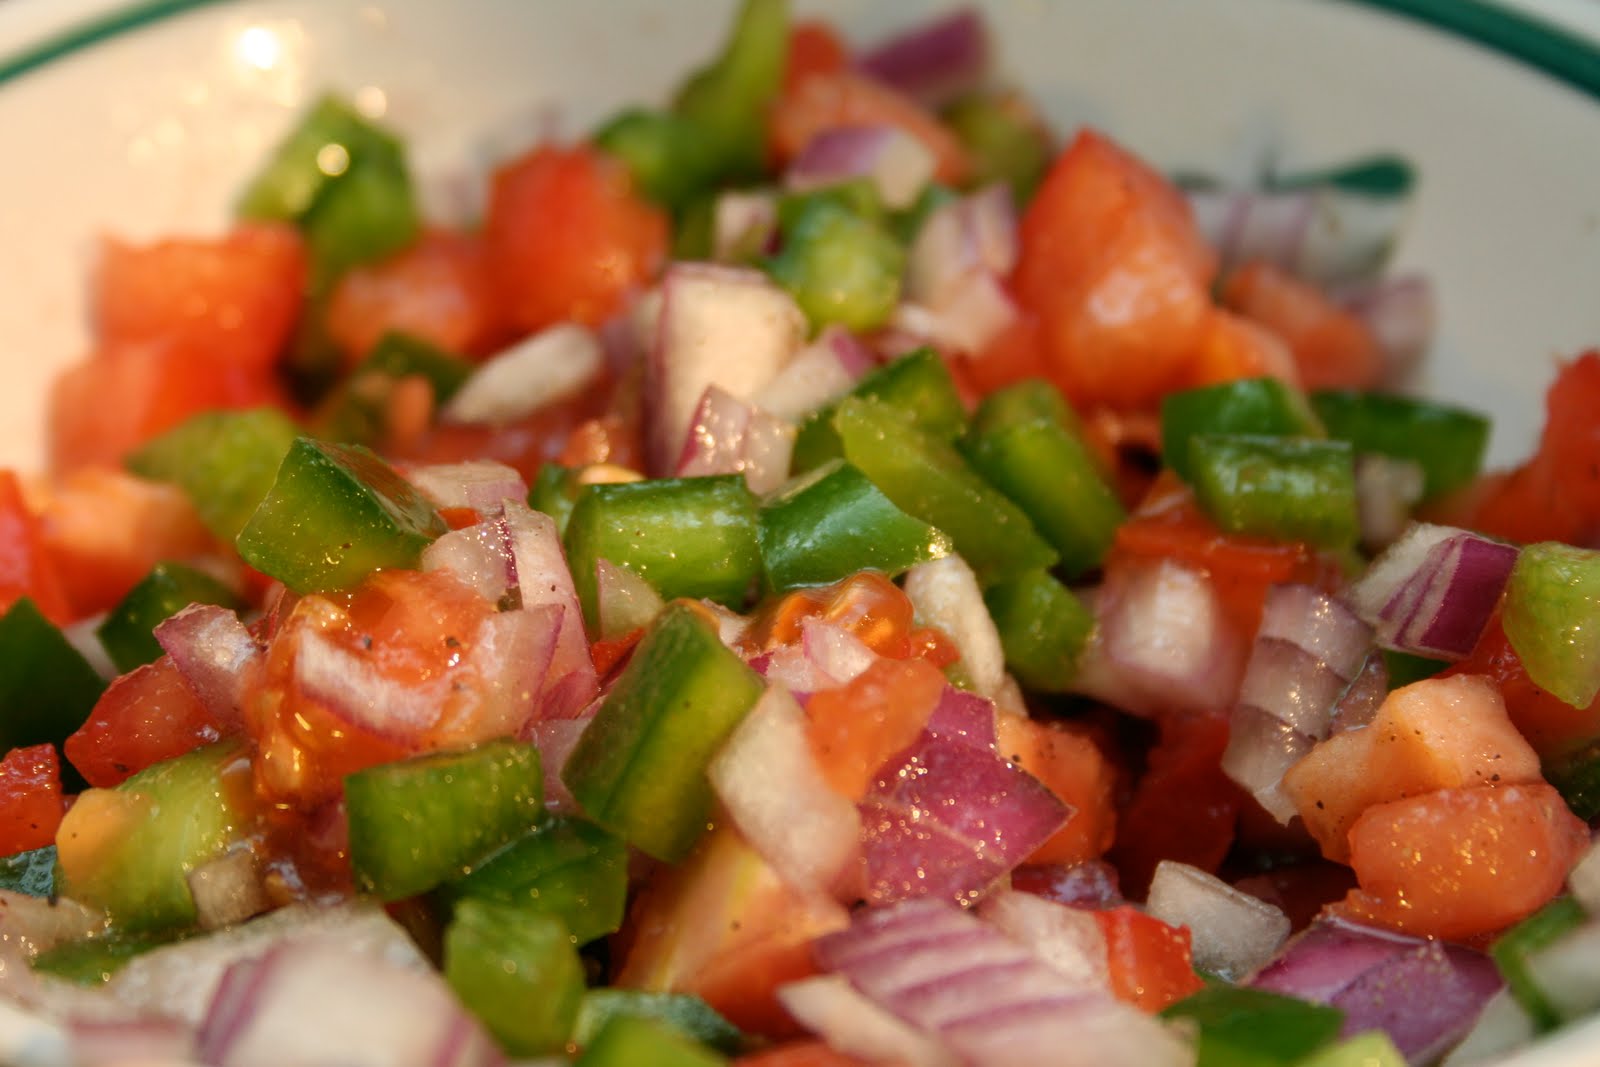

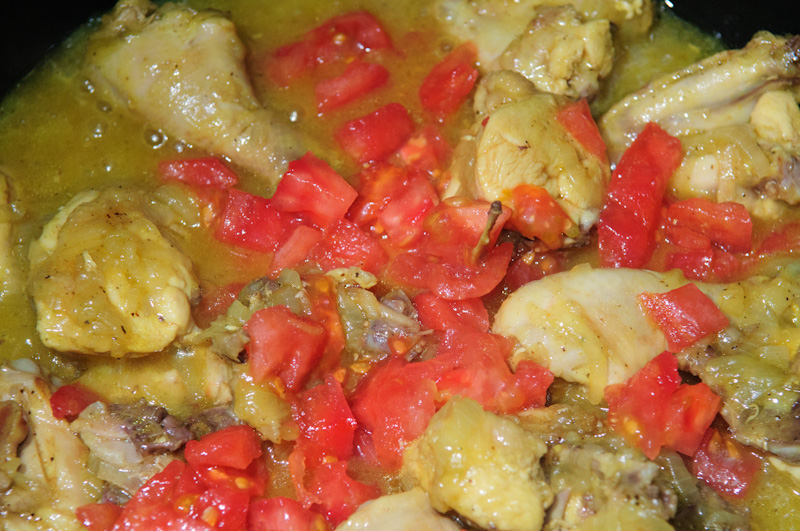
![The fresh hot sauce is calleed llajua [ya-hohwa]. ](https://images.squarespace-cdn.com/content/v1/56ddca5159827e507d71c8f3/1458584794262-3ZZUDOO3FSH1NJW6MQSK/IMG_9865.JPG)