

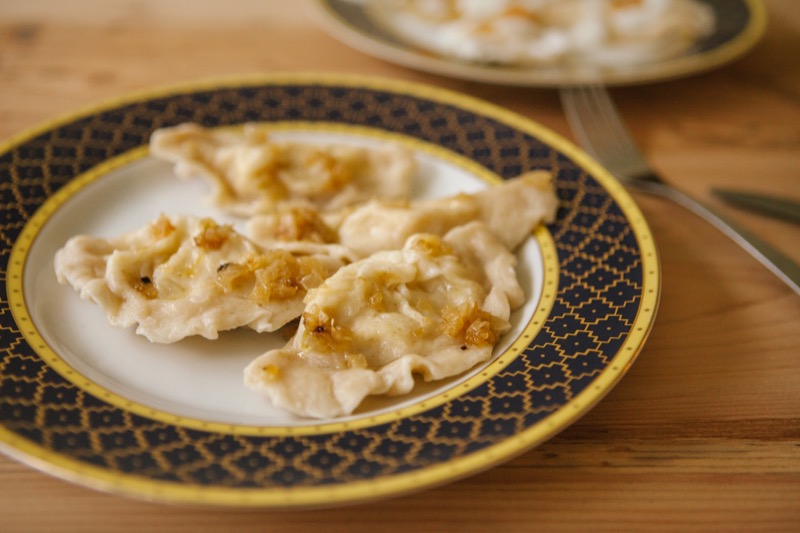


Pierogi Ruski
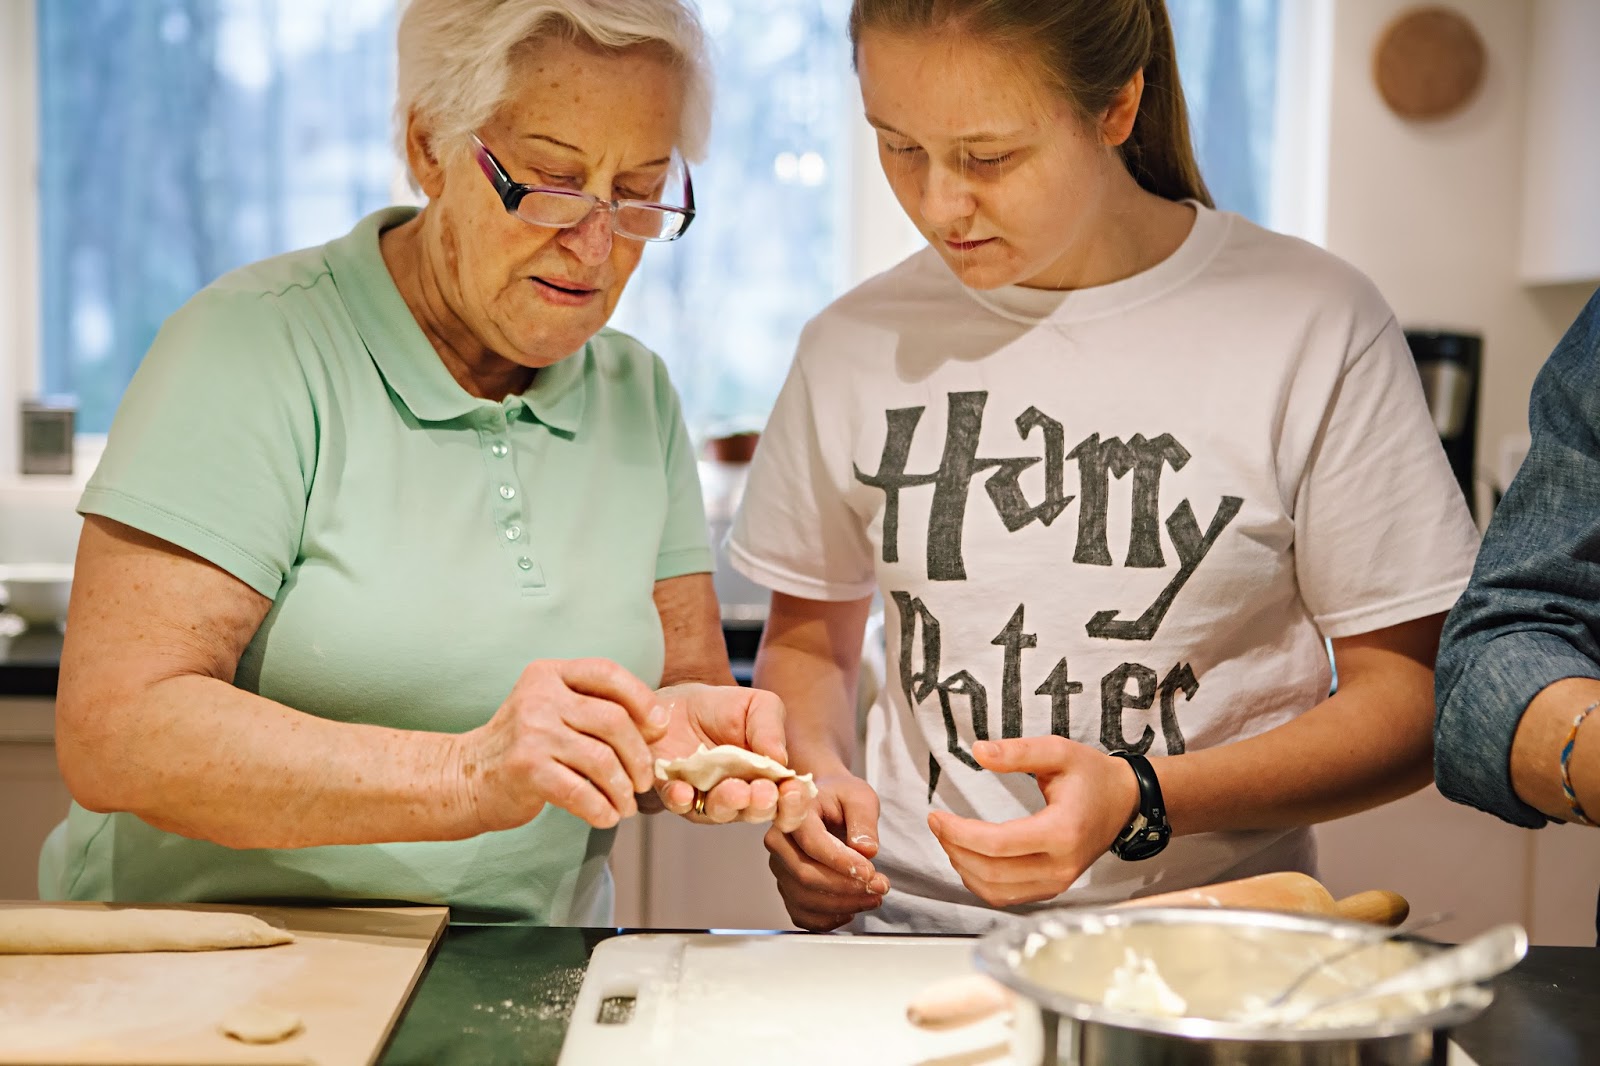
As mother and daughter, Jadwiga and Izabela Lutostanska, from Szczecin, Poland, taught Lindsay Sterling in Brunswick, Maine. Photos by Cindy Giovagnoli.
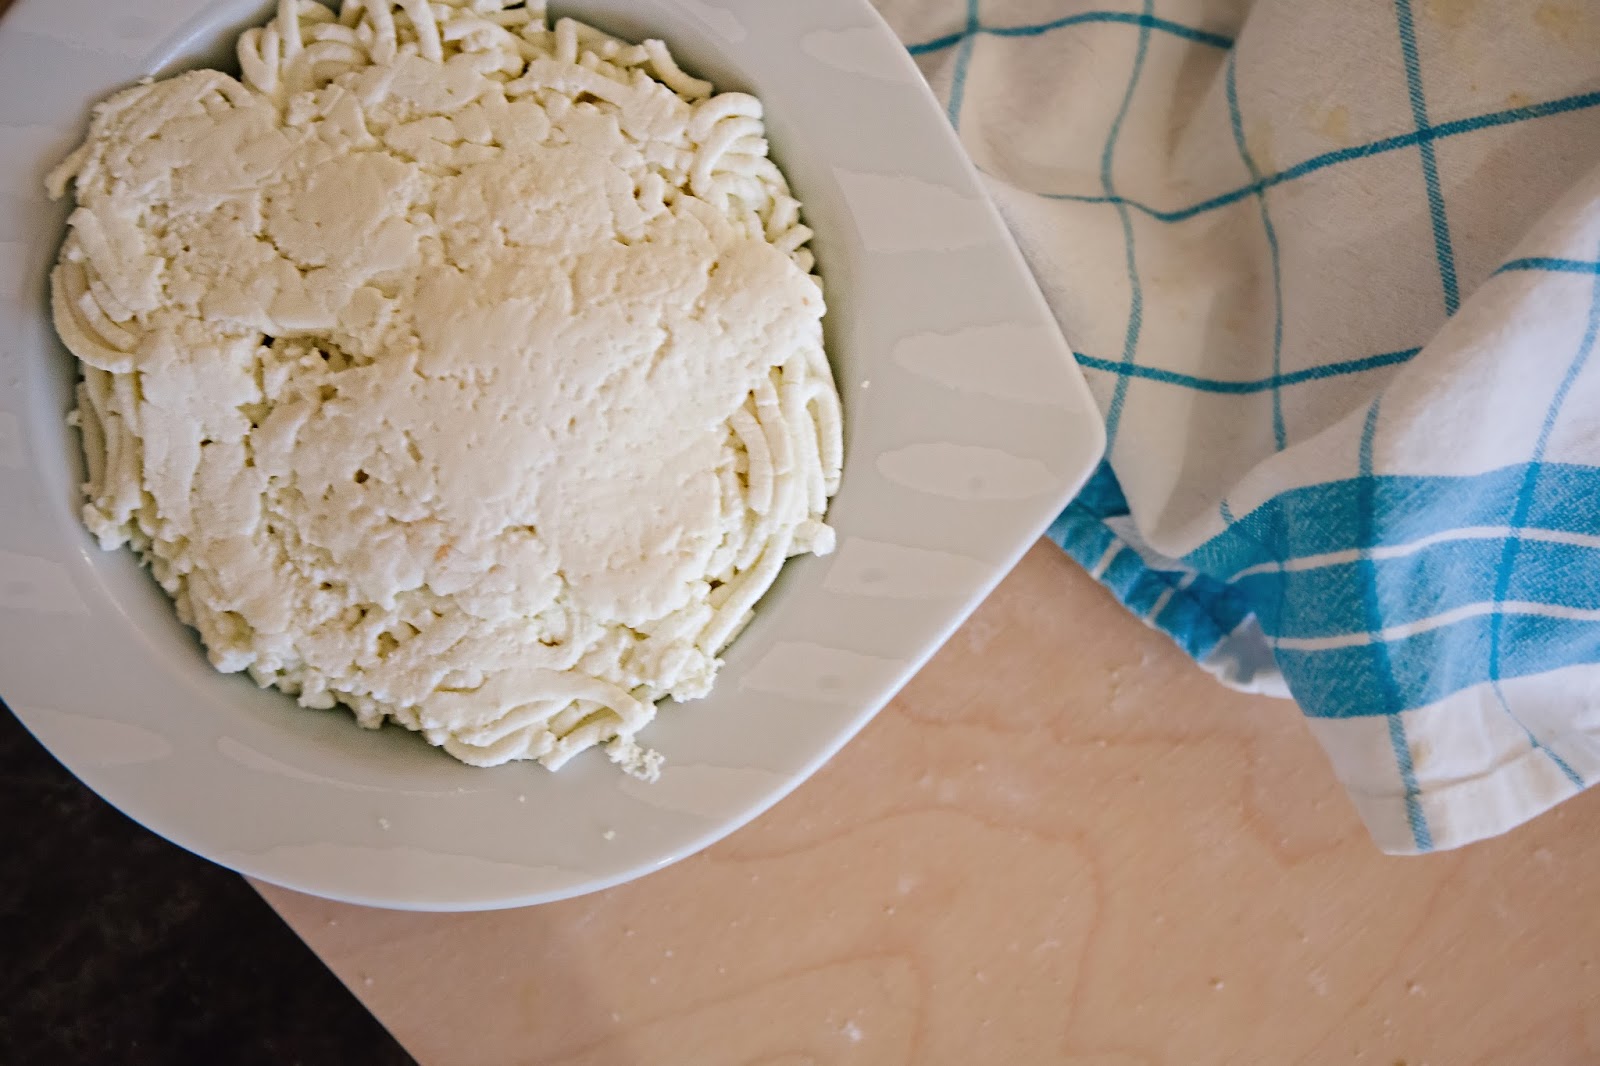
Note: if you will be making your own Polish farmer's cheese (it's easy), you'll need to start the process the night before. You can otherwise find Polish farmer's cheese in a Polish market, or substitute ricotta or fresh goat cheese from a typical supermarket.
Makes: 70 dumplings, enough to serve for 6 for dinner or more as an appetizer or snack.
Cooking Time: 3-4 hours (less if friends or family are doing this with you)
Ingredients
For the filling:
- 3/4 cup Polish farmer's cheese, called twarog (store bought or homemade)
- 3 medium yellow potatoes, peeled
- 1 onion, finely minced
- 1/2 tsp salt or to taste
- 1/2 tsp freshly ground pepper or to taste
For the dough:
- 3 1/2 cups flour + 2-4 Tbsp for dusting
- 1/2 tsp salt
- 1 1/3 cup milk
- 1 egg, whipped
For the topping:
- 1 onion, finely minced
- 4 Tbsp butter
Instructions
The night before: Start the Polish farmer's cheese process and boil the potatoes until soft. Strain and let cool. Mash potatoes with a potato masher (Jadwiga used a meat grinder but the masher worked fine). Let potatoes cool and refrigerate.
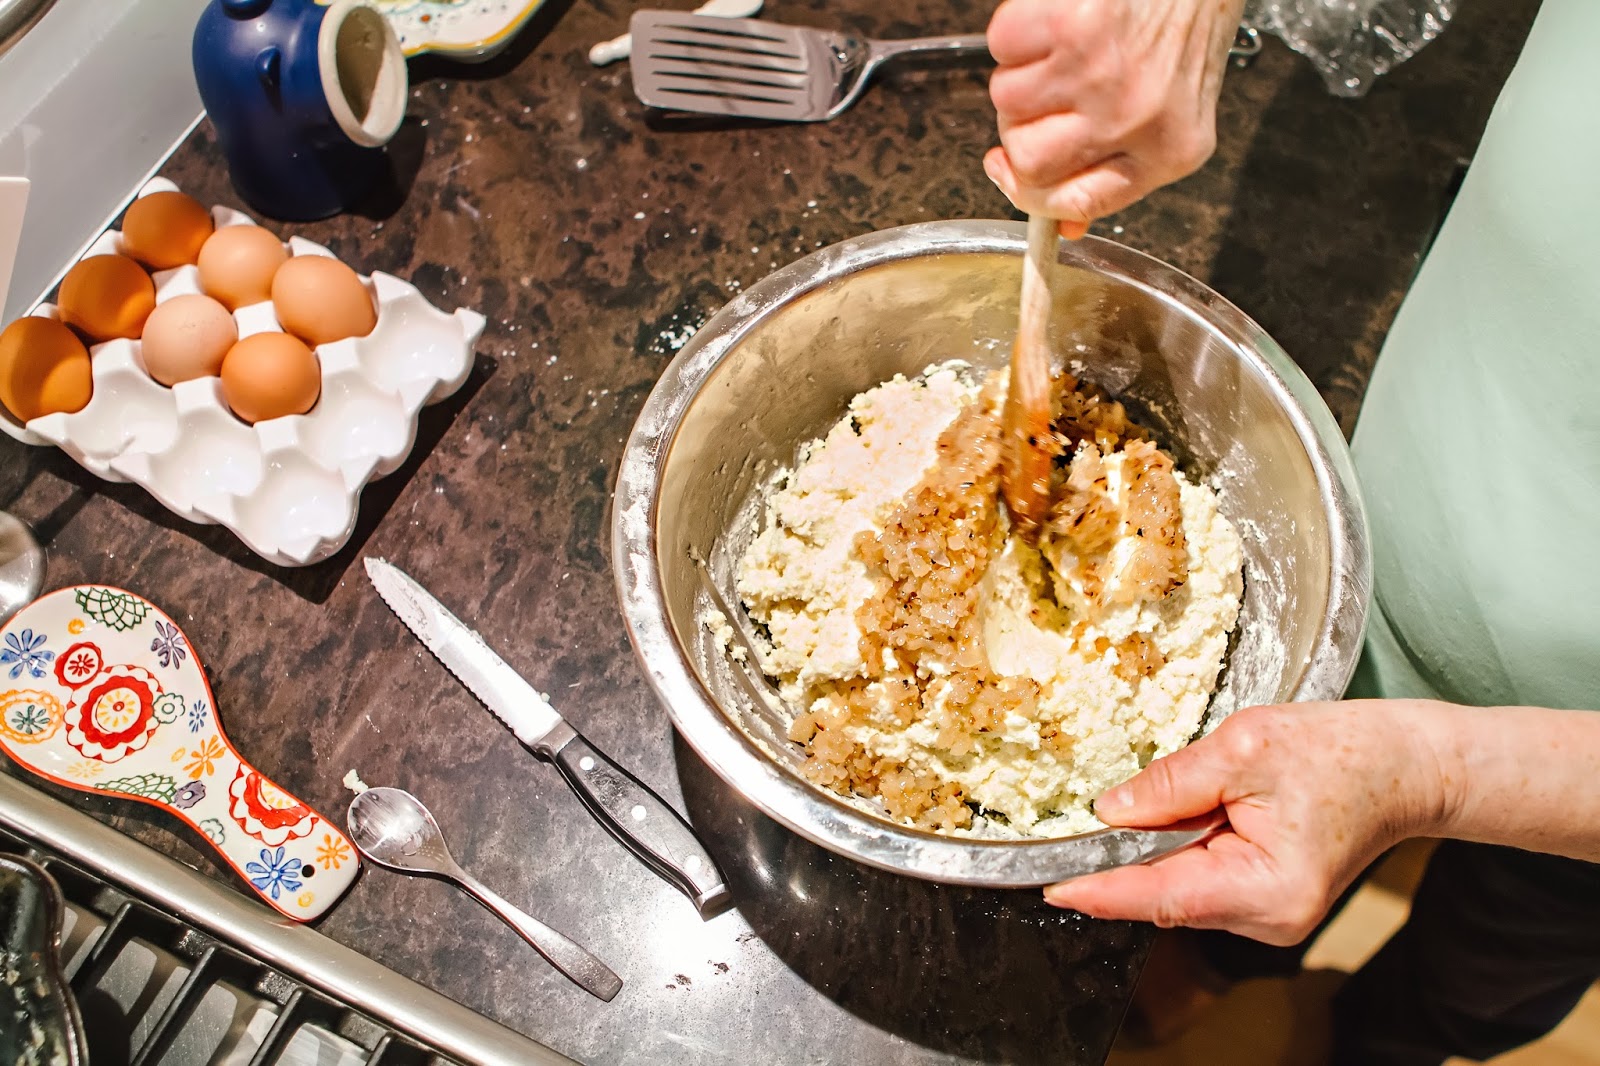
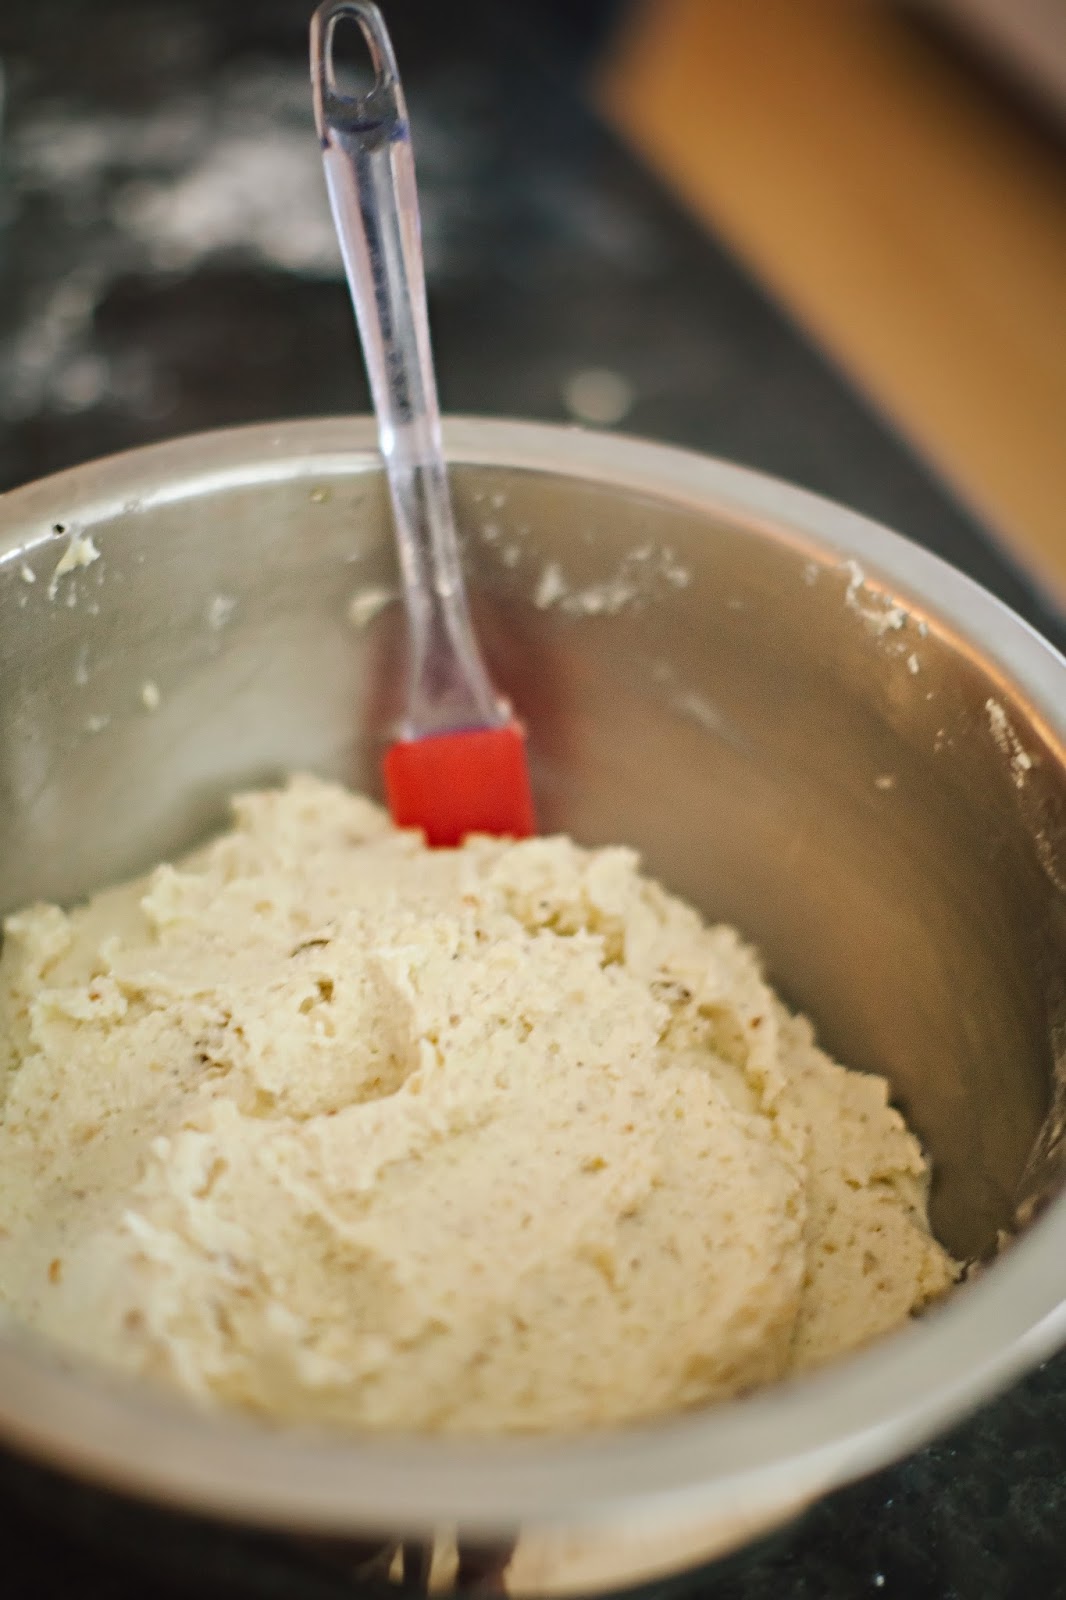
The next day, make the filling. Finish making the farmer's cheese. Also, saute minced onions in butter slowly on medium-low heat for 15 minutes. Combine farmer's cheese with potato, half the sauted onions in butter, and generous salt and pepper to taste.
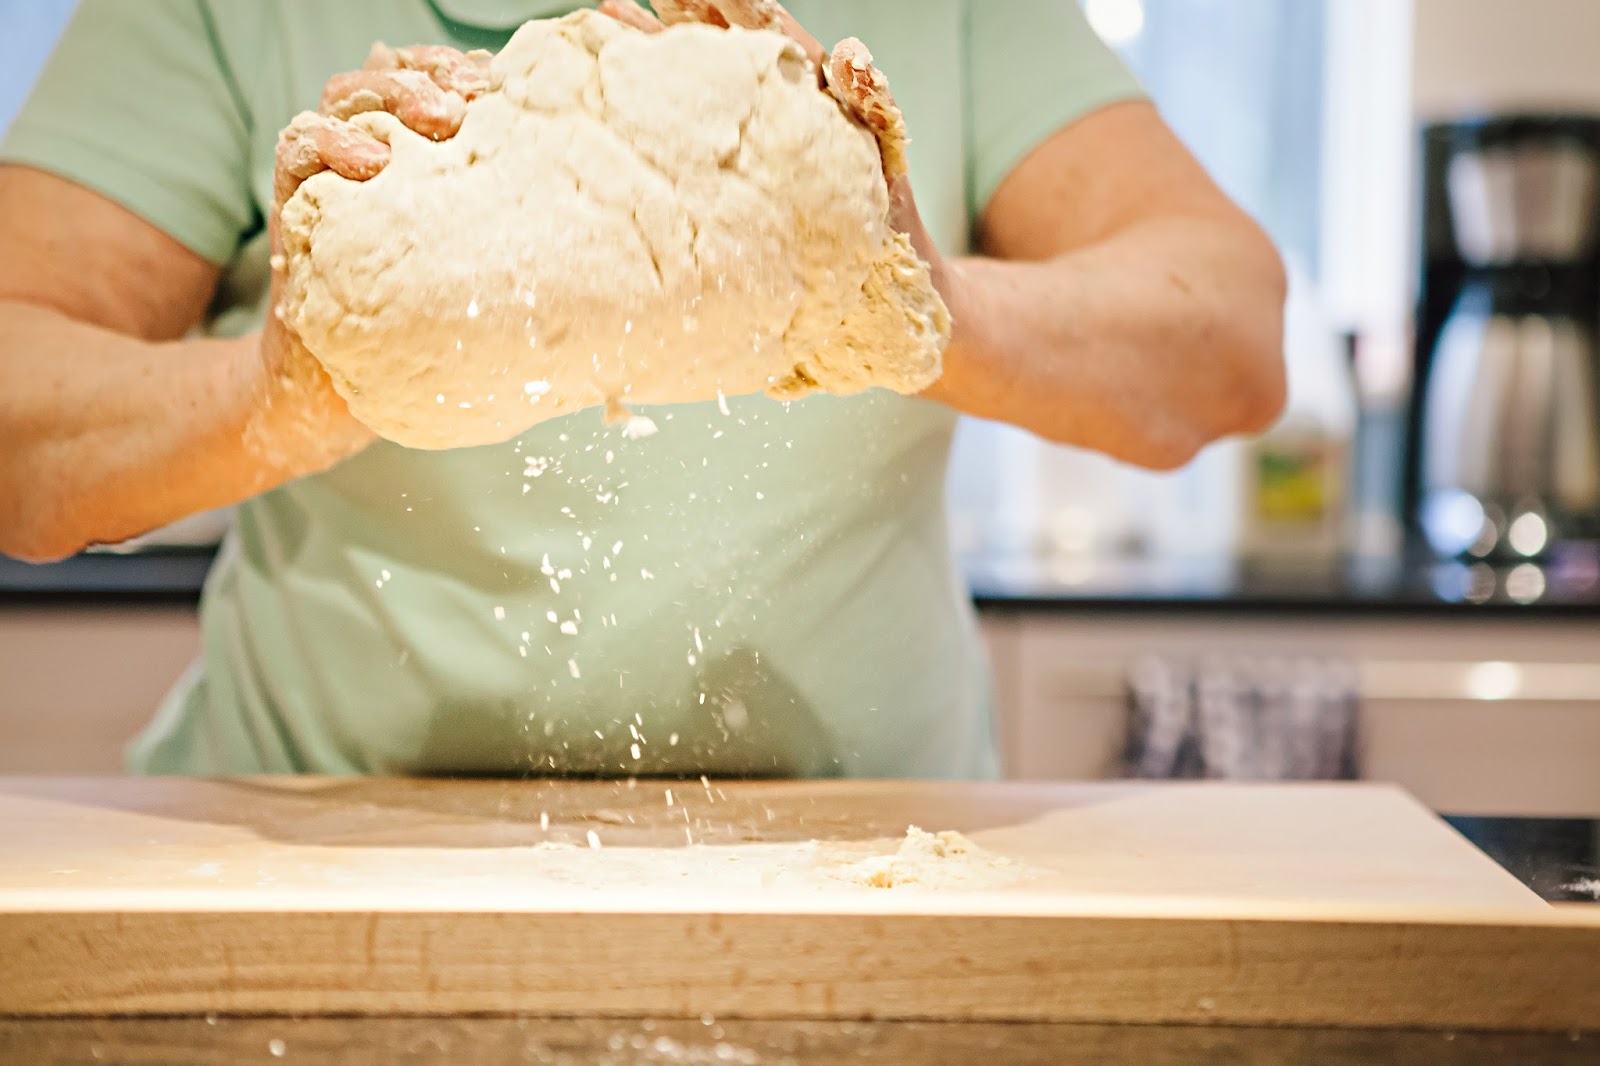
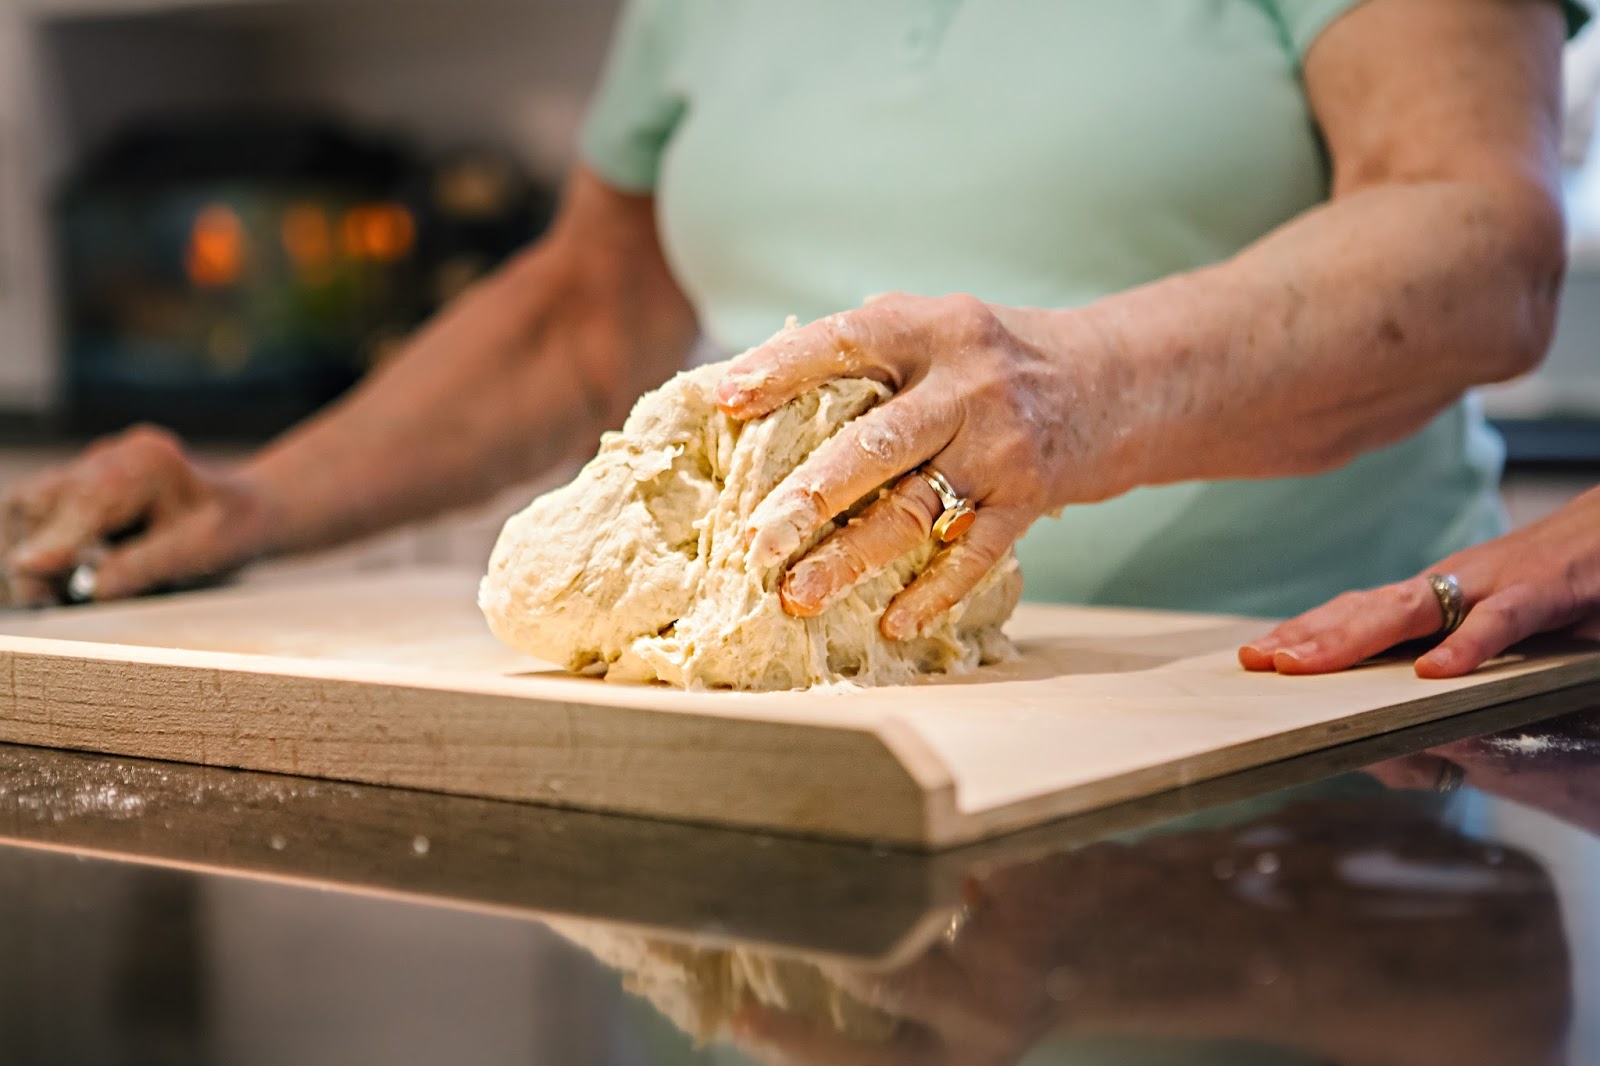
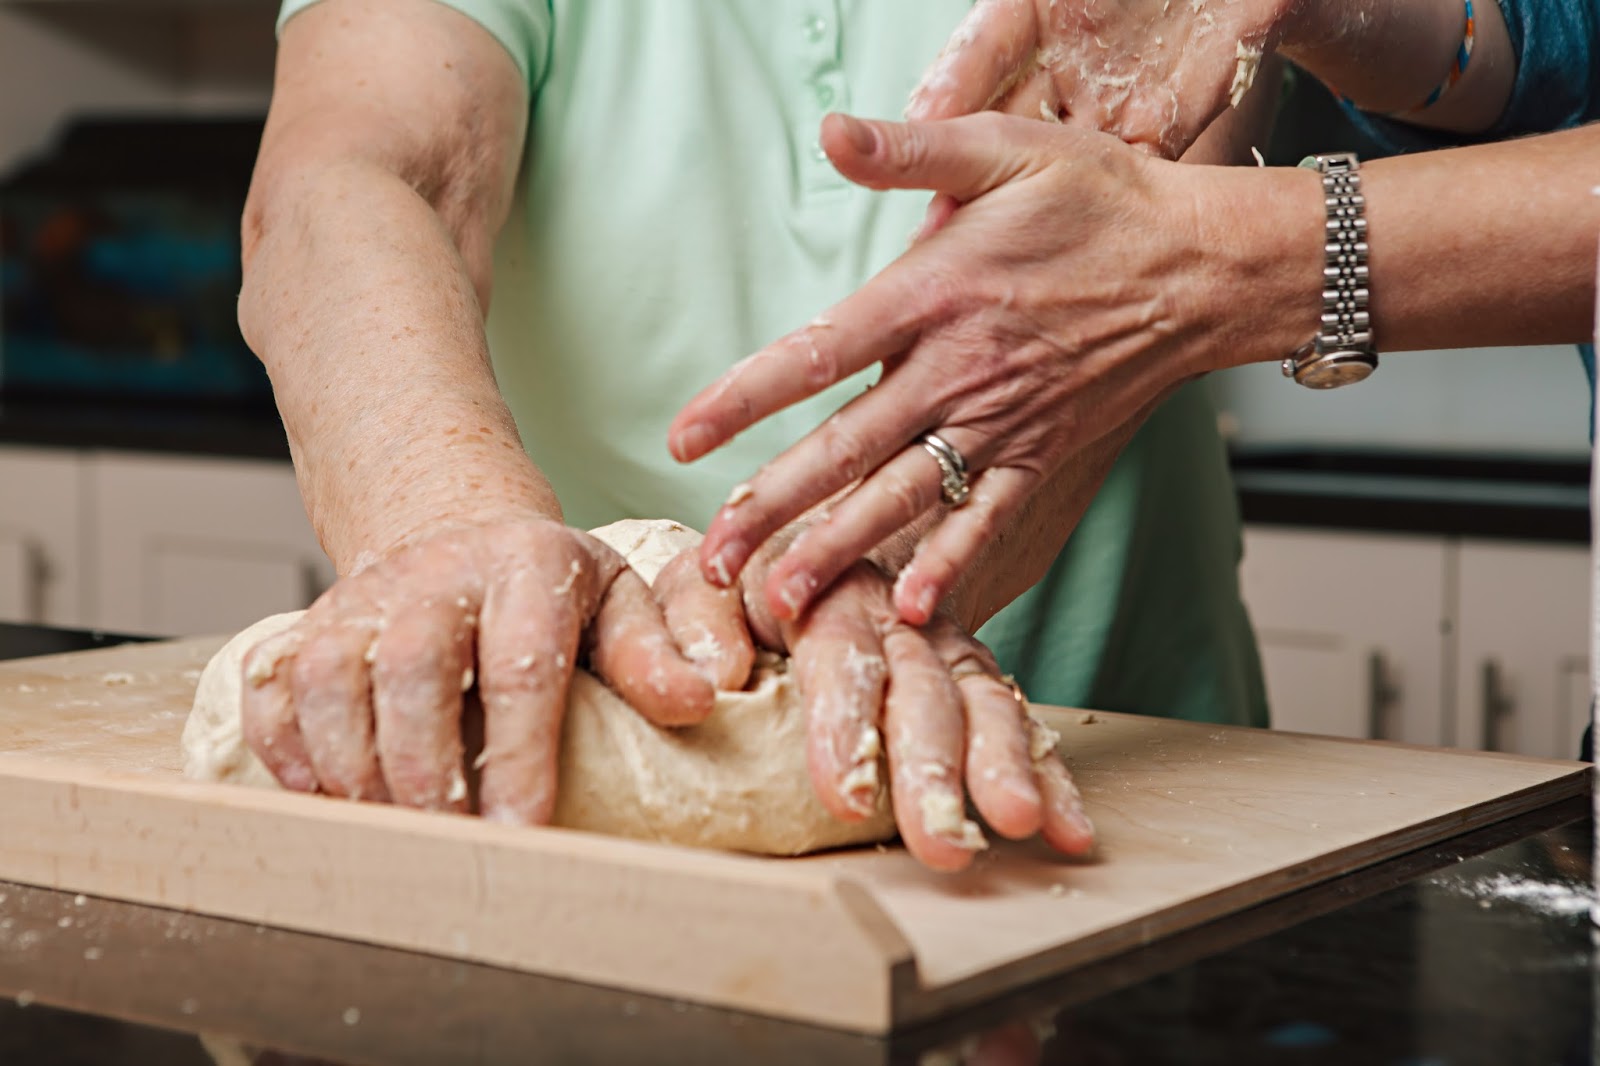
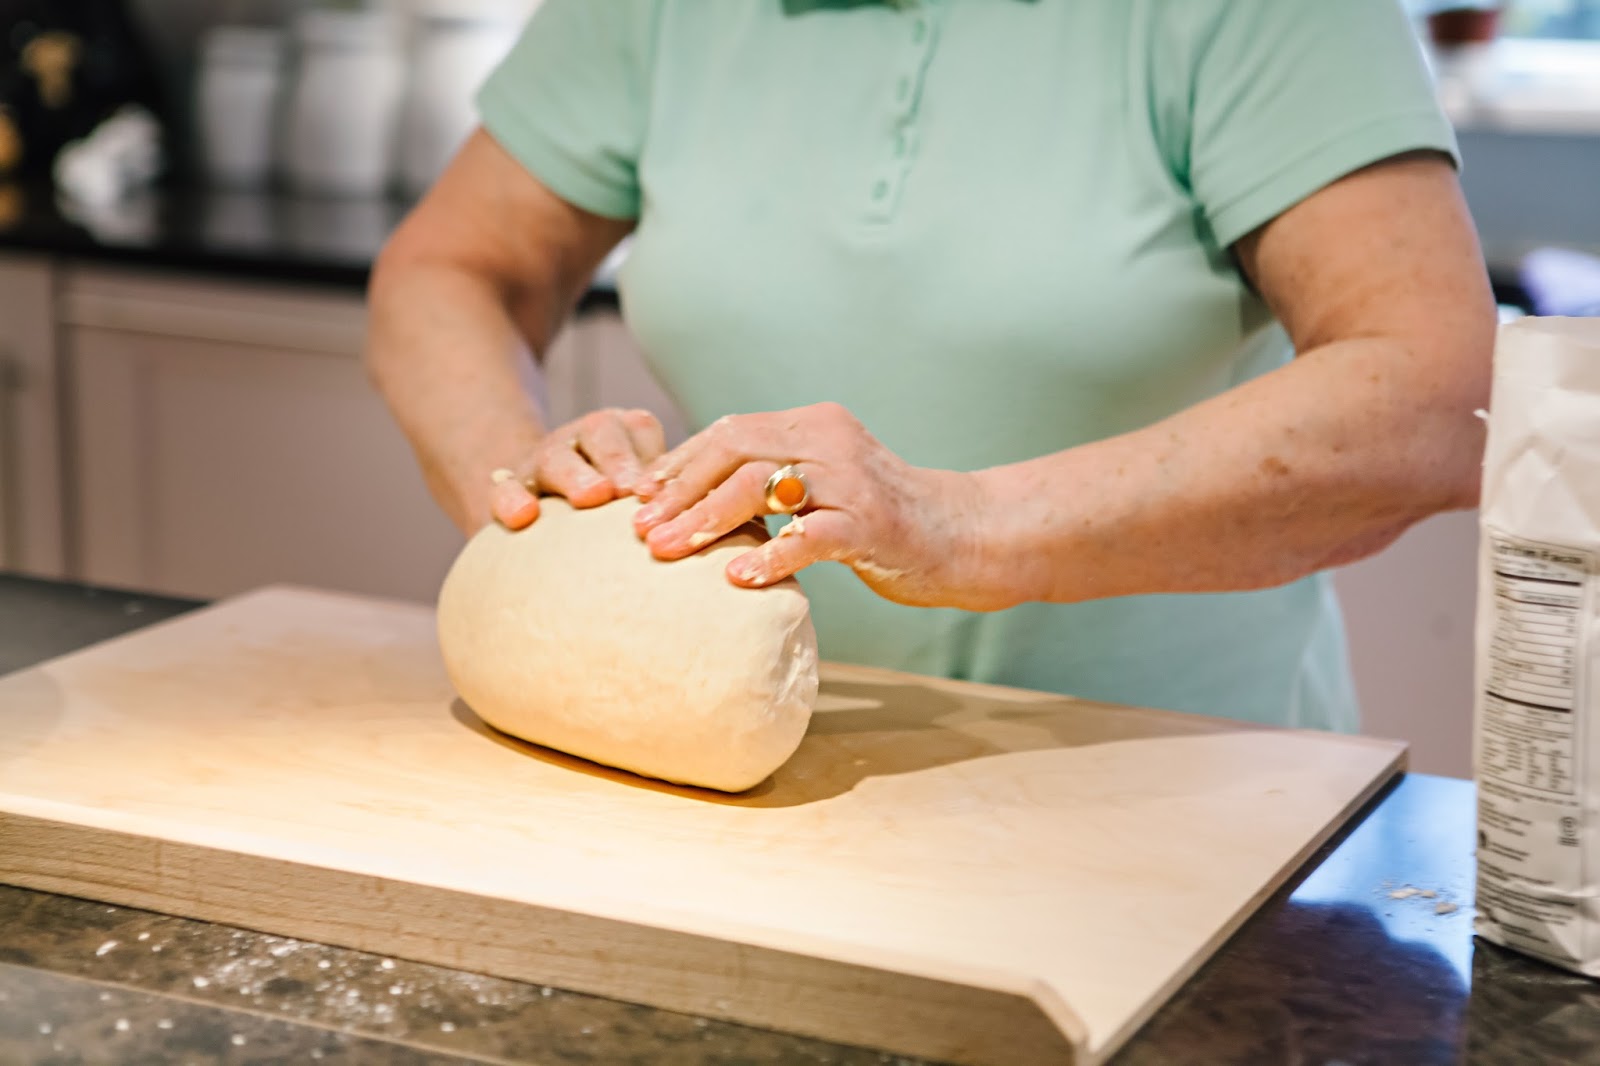
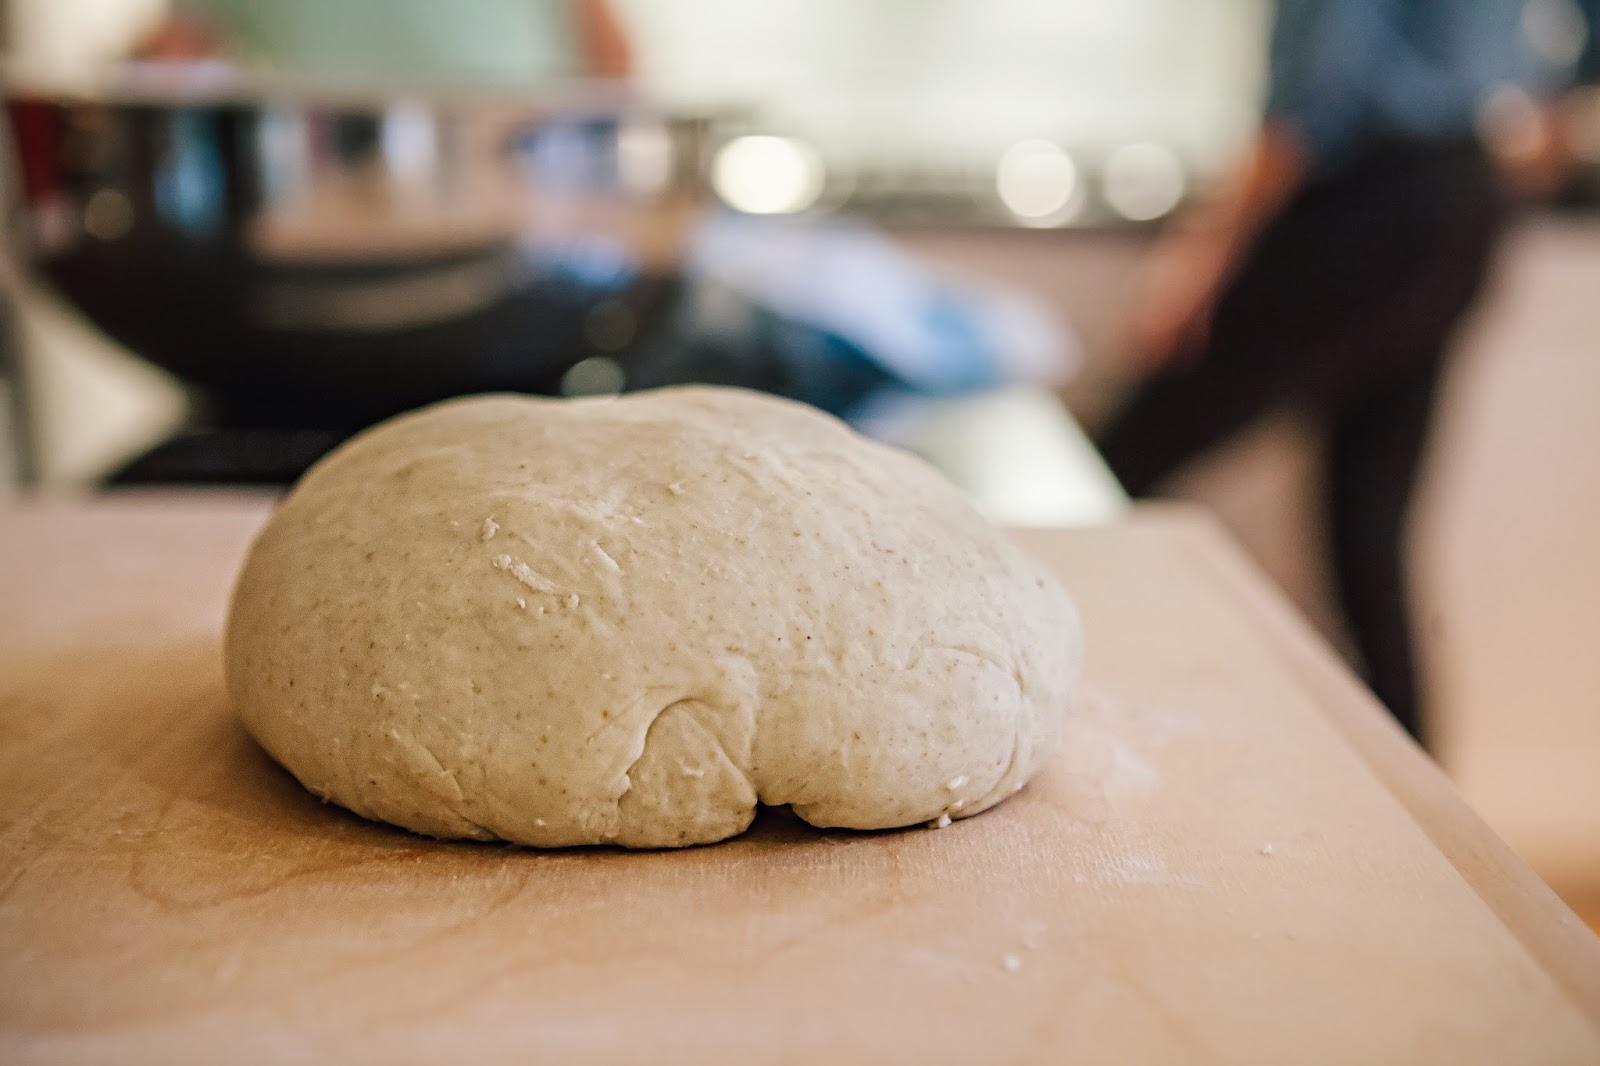
Make the dough. Warm the milk. In a large mixing bowl, mix the milk and whipped egg into the flour with your hands until you have a mass of globby, rough, sticky dough that sort of sags when you hold it up as opposed to stays in its shape. It's a wet dough. Spread flour across your cutting board or counter and put the blob of dough on it. Knead the dough for 15 minutes. Use a knife or pastry cutter to scrape any dough that sticks to the counter. You may dust some more flour to help contain the stickiness but keep in mind that you want the dough to end up tacky so that it will stick to itself when you are making the pierogis. Stop kneading when the dough is smooth, stretchy, and slightly tacky. It feels like a baby's bottom when it's done. Form the dough into a ball and cover it with a towel so that the dough doesn't dry out while it is resting and you finish making the filling.
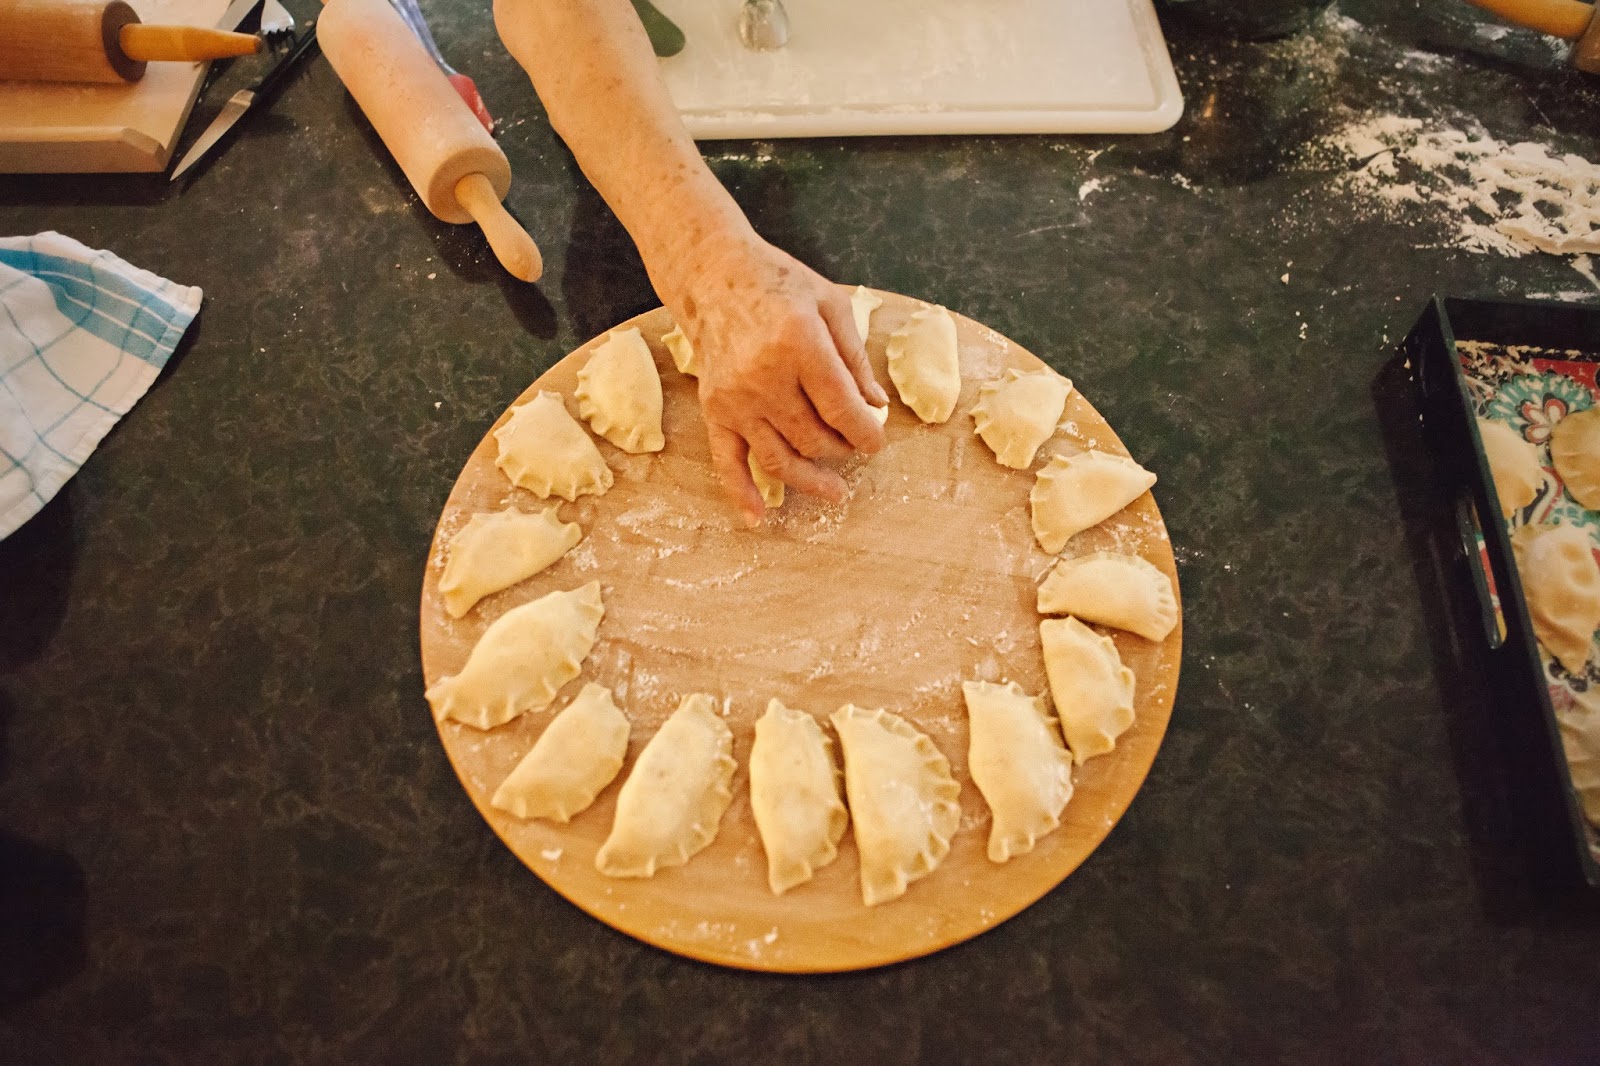
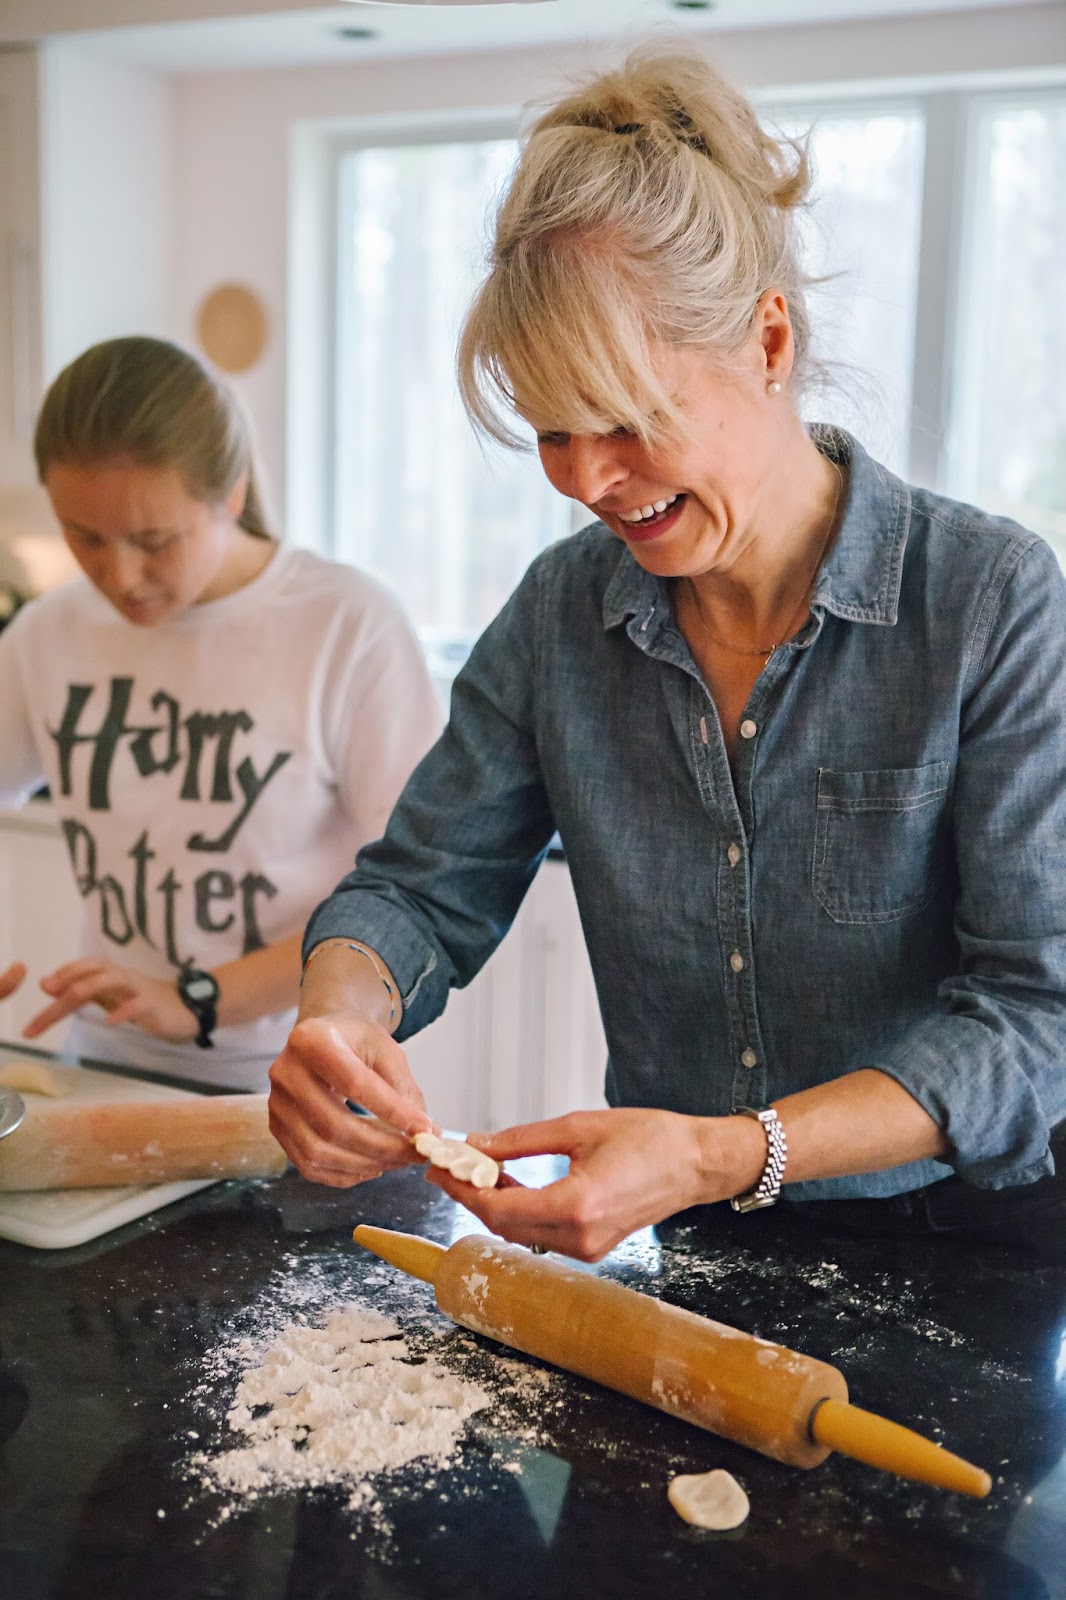
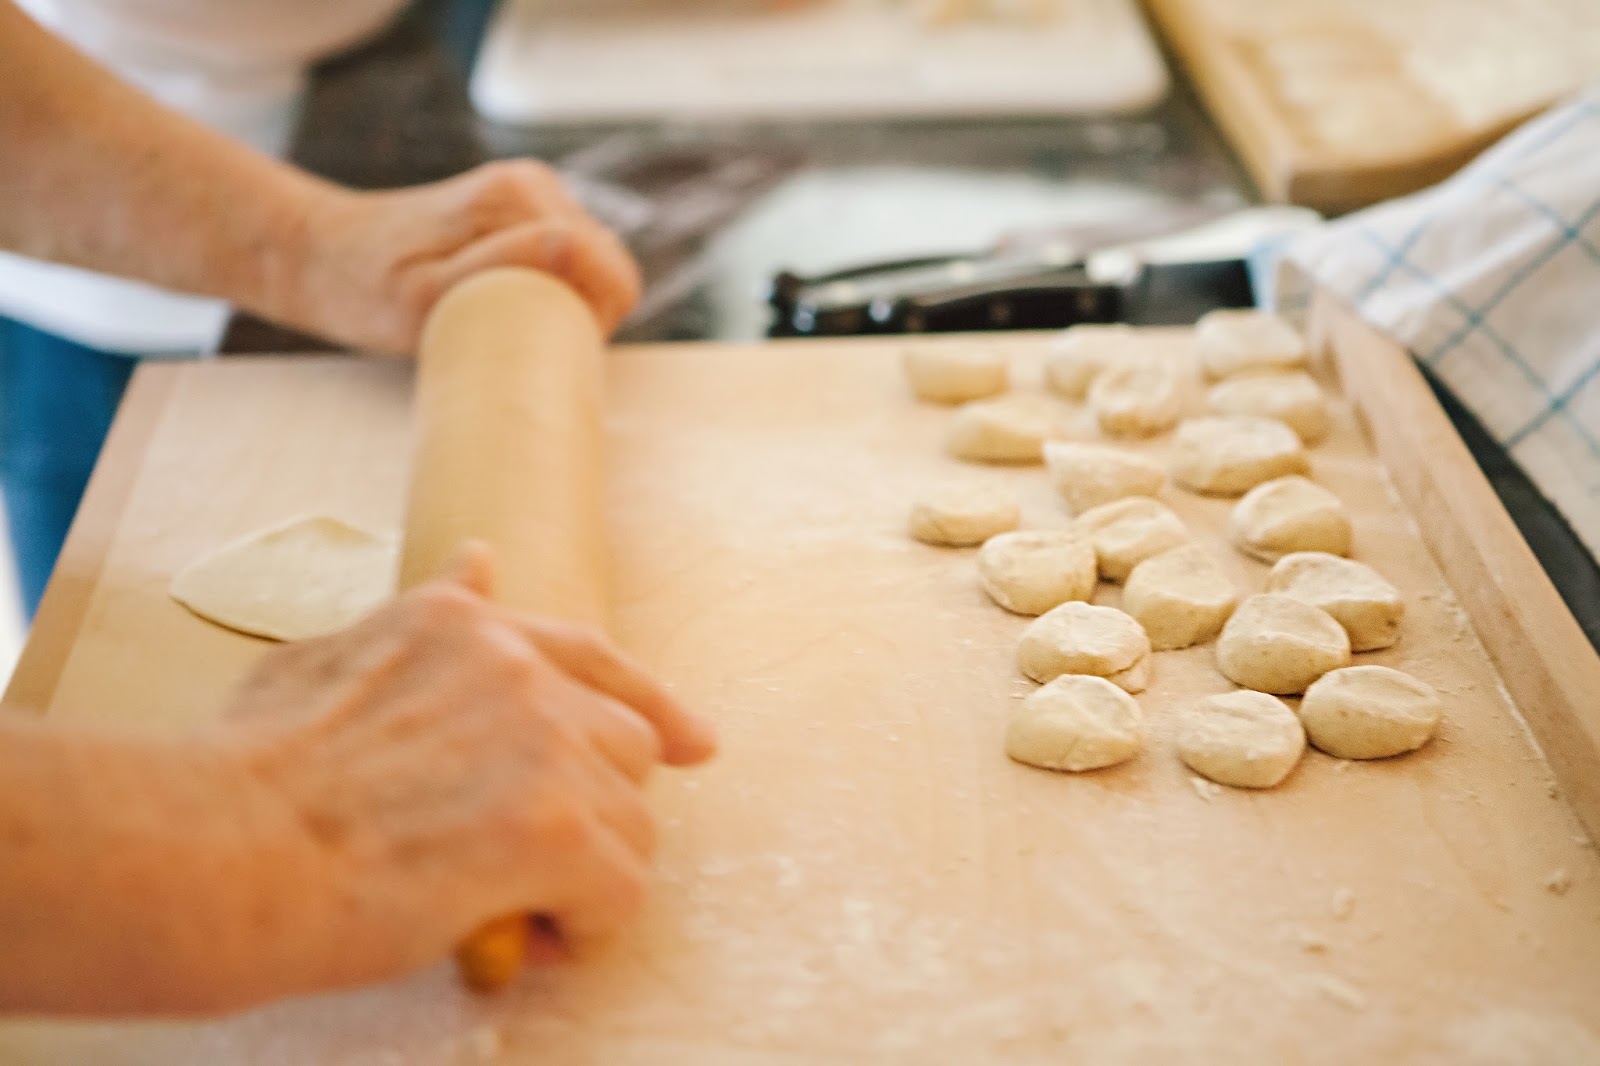
Assemble the pierogis. See this video on how to form the pierogis. Put a 1-2 Tbsp of flour off to the side of your workspace on the counter. Break off a piece of dough about the size of a small apple, or about a quarter of all the dough. Roll the piece into a cylinder about as thick as a nickel. Cut across the roll, making 3/4"-thick pieces of dough. Dip the fingers of one hand in the flour and use them to turn each segment on its side and pat down on top of it once with two fingers to begin to flatten the piece into disc.
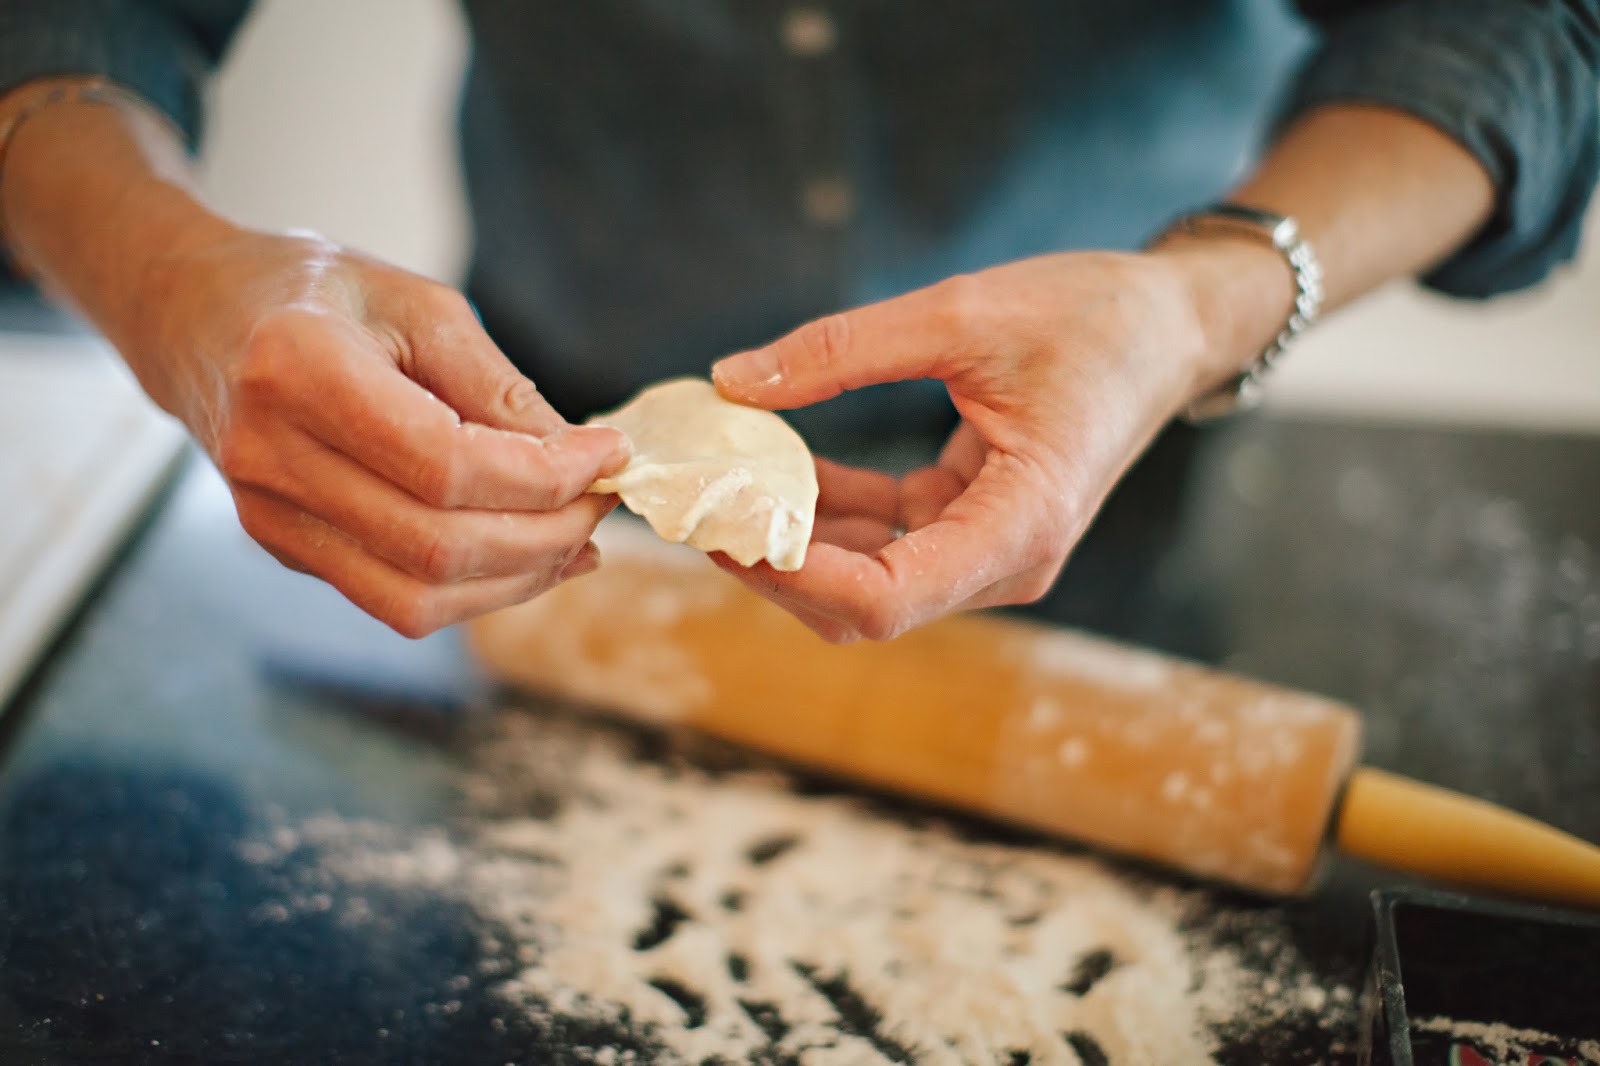
Use a rolling pin to roll out each piece into your dumpling wrapper. What you want is a thin disk about 2 inches in diameter and about 1/8th inch thick. Put the disk in one hand, and add a tsp of filling to the middle of the disk. Fold both halves of the dough over the filling, match the edges on top of one another, and press them together, sealing the filling inside. If the filling gets on the edge of the dough where you are trying to seal it together, then the seal won't work. If you need to push the filling back from the edges, it's helpful to dip your finger in a little pile of flour before using them to nudge the filling out of the way because then the filling doesn't stick to your fingers. Then press the dumpling wrapper closed. Once the seal is secure, then pinch the dough six or seven times along the edge to make a pretty decoration.
Boil the pierogis. Bring a pot of water and 1/2 tsp salt to a boil. One by one, add enough pierogis to make a single layer in the water. Once they float, they're done. Another Polish source says she puts a tablespoon of oil in the water and then the pierogis don't stick to each other. Remove cooked pierogis with a slotted spoon or spatula and serve with sauteed onions-in-butter drizzled on top.

Freeze any uncooked pierogis in a single layer on a flour-dusted sheet pan. Once frozen, transfer into a Ziplock. Cook within 3 months.
RECIPE FEEDBACK
Please help improve this recipe for others by sharing your suggestions in the comment box below. Thank you.